Chapter One · A Routine Job
The Monthly Cleaning That Became a Puzzle
Until now, Janet has cleaned our automatic cat waterer every month. She handled the cleaning; the real trouble began when it was time to put the fountain back together.
The stainless drinking tray fit so tightly that Janet had been prying it loose with a butter knife. Then, during reassembly, the translucent outlet stem would fall off the gray dispenser mechanism. We could attach it, lower the tray—and hear it drop loose again.
We had reached the point of wondering whether a different waterer might be easier than another round with this one.
This time we slowed down, photographed every piece, and treated the job like a small repair investigation. The patient was a 3-liter PETLIBRO PLWF006. The first clue was waiting right under the tray.
Chapter Two · The Suspects
Three Little Parts, One Hidden Mechanism
Spread across the table, the outlet assembly finally stopped looking mysterious. It was simply a three-part path from pump to drinking tray.
Chapter Three · The Best Discovery
Retire the Butter Knife
The gray dispenser is not merely where the water emerges. It is also the tray handle.
Holding the dispenser makes the tray much easier to lift and gives us control over the outlet assembly below. Once we began raising and lowering the tray by that gray piece, the butter knife was no longer necessary.
Sometimes the smartest tool on the workbench is the one that was built into the machine all along.
Chapter Four · The Misleading Sound
The Stem's First Click Wasn't Enough
The translucent stem had yellowed with age and no longer gripped the gray outlet easily. Worse, it could sound attached before it was truly seated.
We warmed the narrow end in hot tap water—not boiling water—to make it slightly more flexible. Then we pushed it over the gray outlet with steady inward pressure and a gentle twist.
Chapter Five · The Breakthrough
The Crucial Alignment Lesson
Even a perfectly attached stem can be knocked loose on the way down. The missing ingredient was not more force. It was a straight line.
The translucent stem must remain centered directly over the pump while the drinking tray is lowered. If it approaches at an angle, the stem strikes the pump and is pushed right back off the dispenser.
- Hold the gray dispenser firmly.
- Center the translucent stem over the pump outlet.
- Lower the tray slowly and straight down.
- Do not release the dispenser until the stem is aligned and the tray is seated.
Chapter Six · Water!
The Fountain Flows Again
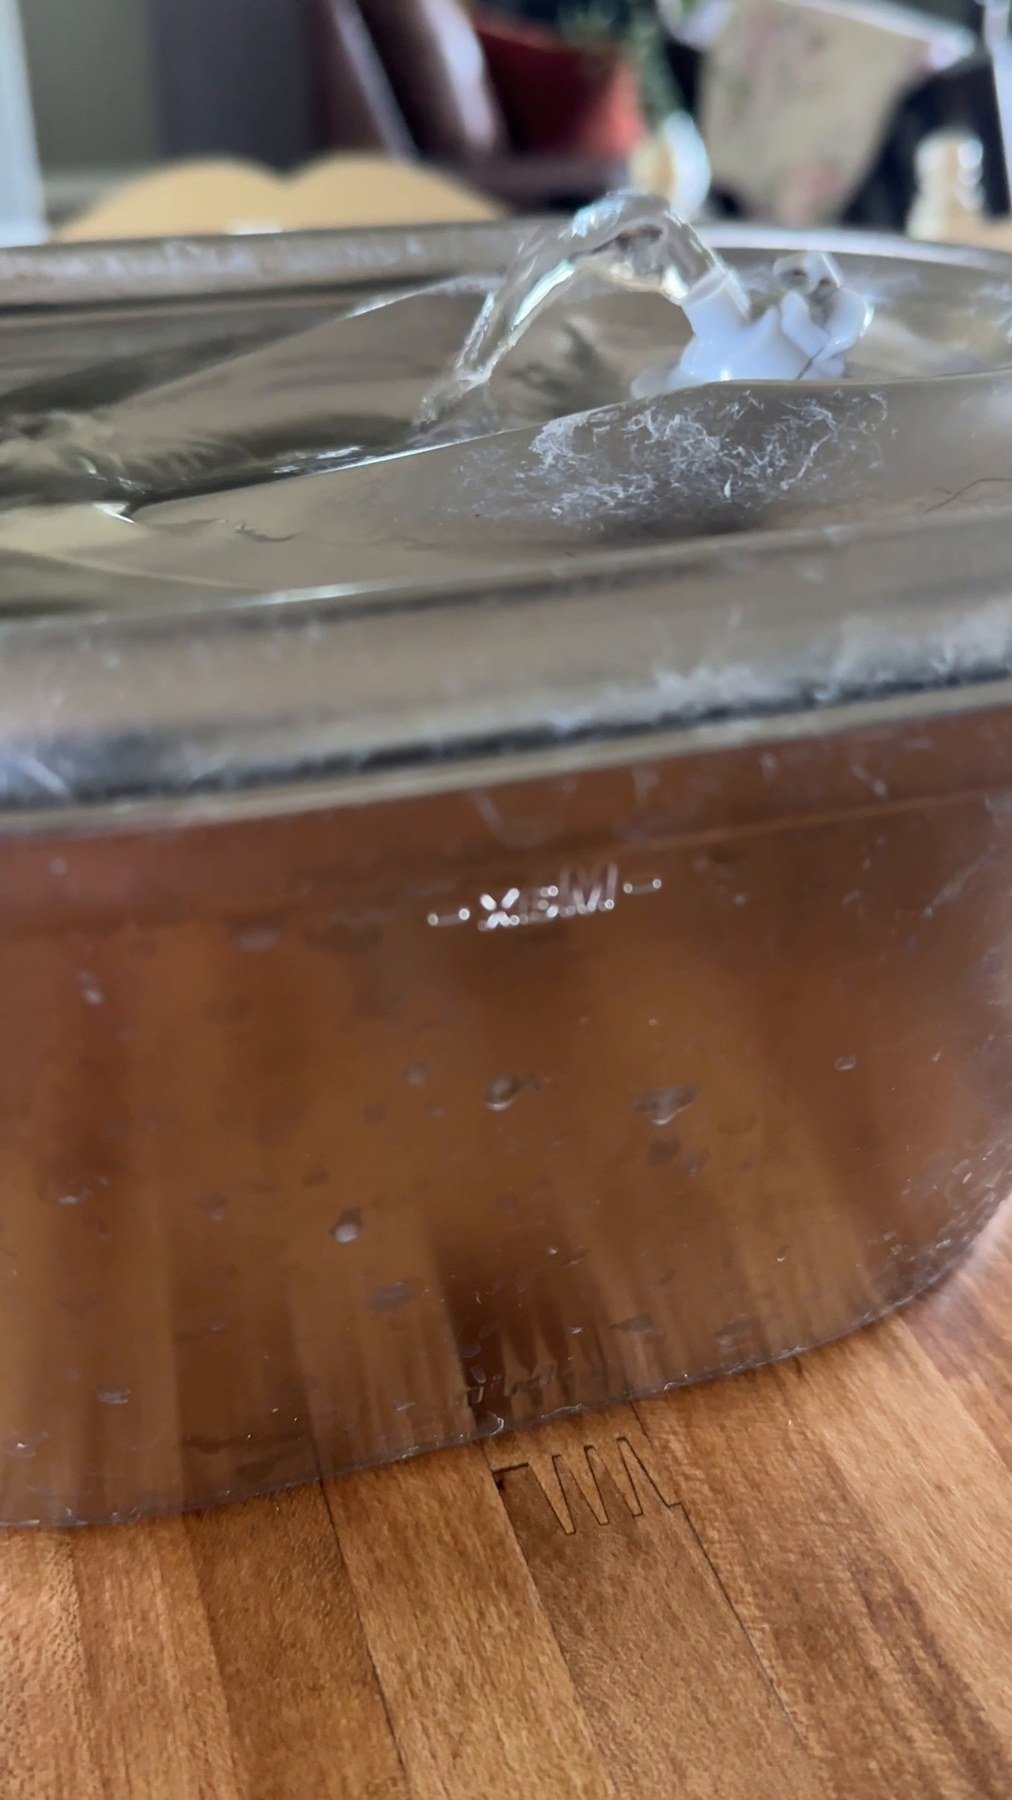
The tray settled into place. The stem stayed attached. We plugged the fountain in—and that little stream of water felt like a victory lap.
The satisfying finish: the repaired fountain running normally again.
Epilogue · The Hand-Off
Bob's New Monthly Assignment
With the mystery solved, Janet and I agreed that I will take charge of cleaning the fountain every month. I am always happy to take something off her plate—and now I have both the manufacturer's instructions and our hard-won reassembly notes.
The manufacturer's guide covers the six essentials: prepare the filter, lift the cover by its handle, install the pump, replace the carbon filter, refill below the maximum line, and reconnect the sealed cover. It confirms the handle trick; our checklist adds the stem-seating and alignment details that the quick guide leaves out.
We wrote the complete successful order down while every detail was fresh. My final preparation step is wonderfully modern: put a recurring reminder on my calendar so this new monthly assignment never has to rely on memory.
- Unplug the fountain.
- Lift the drinking tray by the gray dispenser—no butter knife.
- Disconnect the translucent stem from the pump while supporting the tray.
- Clean the reservoir, pump, foam pre-filter, tray, filter housing, and water passages.
- Leave the two gray dispenser pieces locked to the tray unless repair is required.
- Check that the stem is fully seated. If removed, warm its narrow end in hot tap water, push firmly, and keep gently twisting after the first click.
- Refill the reservoir to the proper level.
- Hold the gray dispenser and center the stem directly over the pump.
- Lower the tray slowly and vertically so the pump cannot knock the stem loose.
- Plug in the fountain and verify a steady flow.
“Hold the dispenser, keep the stem centered over the pump, and lower the tray straight down.”
The fountain was not impossible to maintain. Its design had simply hidden the correct handling method—and now the mystery is officially out of water.