Public personal journal · Garage workshop
Back on the Boards
Three grits, two very different finishing experiments, and long pine boards slowly becoming working shelves with their histories intact.
The Shelf That Already Worked
One of the first projects I started in the garage was a run of shelf supports topped with sixteen-inch pressboard. I built it for totes, and it does exactly what I asked it to do. It works perfectly.
Then I began learning more about wood, and perfectly functional was no longer the end of the thought. I could see the same supports carrying two long 2 × 8 × 16 pine boards instead. The shelf would still hold totes, but now it would have the look, feel, and permanence of something I had chosen and finished myself.
How I brought those sixteen-foot boards home deserves its own story. For now, it is enough to say that I bought them, partially sanded one, and then let a parade of other projects pull me away.
Today, Everything Else Waited
This afternoon I decided to drop everything and return to the shelving project. The first board went through three sanding stages, each one erasing the evidence of the one before it. By the end, the change was not only something I could see. It was something I could feel with the palm of my hand.
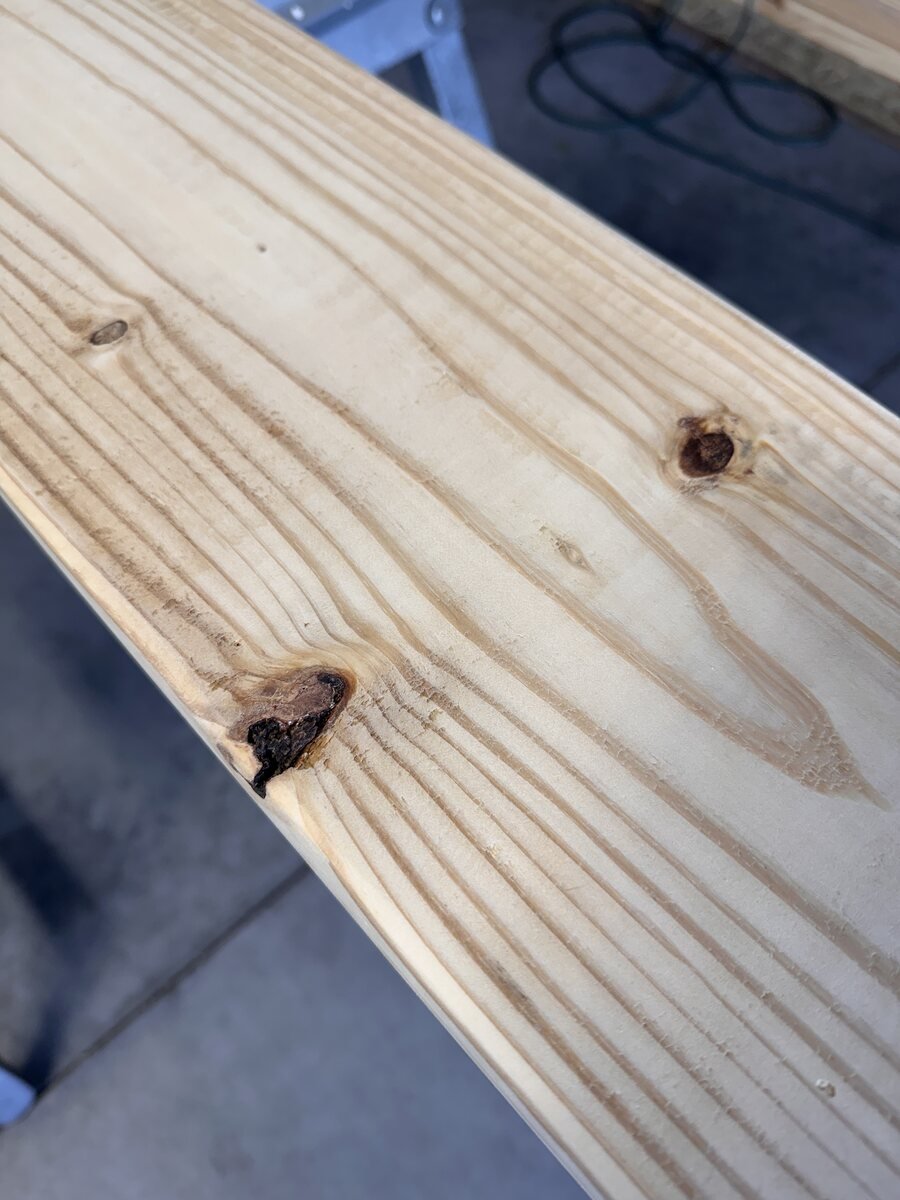
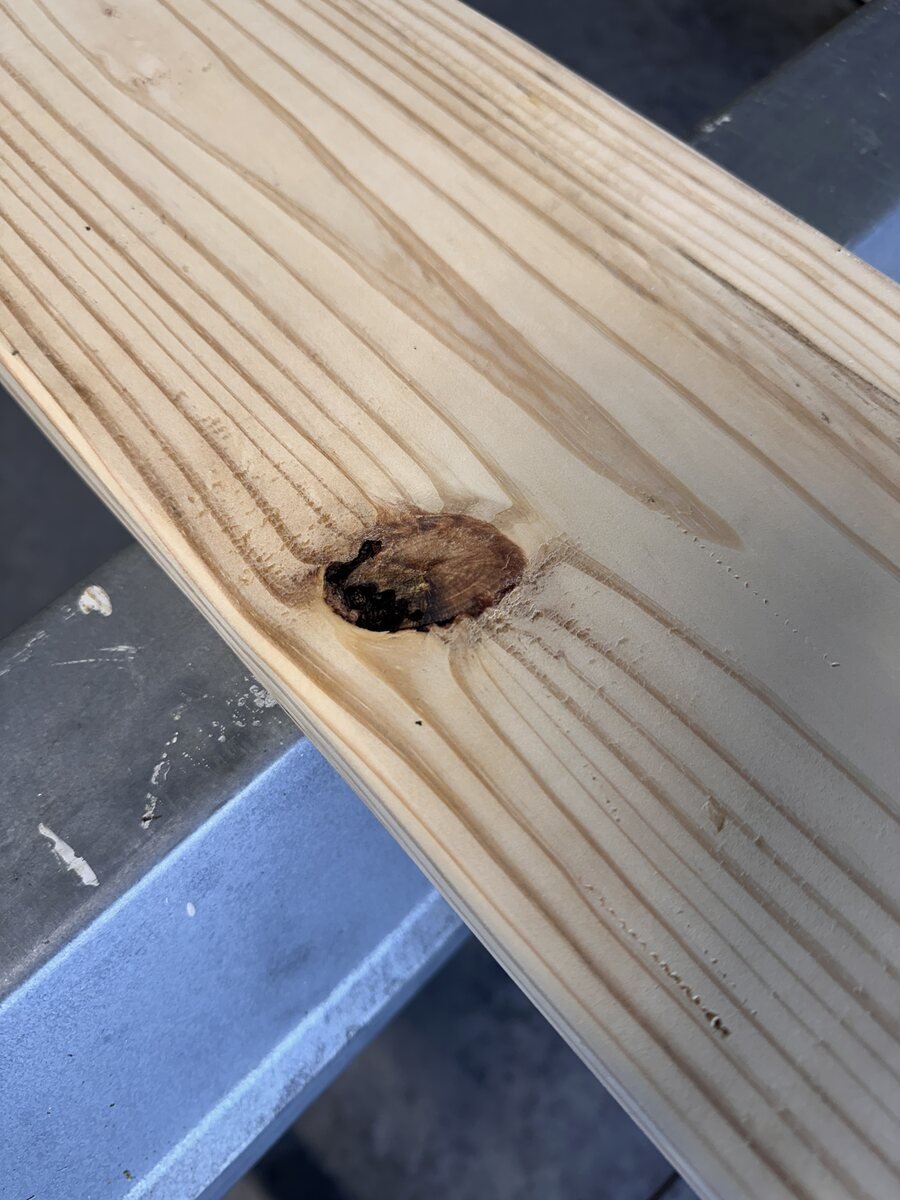
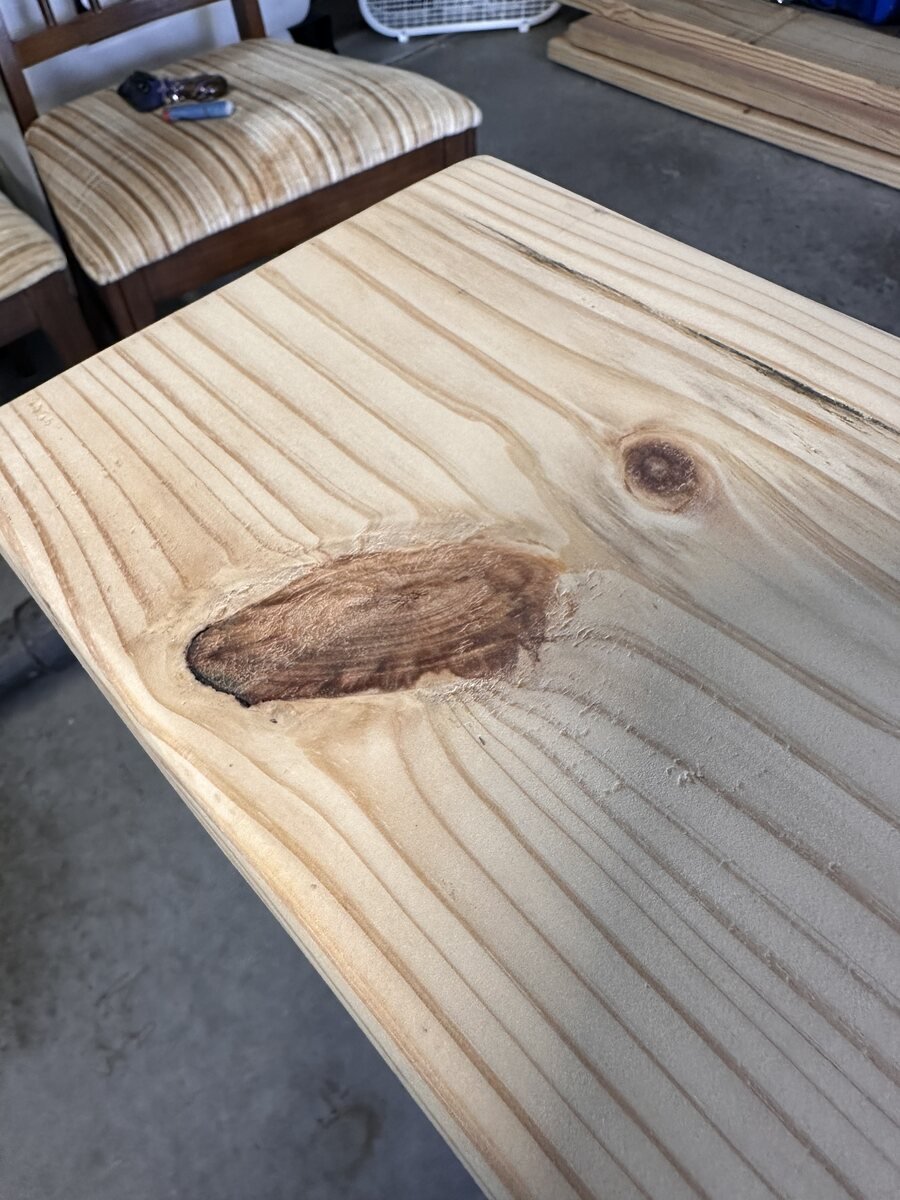
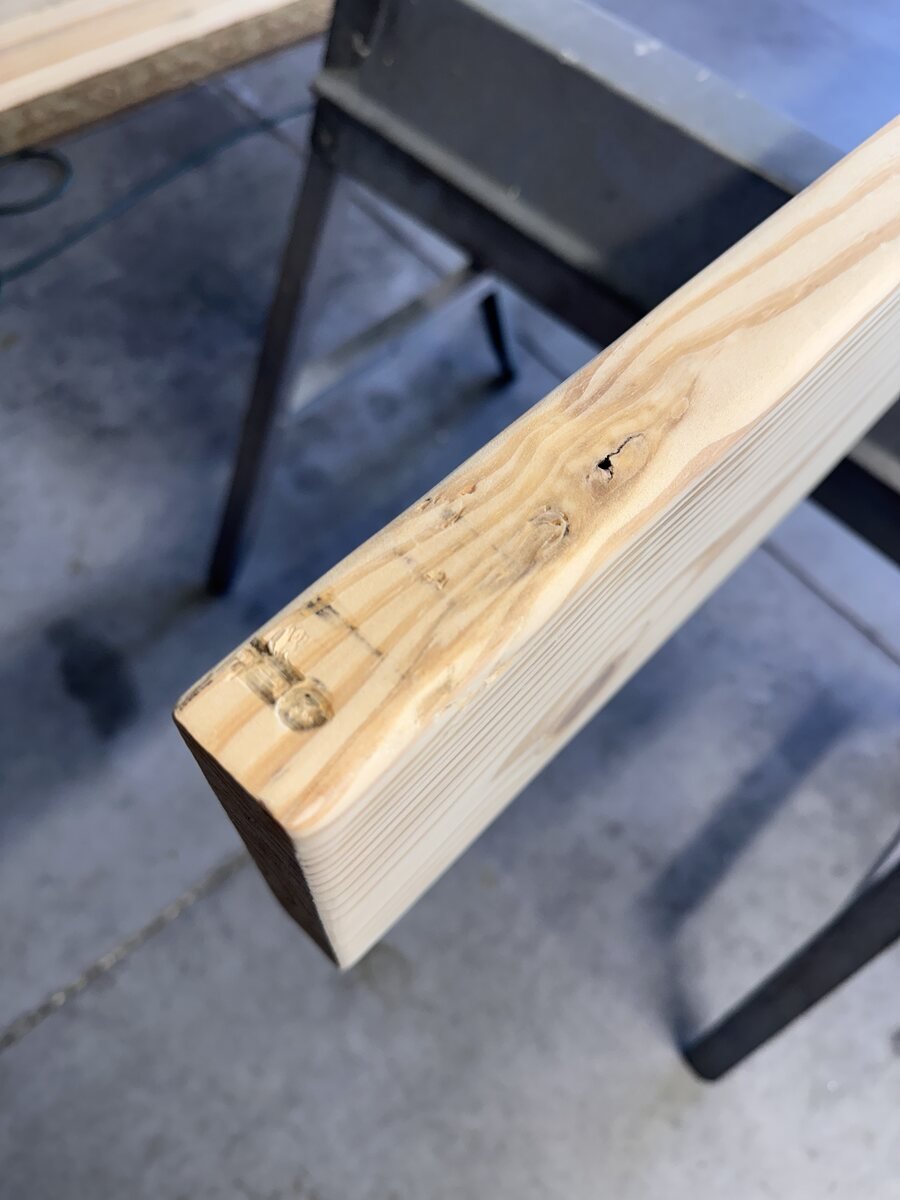
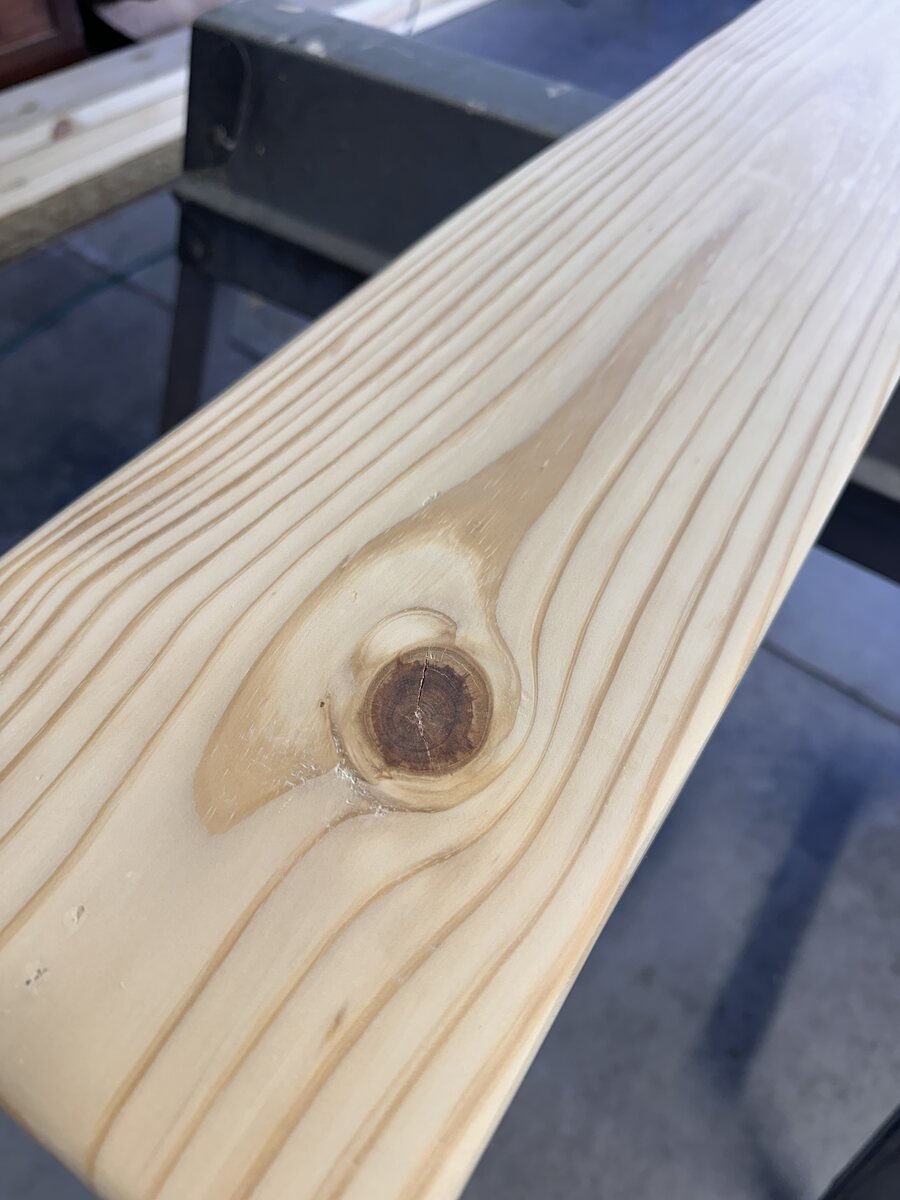
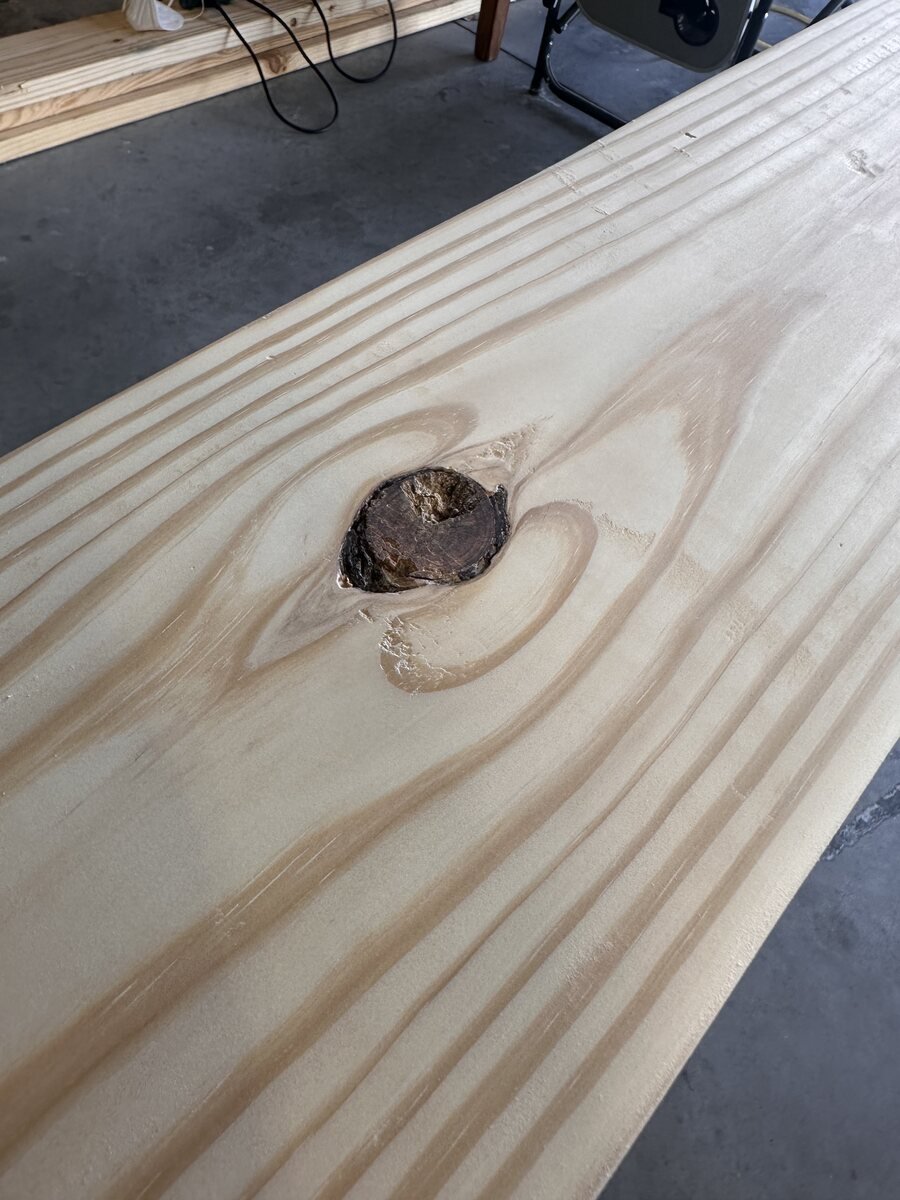
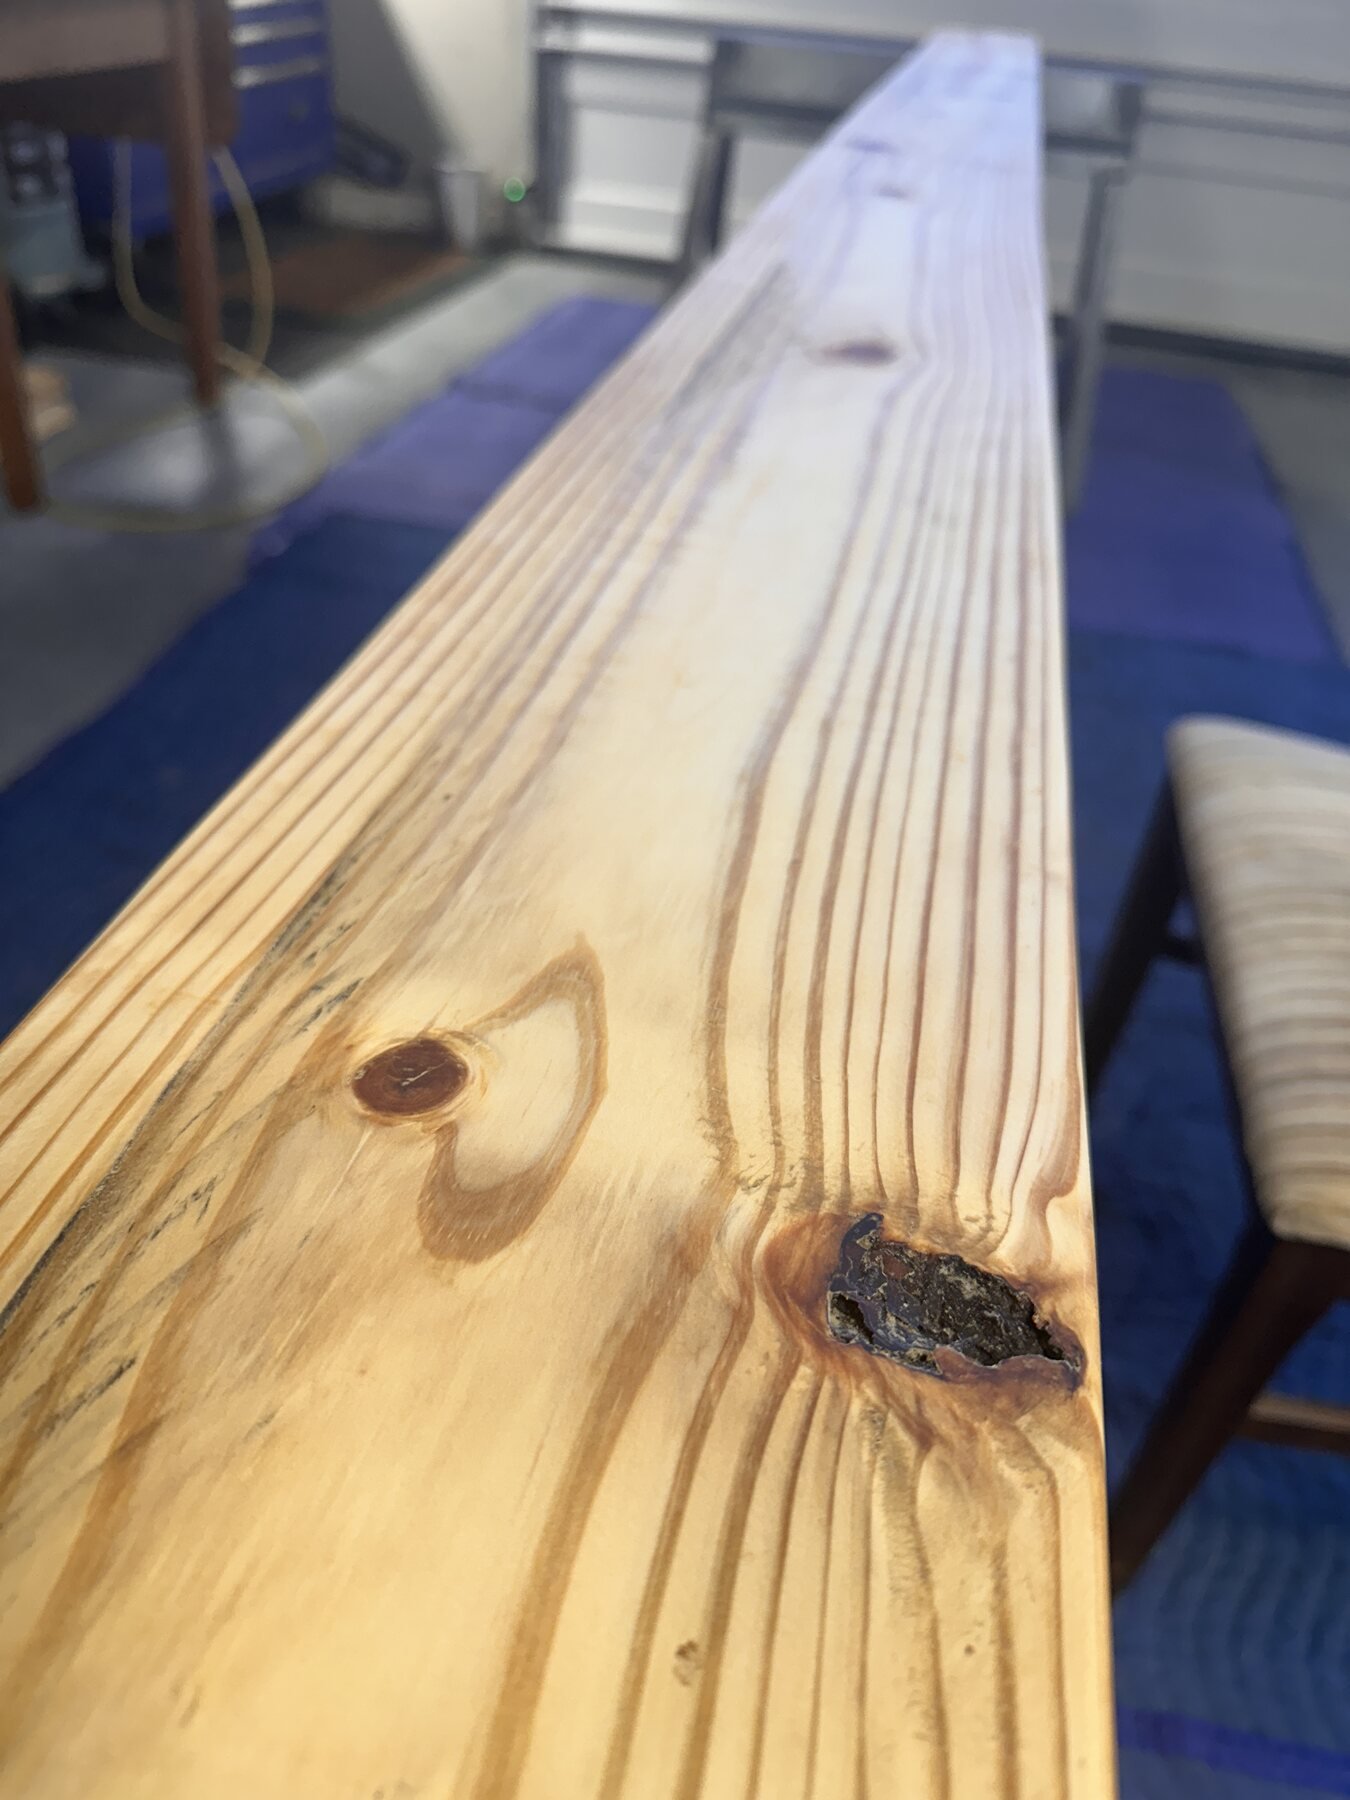
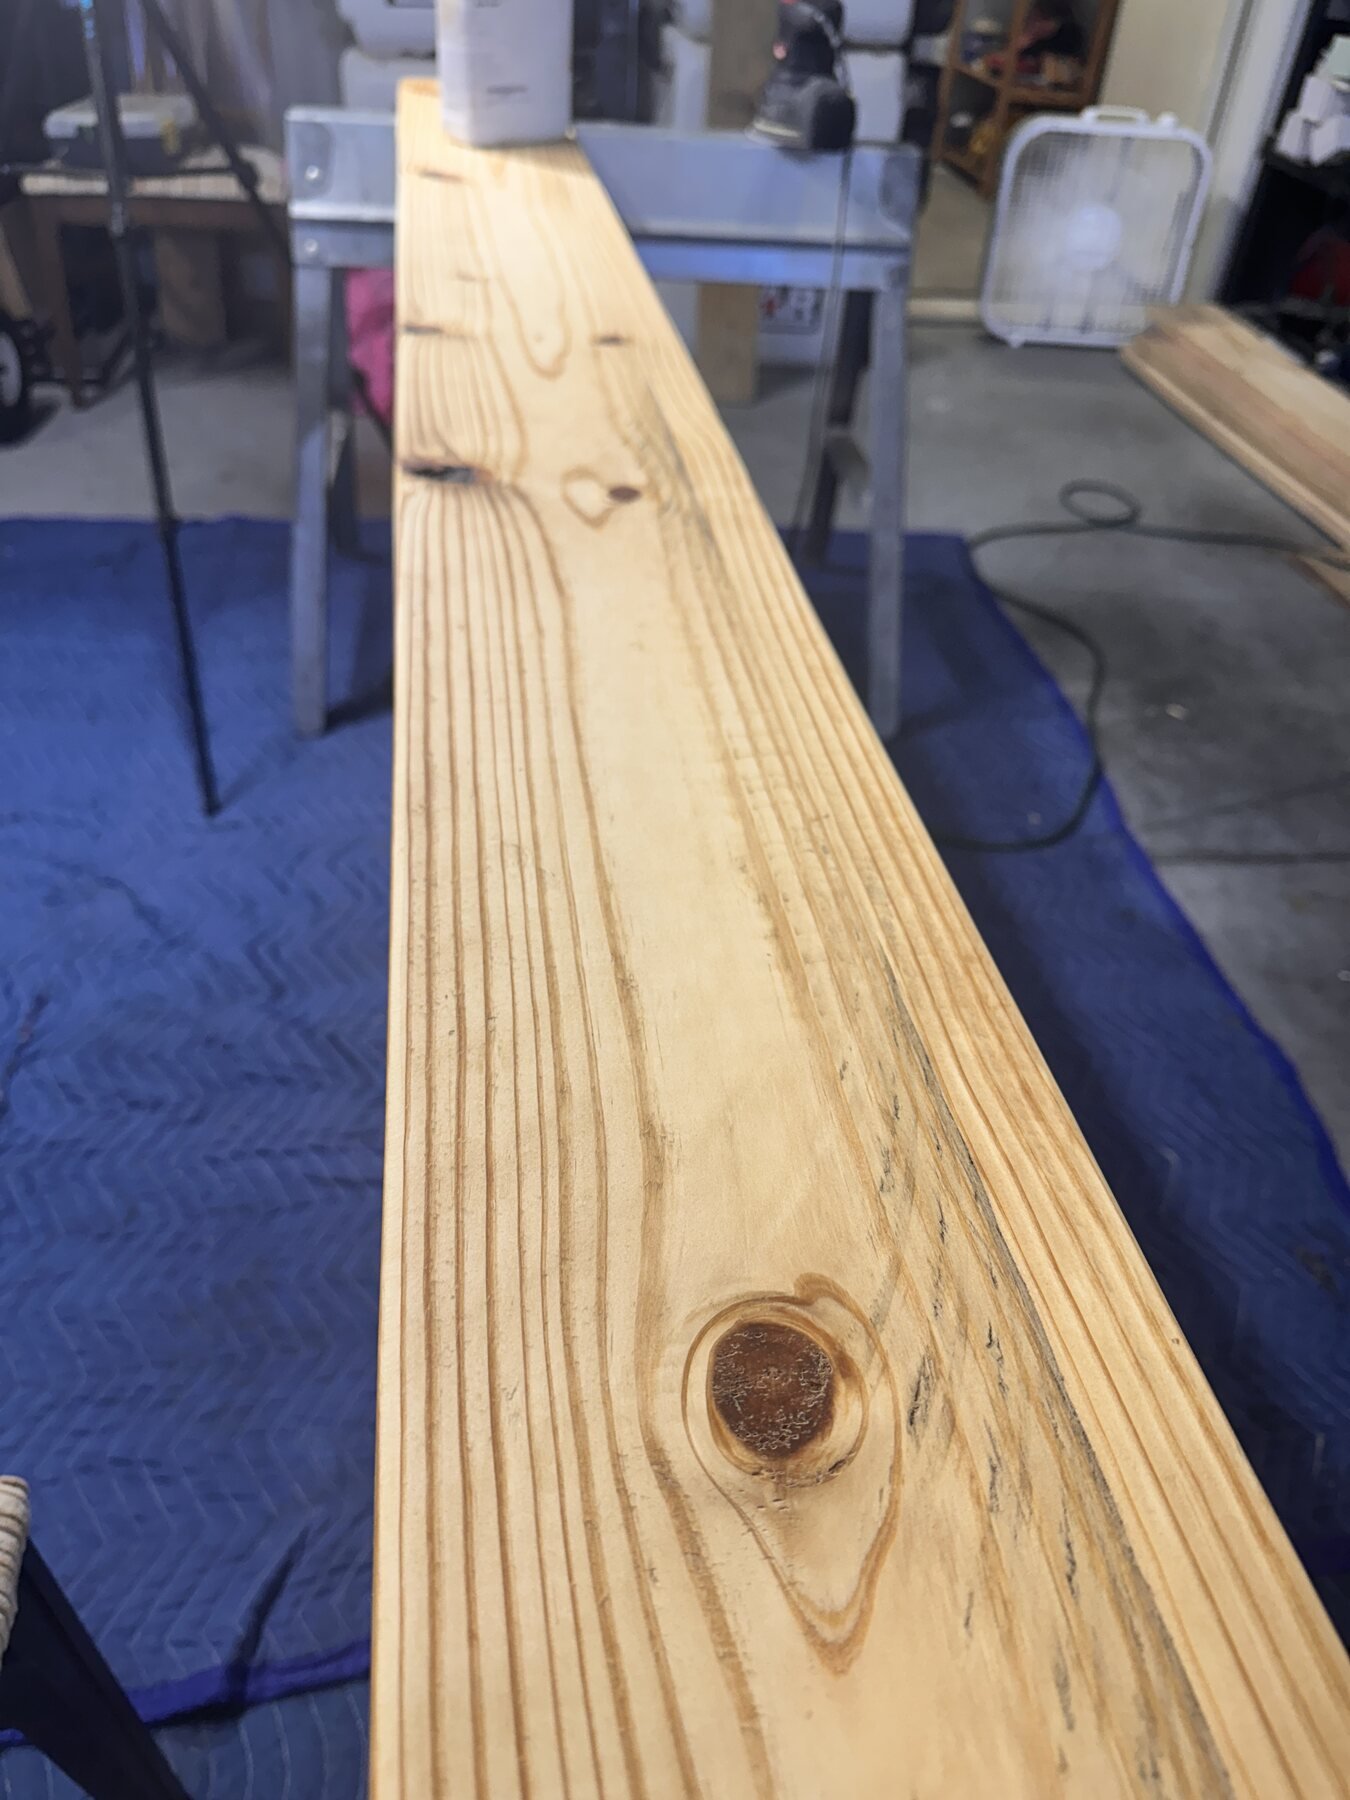
After the last pass, I blew away the dust. What remained was pale pine, clean edges, and a long gallery of knots and grain that had been hiding in plain sight.
A Twenty-Six-Second Grain Tour
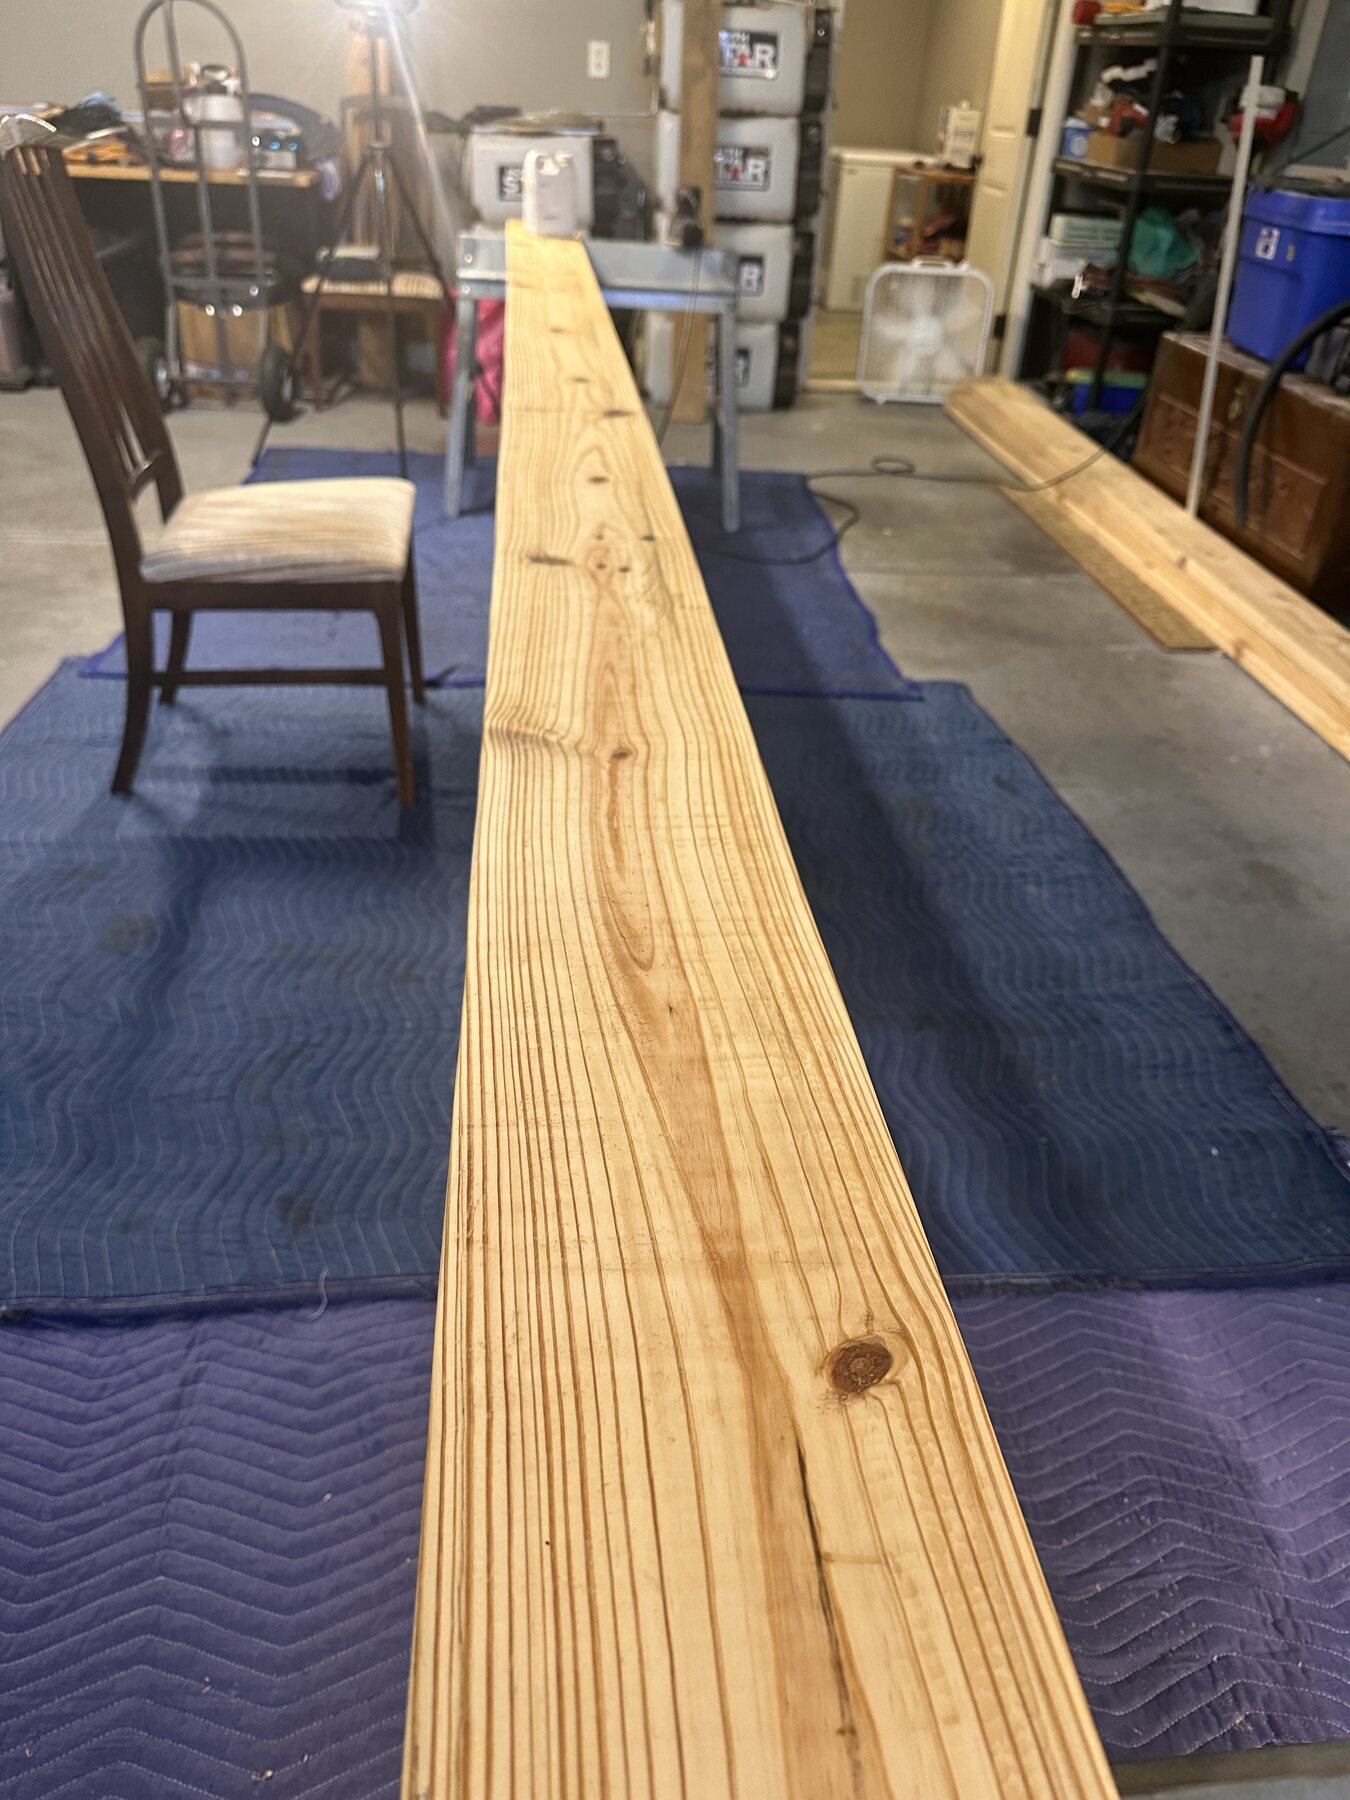
The video follows the freshly sanded board before any finish touched it—a slow walk past the knots, swirls, scars, and long straight lines that make this particular board its own.
The Board Introduces Itself
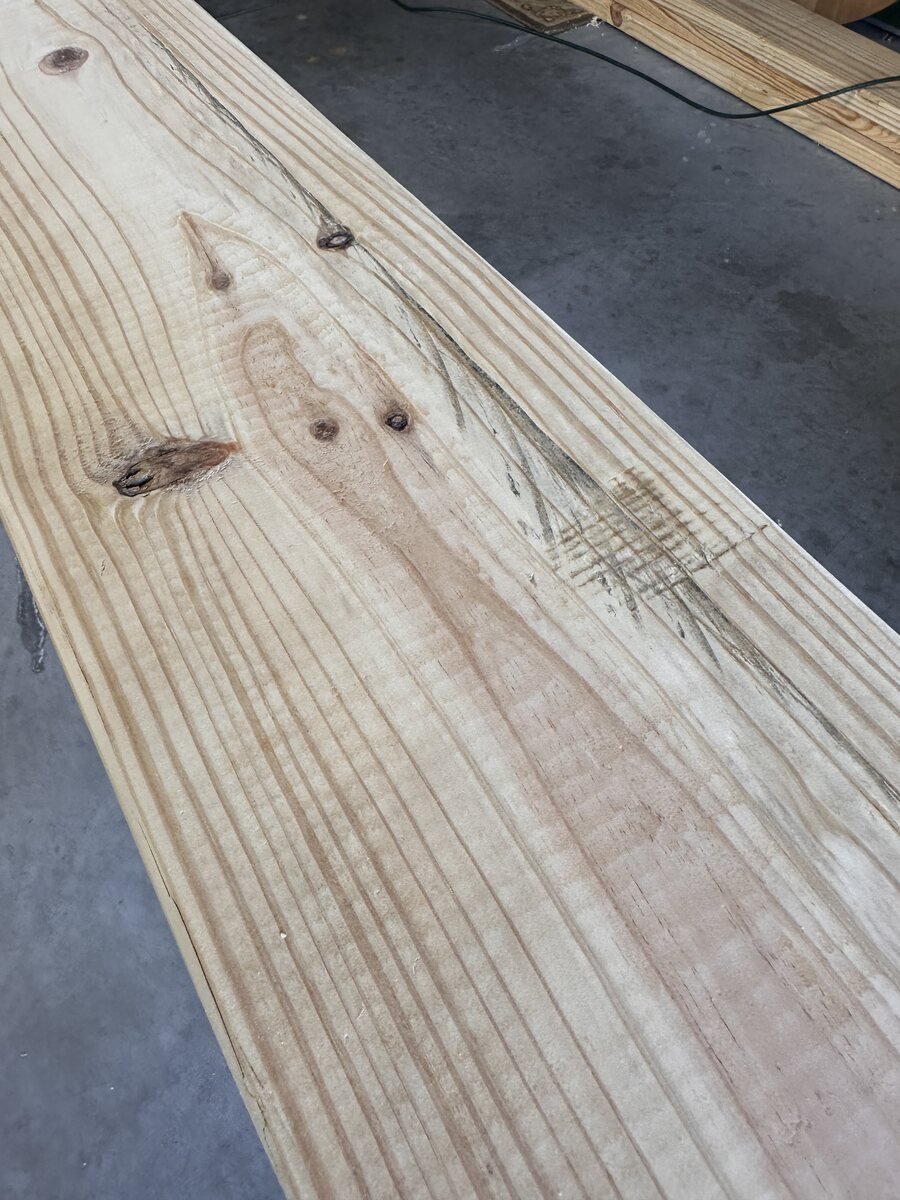
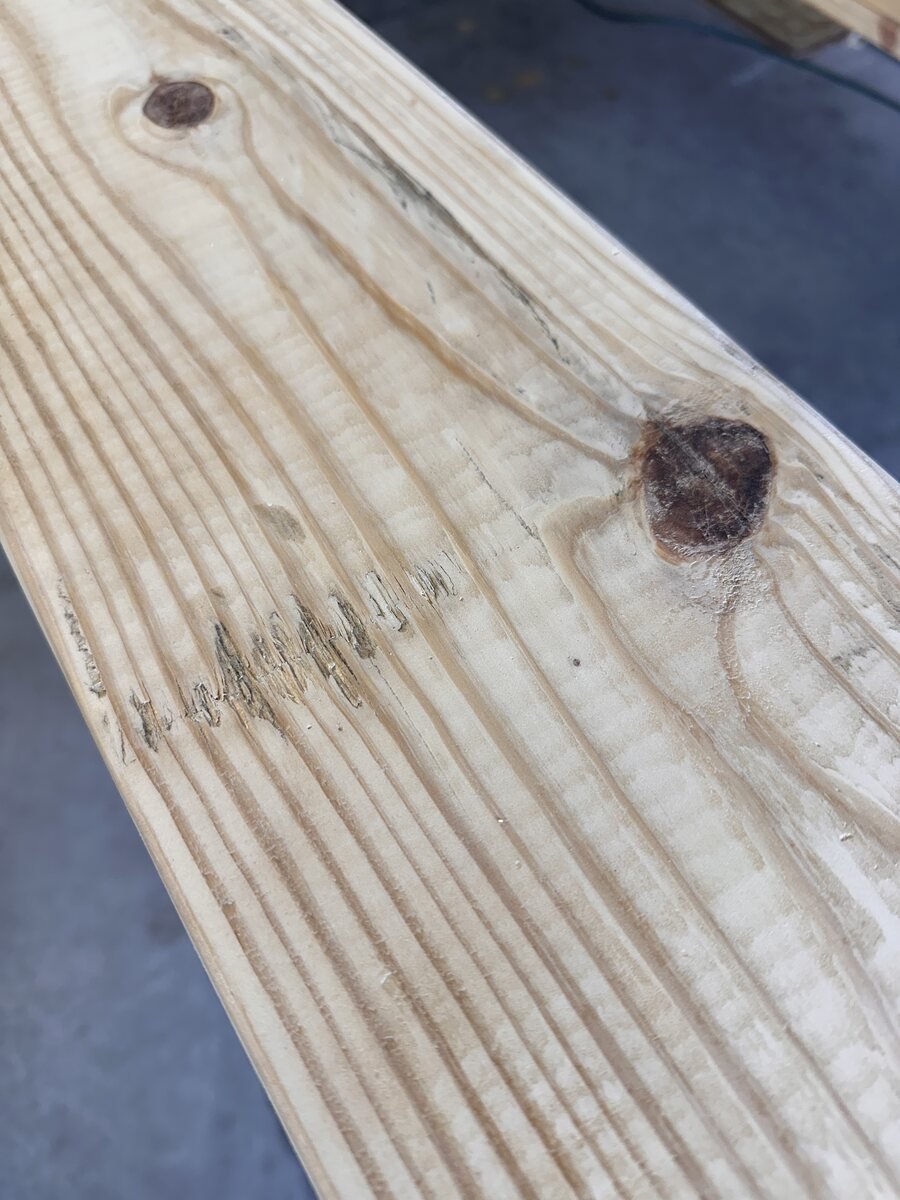
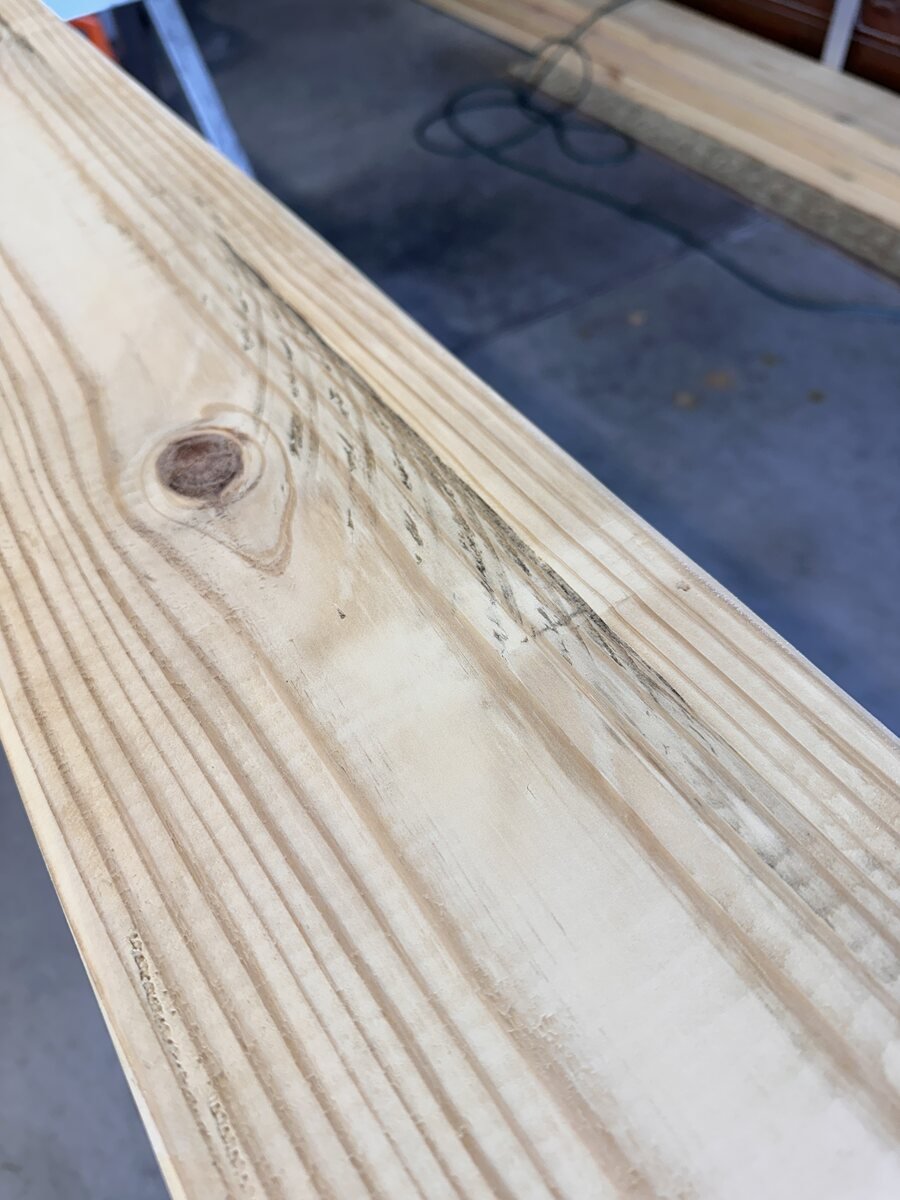
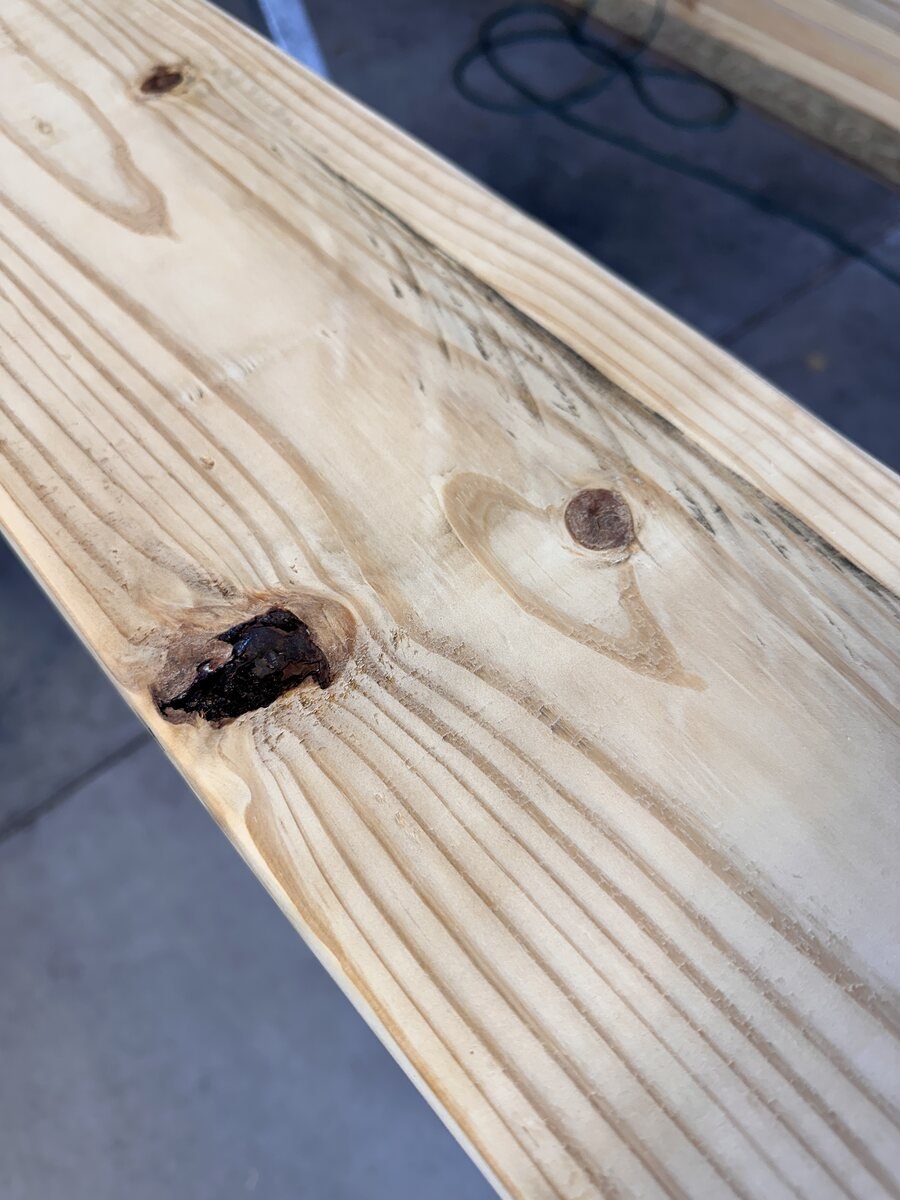
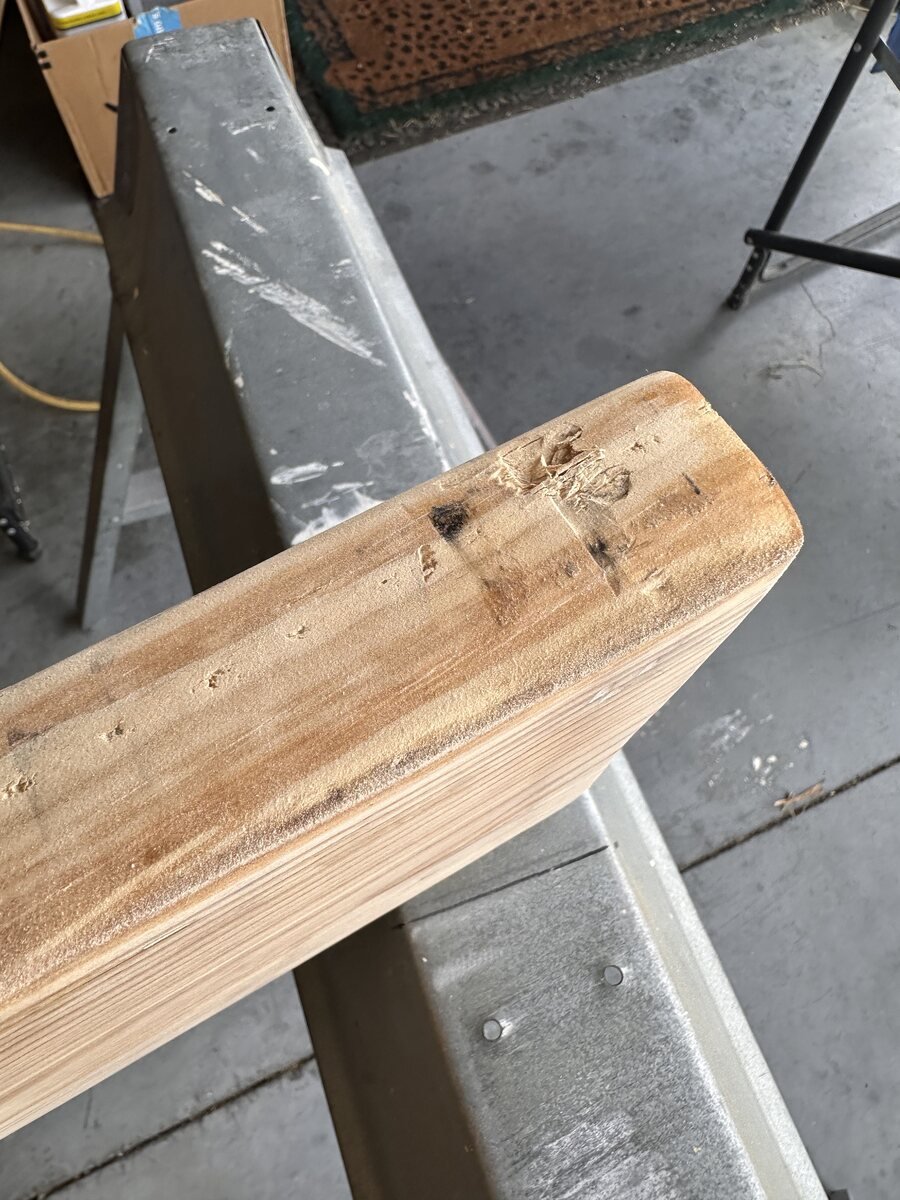
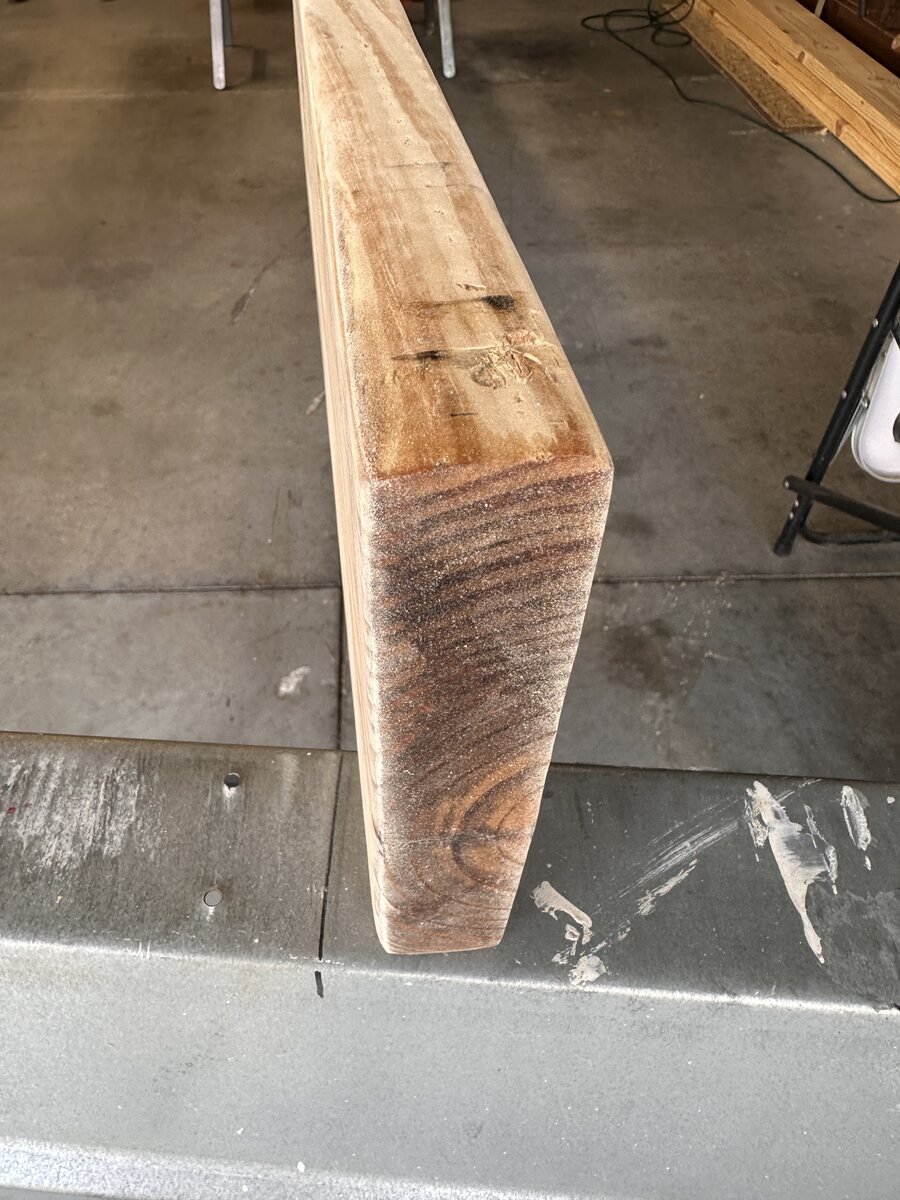
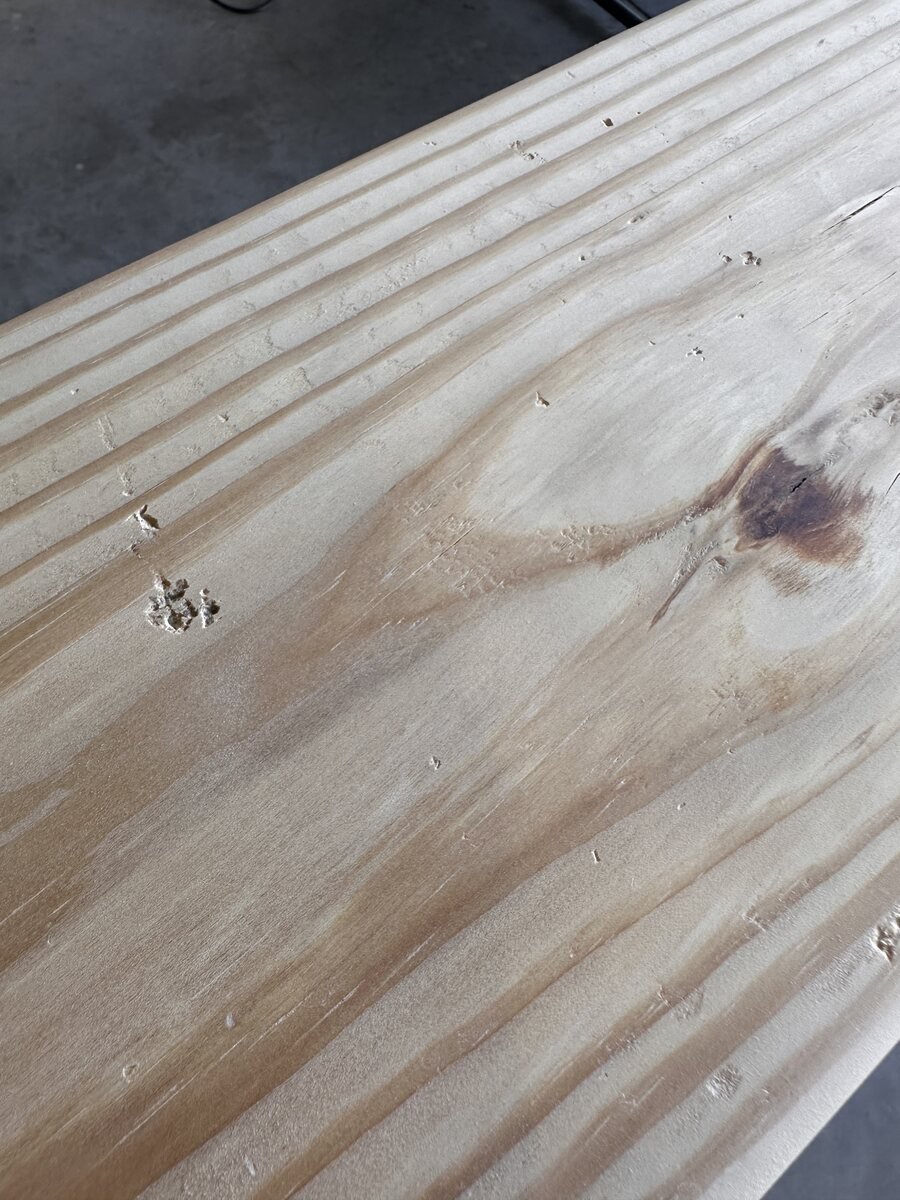
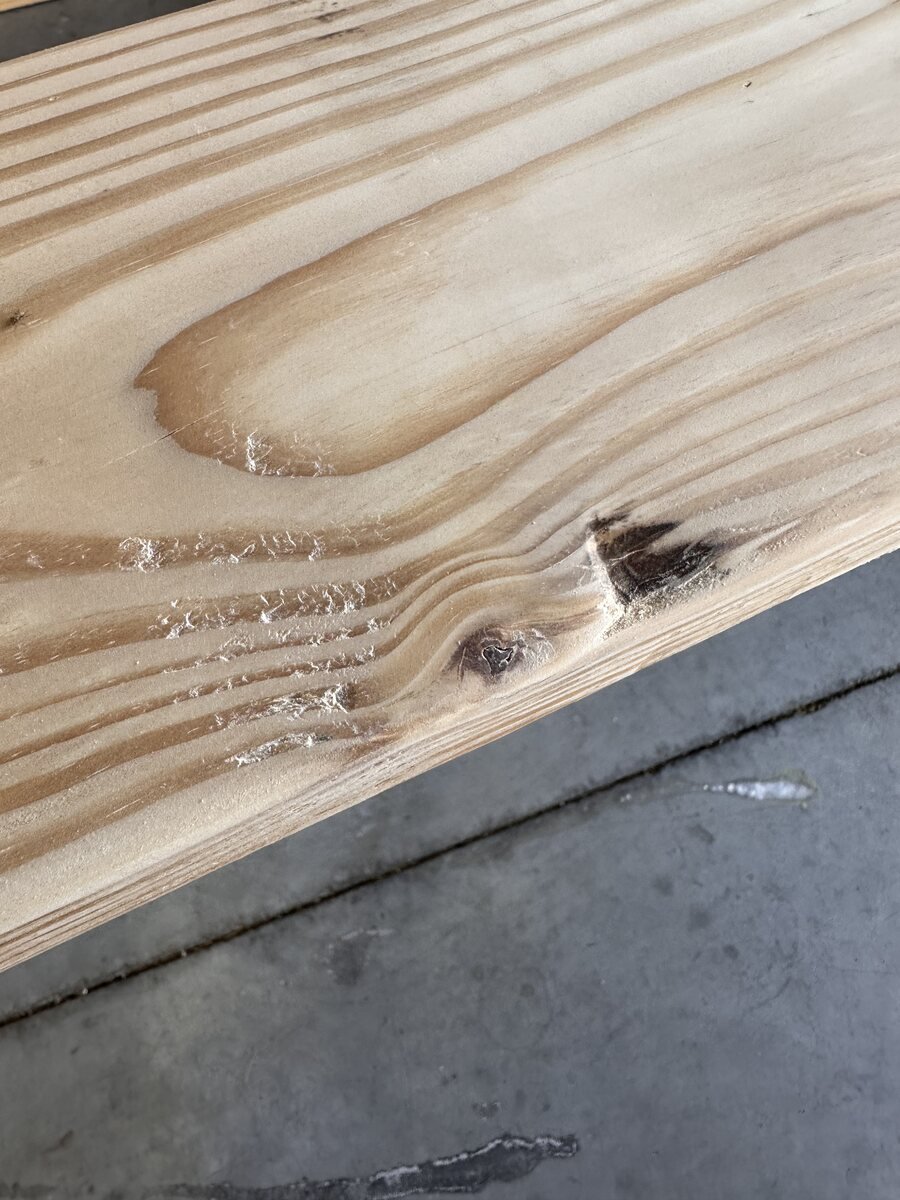
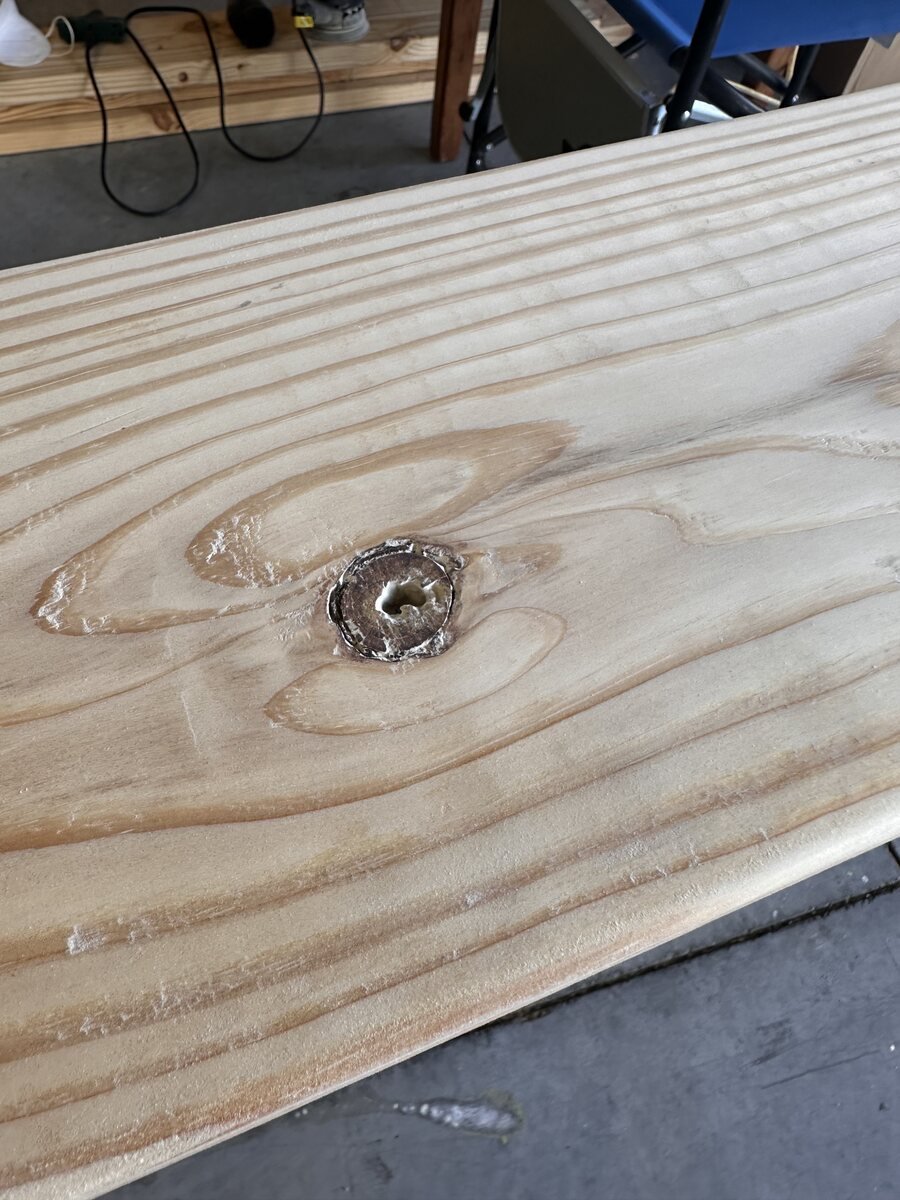
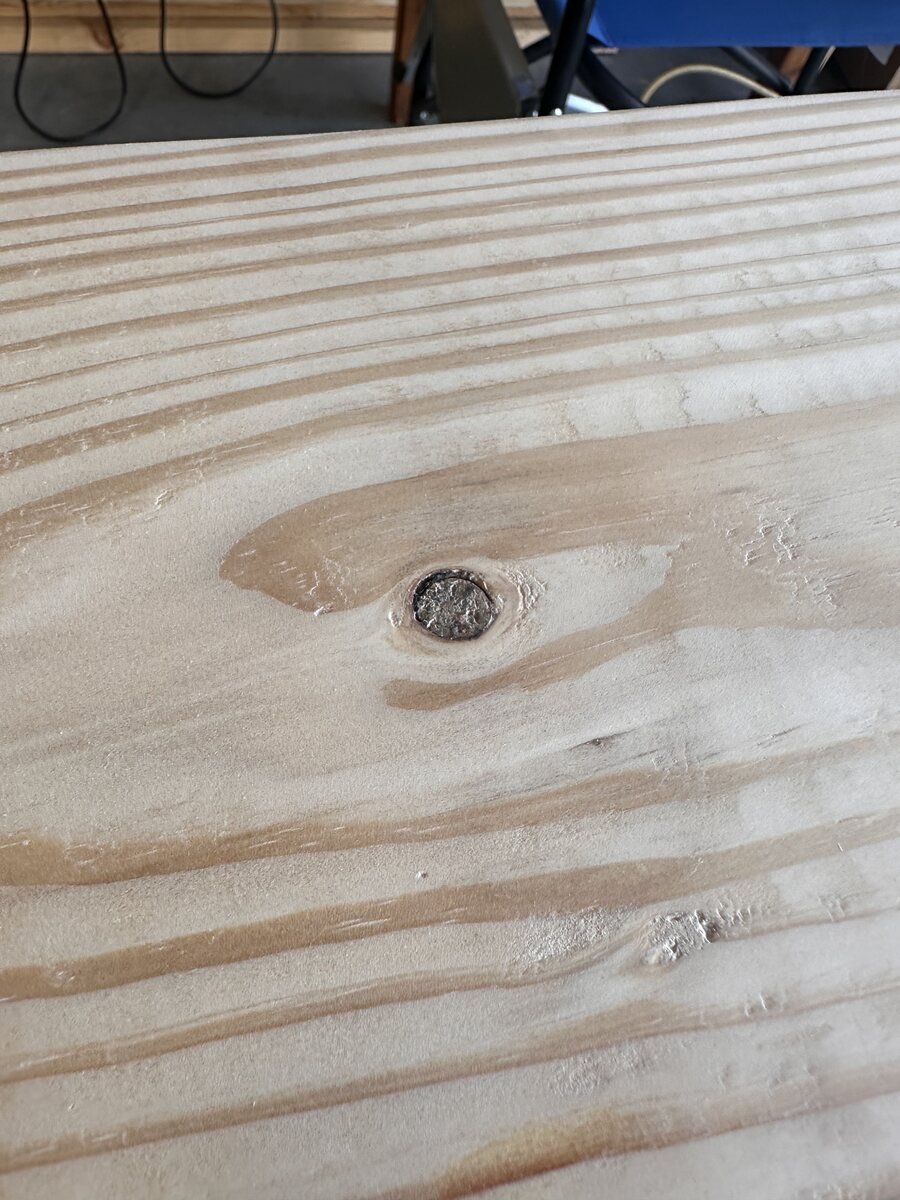
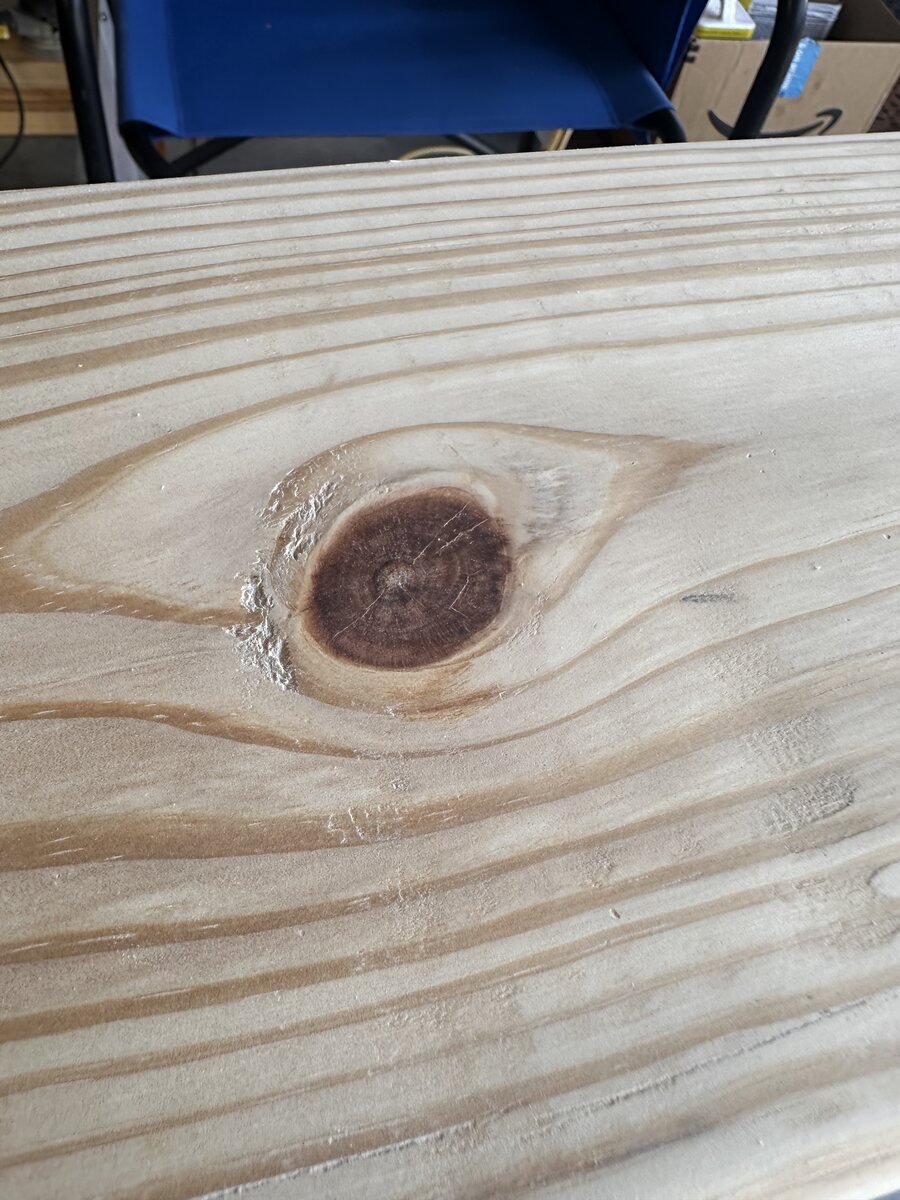
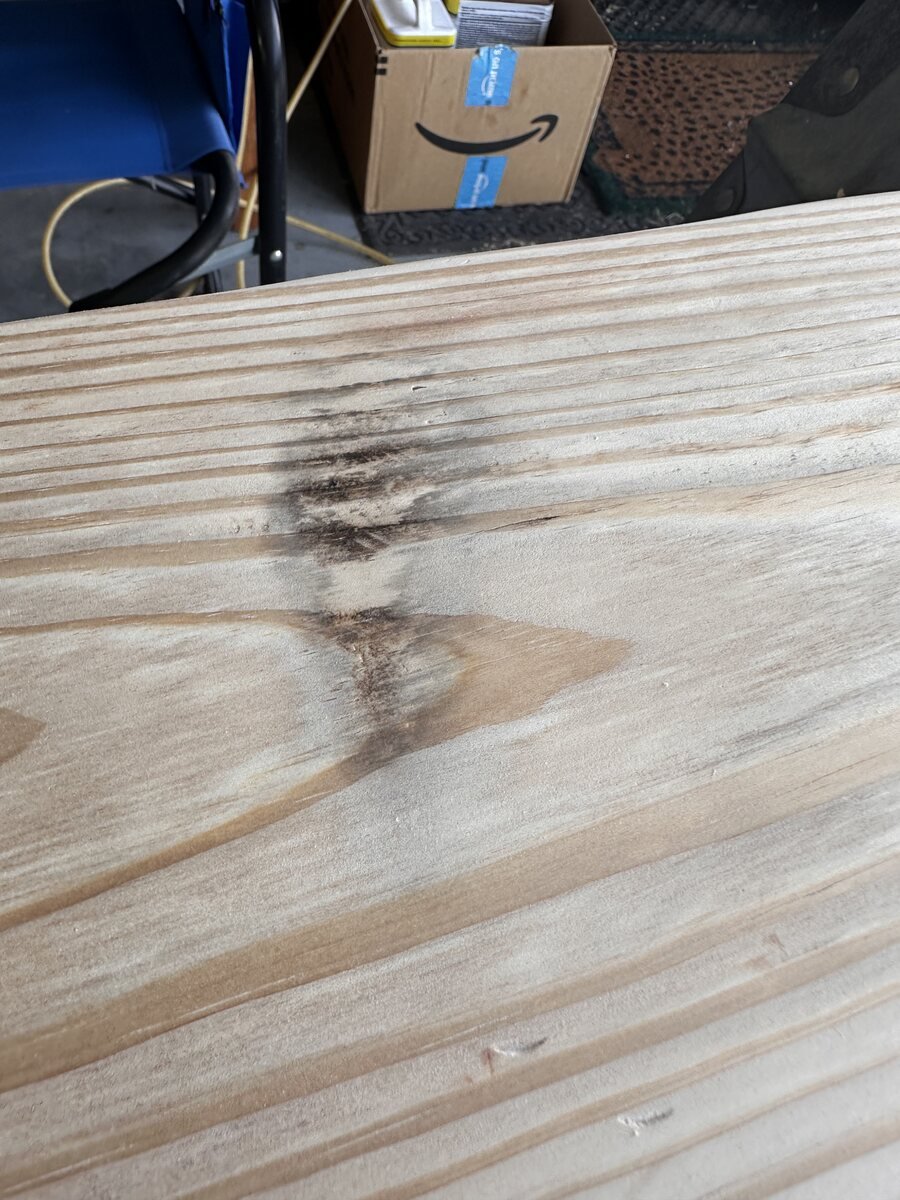
Once the dust was gone, the photographs became a kind of wood atlas. Every knot had its own gravity. Every interruption made the straight grain around it more interesting. These are not flaws to erase; they are the board's biography.
The Magic Potion, Finally Revealed
Before I put on the third coat, I sanded everything with 220 grit sandpaper. I hesitated to sand too much. I did not want to lose the history of the board: growing around new branches, becoming knots, getting run through a sawmill, then being crated and trucked with hundreds of other boards. The grain and the knots are beautiful, and I wanted to keep that story visible.
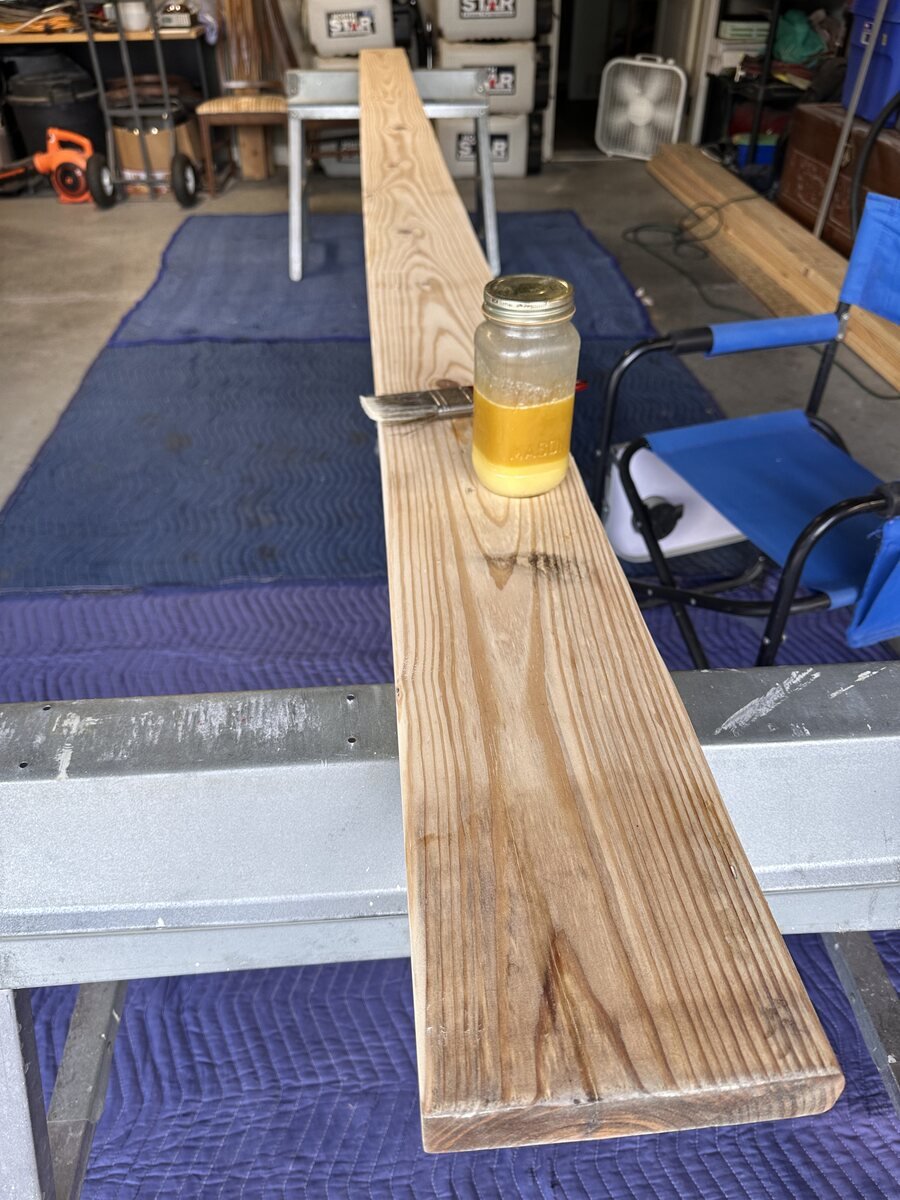
Now it is time to reveal the magic potion. I ran across a recipe for reviving old wood with one part boiled linseed oil, one part white vinegar, and one part turpentine, the real stuff, not mineral spirits.
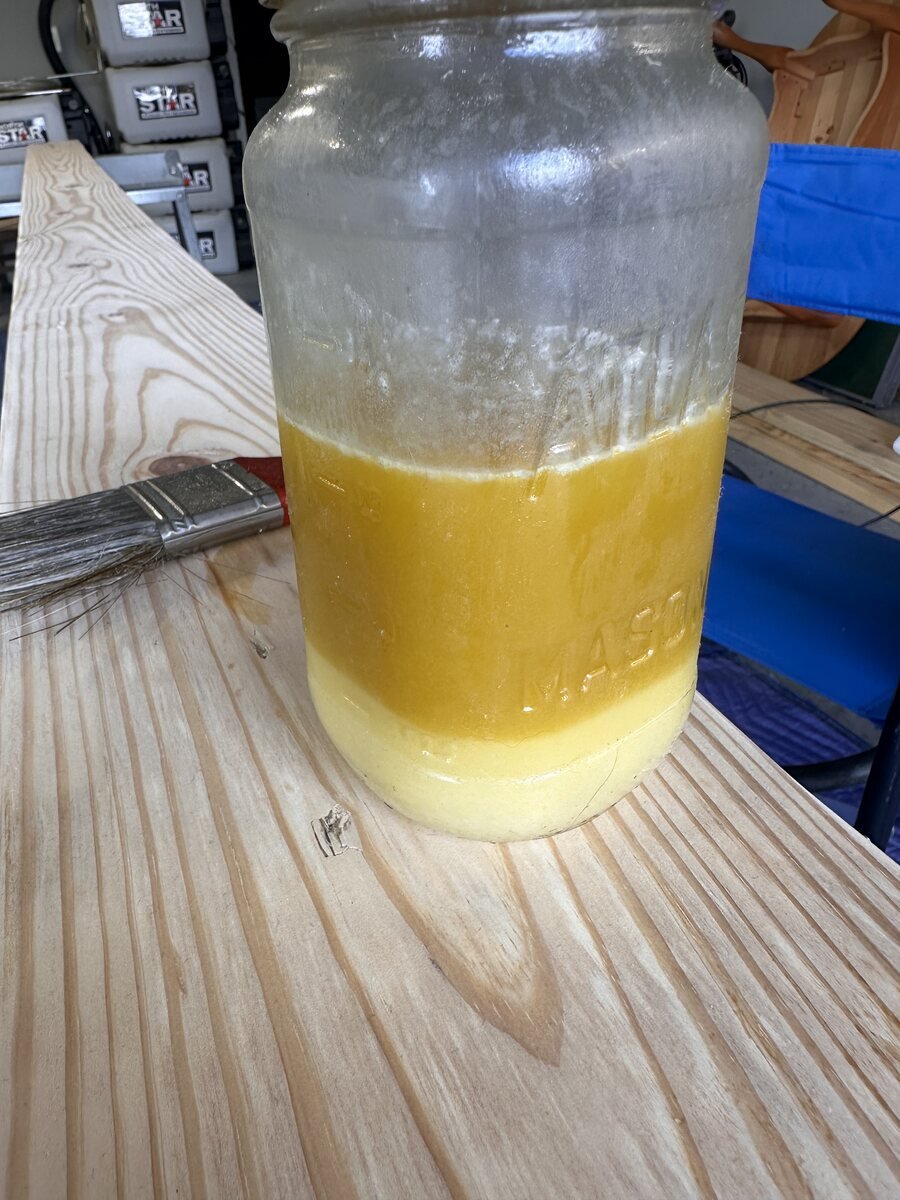
As the photos show, the vinegar separates from the oil and turpentine quickly. Very quickly. I can shake the container until I get tired of shaking, look at it, and say, "Cool, that looks nice." For about ten seconds. It turns yellow, creamy, and frothy, and then the vinegar separates completely.
That leads to a strange little workshop phenomenon. The first few places I brush it on look beautiful, with a shiny oil gloss. The places I brush one minute later behave more like water and vinegar. So the magic potion has to go on quickly, and the container has to be shaken often.
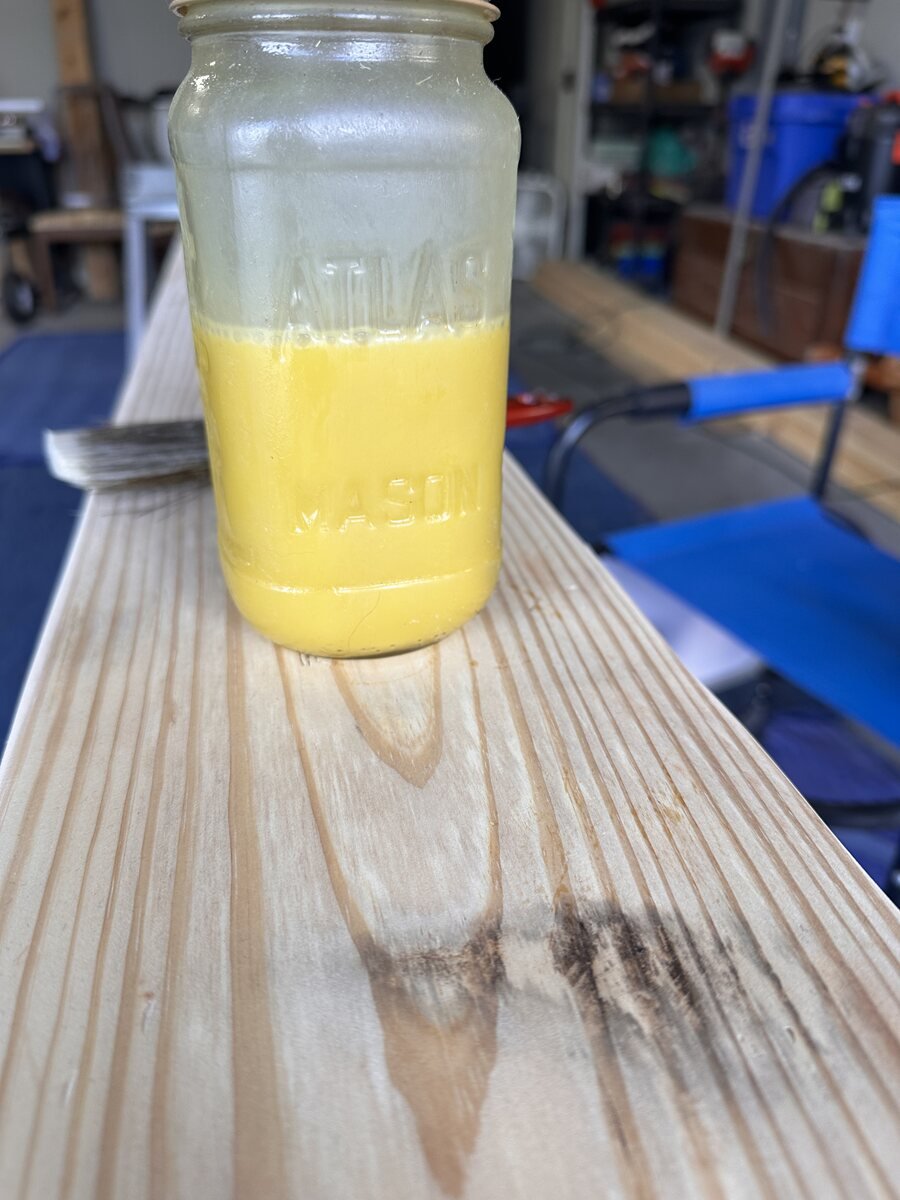
The First Coat Wakes the Wood
I applied one coat to one side. The change was immediate. Pale pine turned warm and golden. Lines that had looked faint suddenly ran the full length of the board. Knots deepened, contrast appeared, and the surface began reflecting the garage light.
The sanding prepared the board. The first coat introduced it.
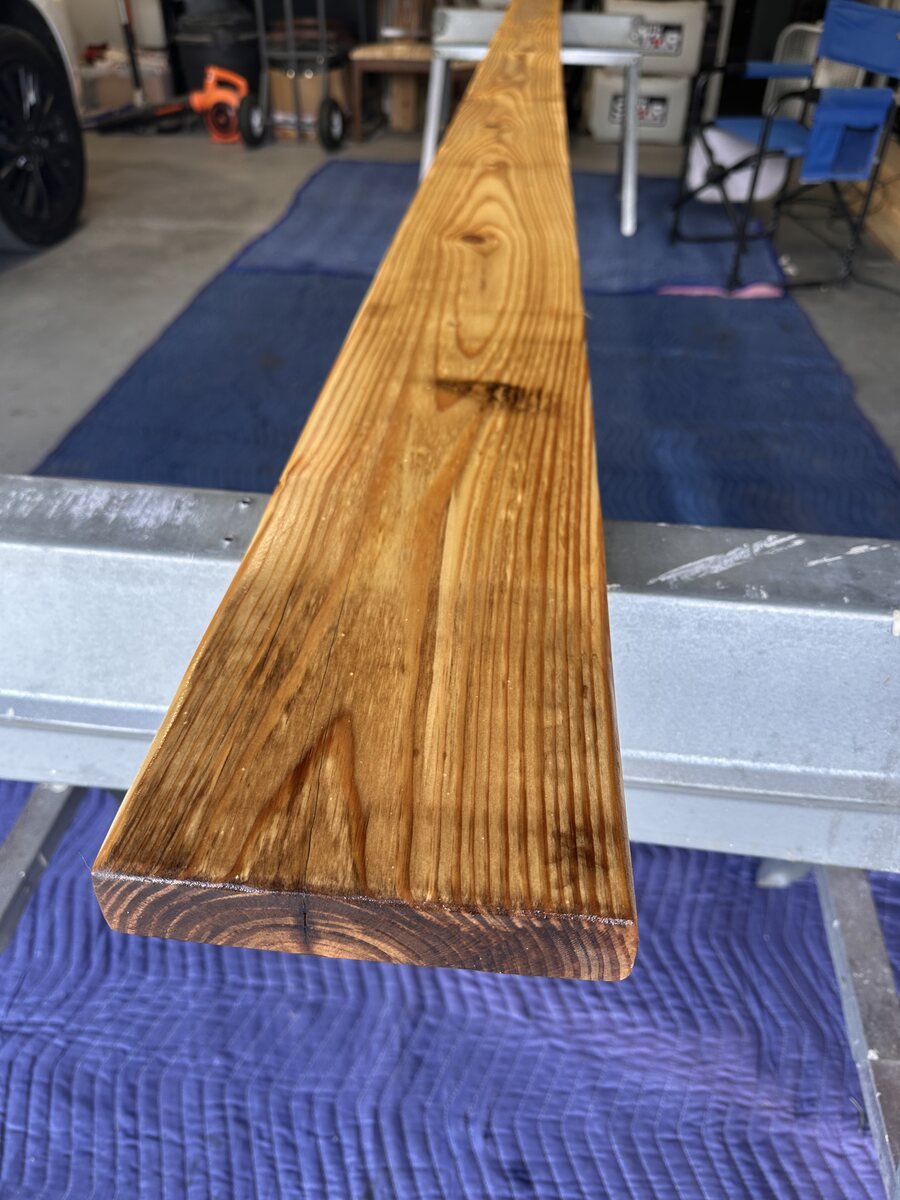
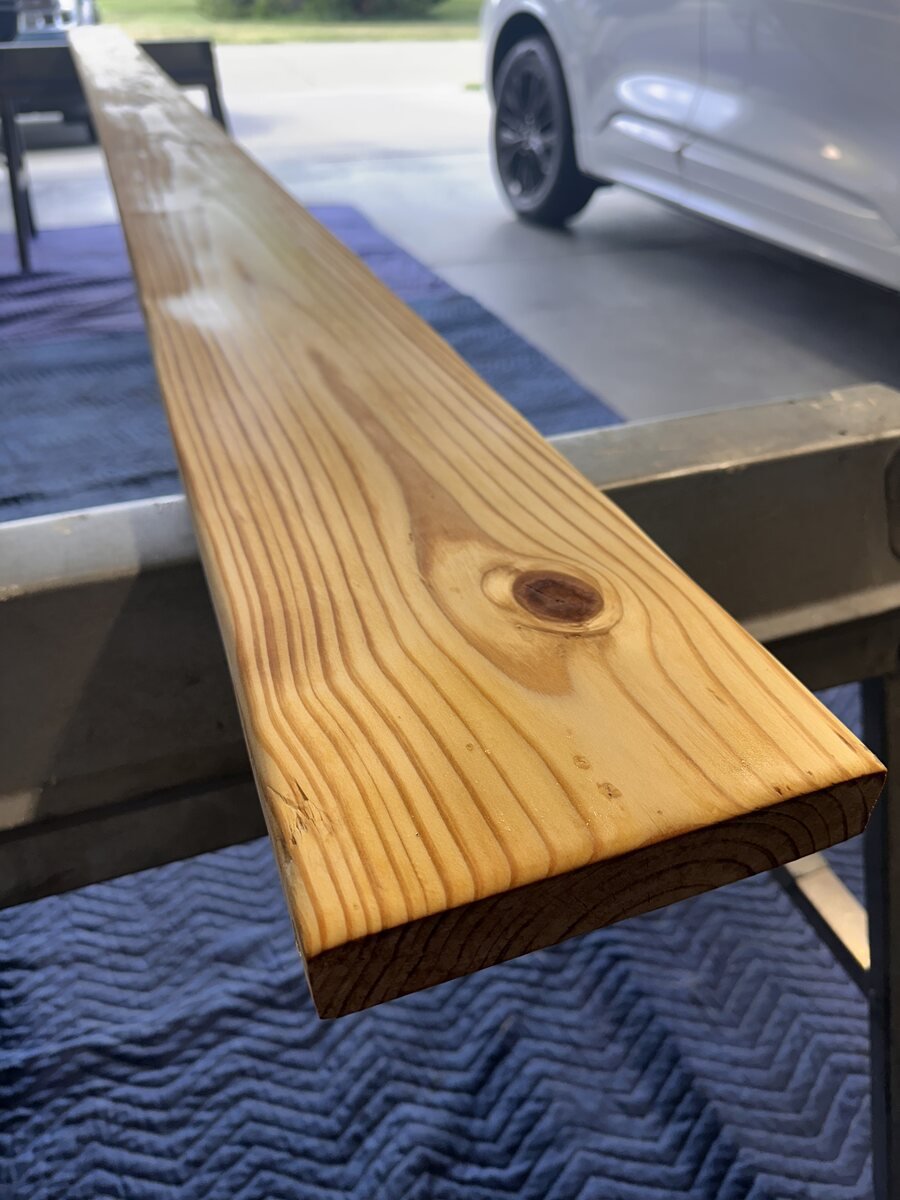
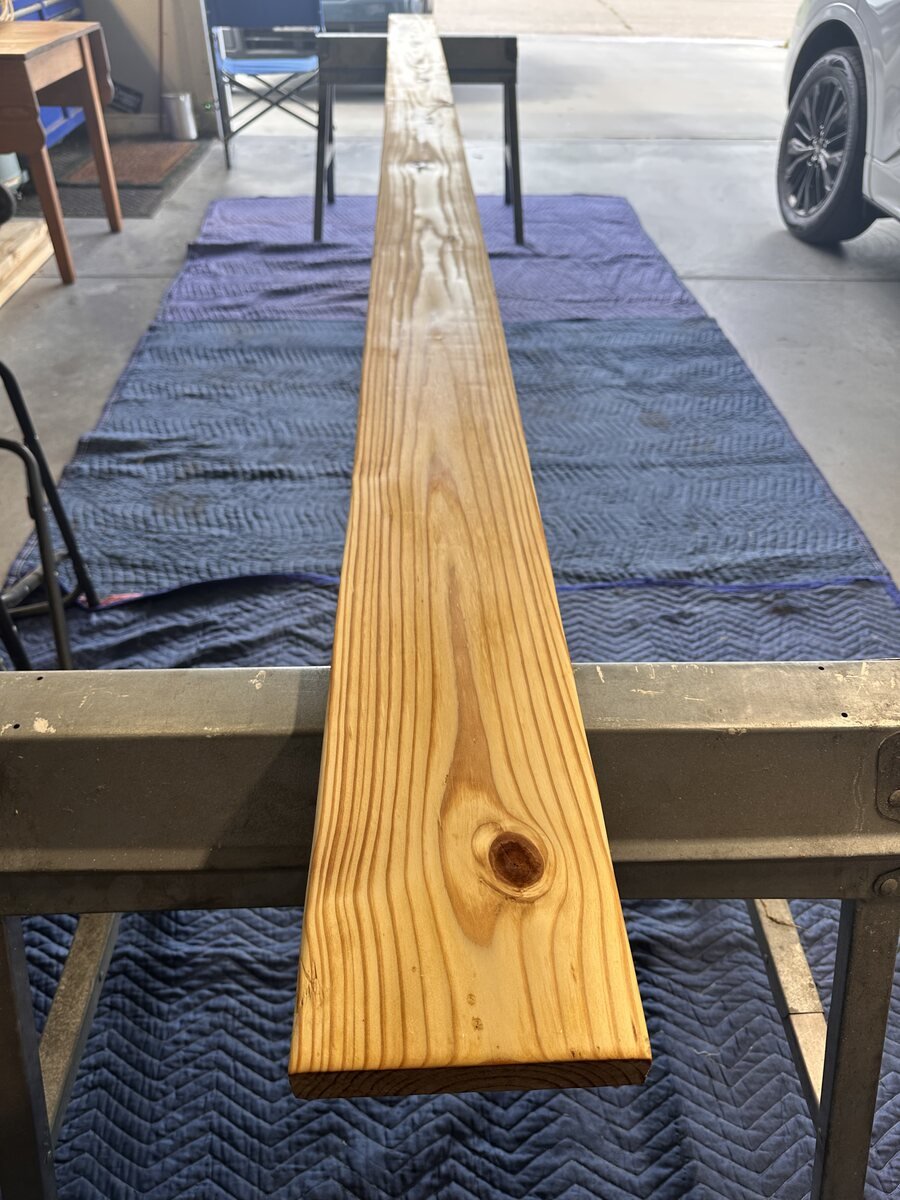
Natural Was Good. I Wanted More Color.
The grain popped nicely after the magic potion, and the board had a very natural look. That is exactly what Janet said. But I wanted more color. I thought boiled linseed oil by itself might let me see the grain better. It helped a little, but still not enough for me.
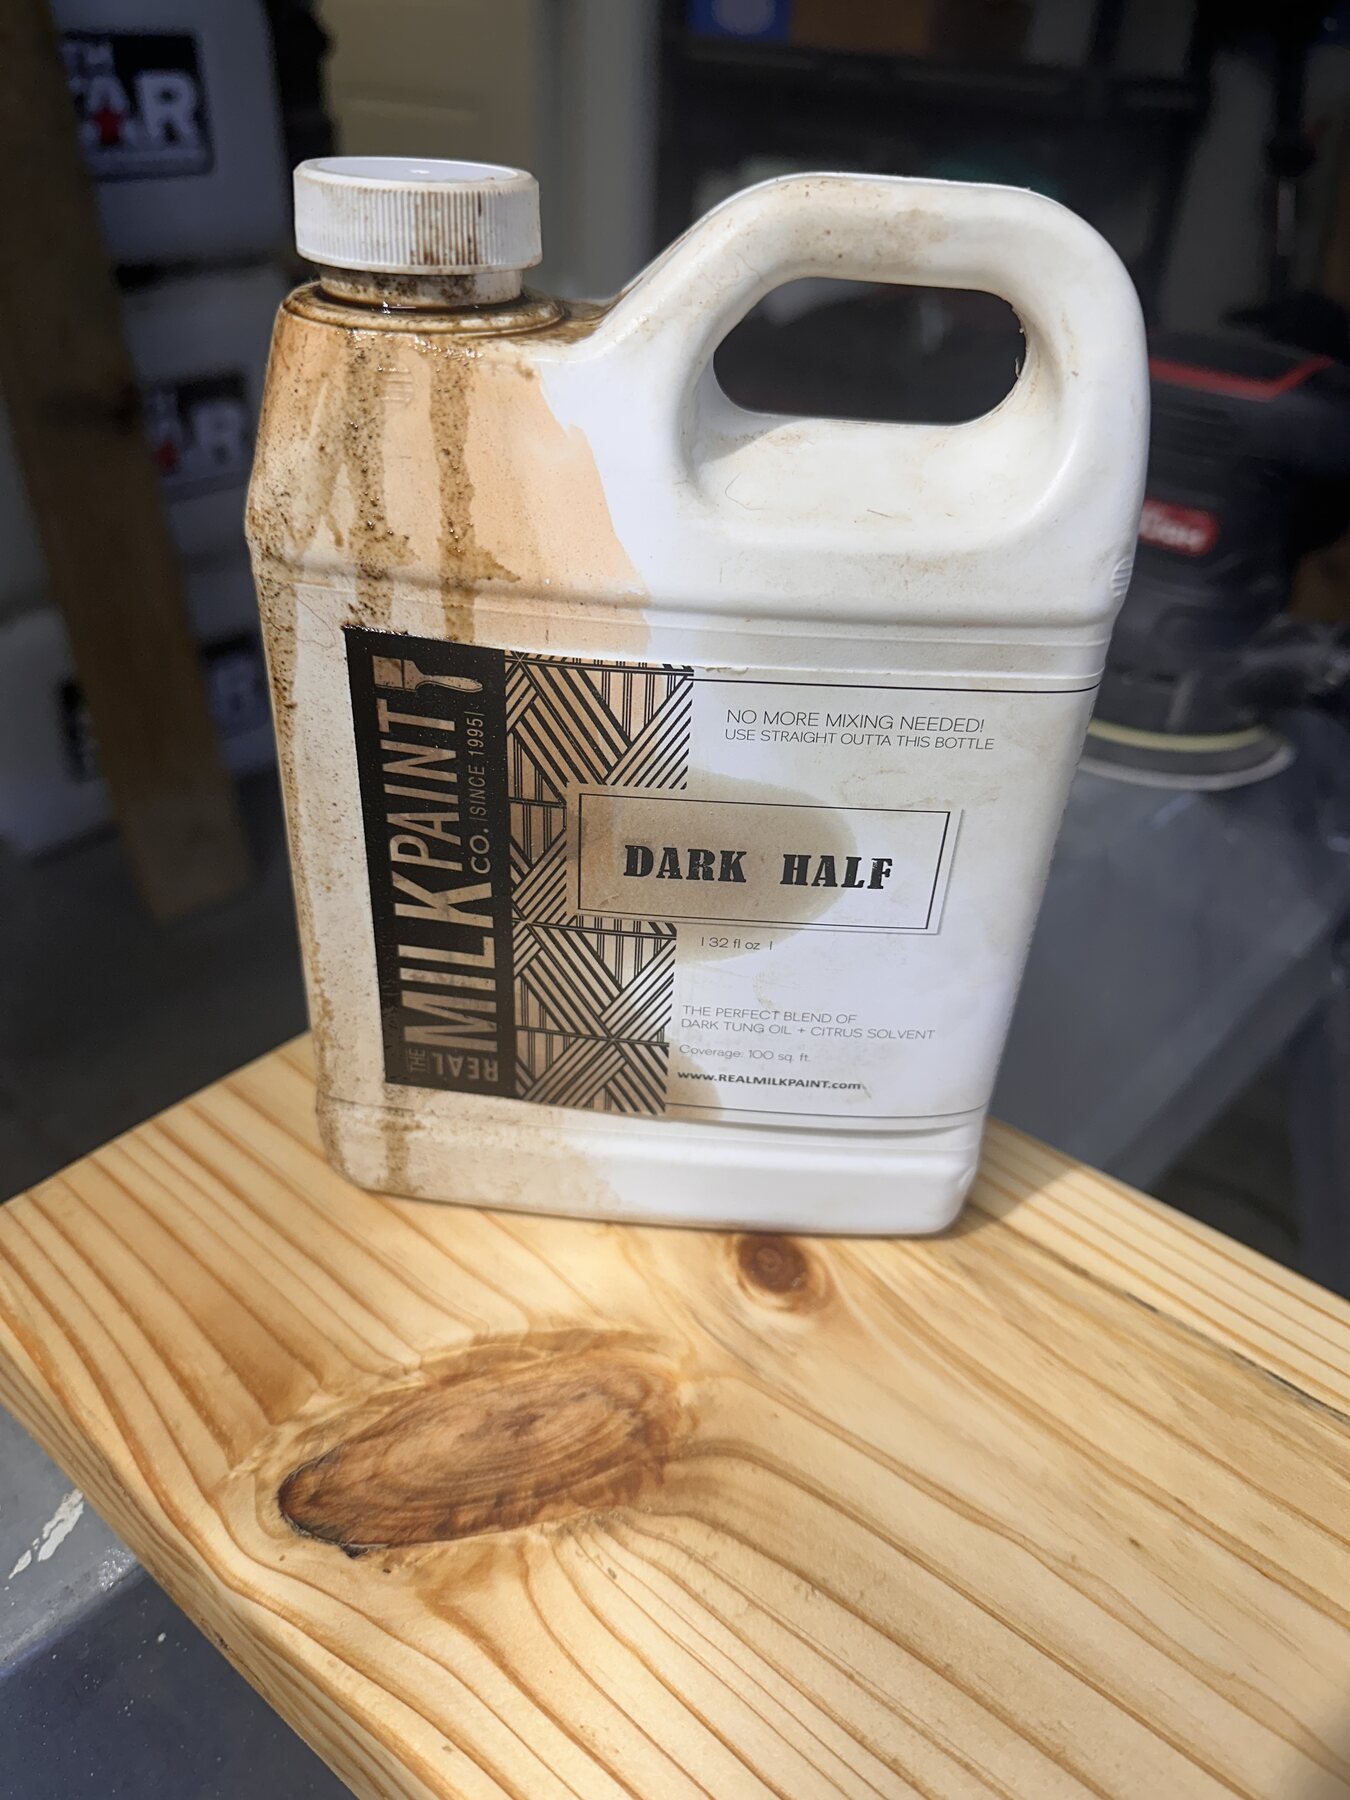
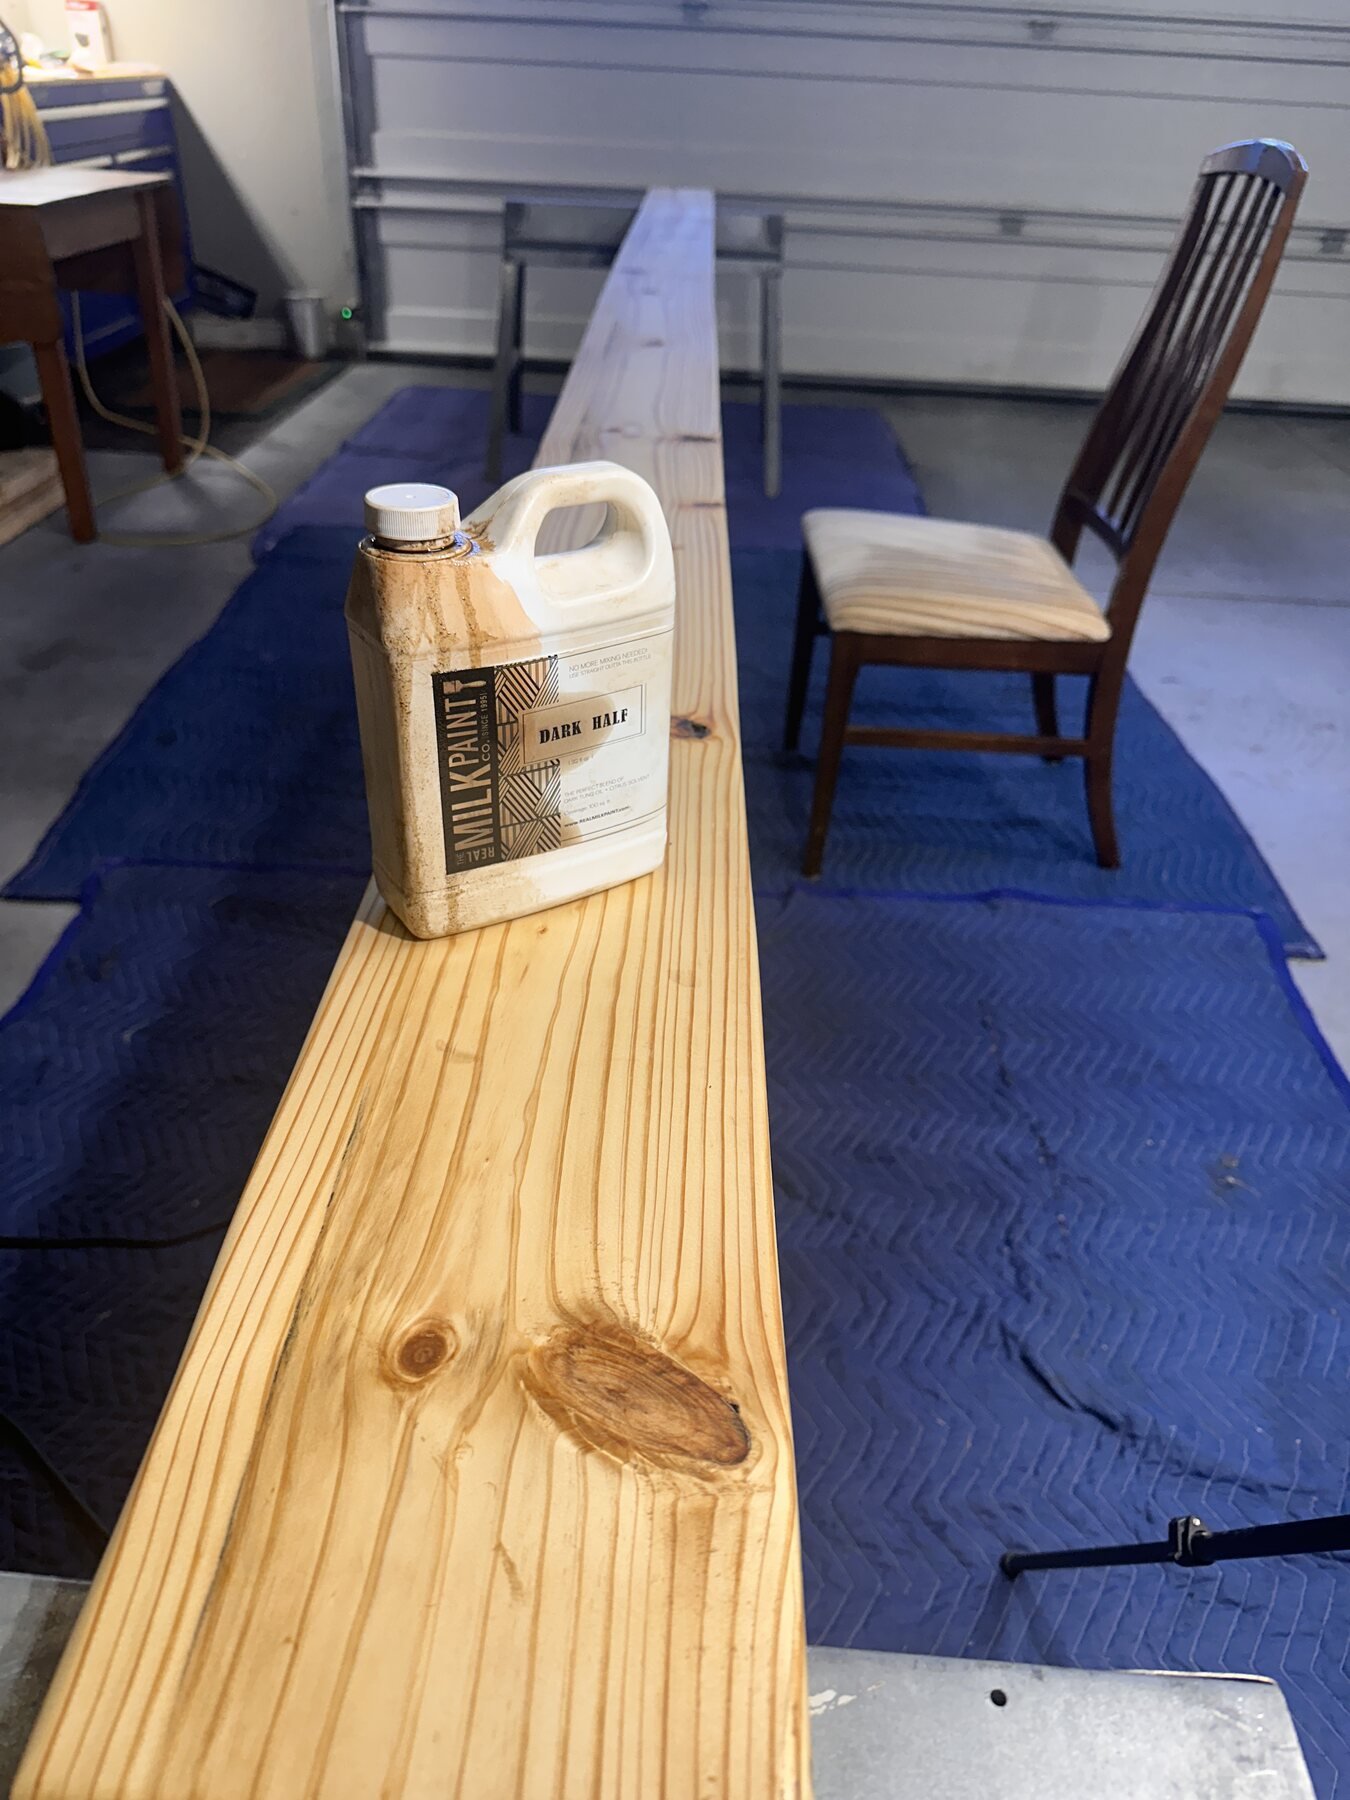
Then I reached for Real Milk Paint Dark Half, a mix of dark tung oil and orange peel oil for wood finishing. It had already done an amazing job on my butcher block island, so I trusted it enough to try a light coat here.
That was the turn. The entire board darkened a little, the grain became easier to read, and the knots started carrying the color I had been hoping for.
Level First, Then Anchor
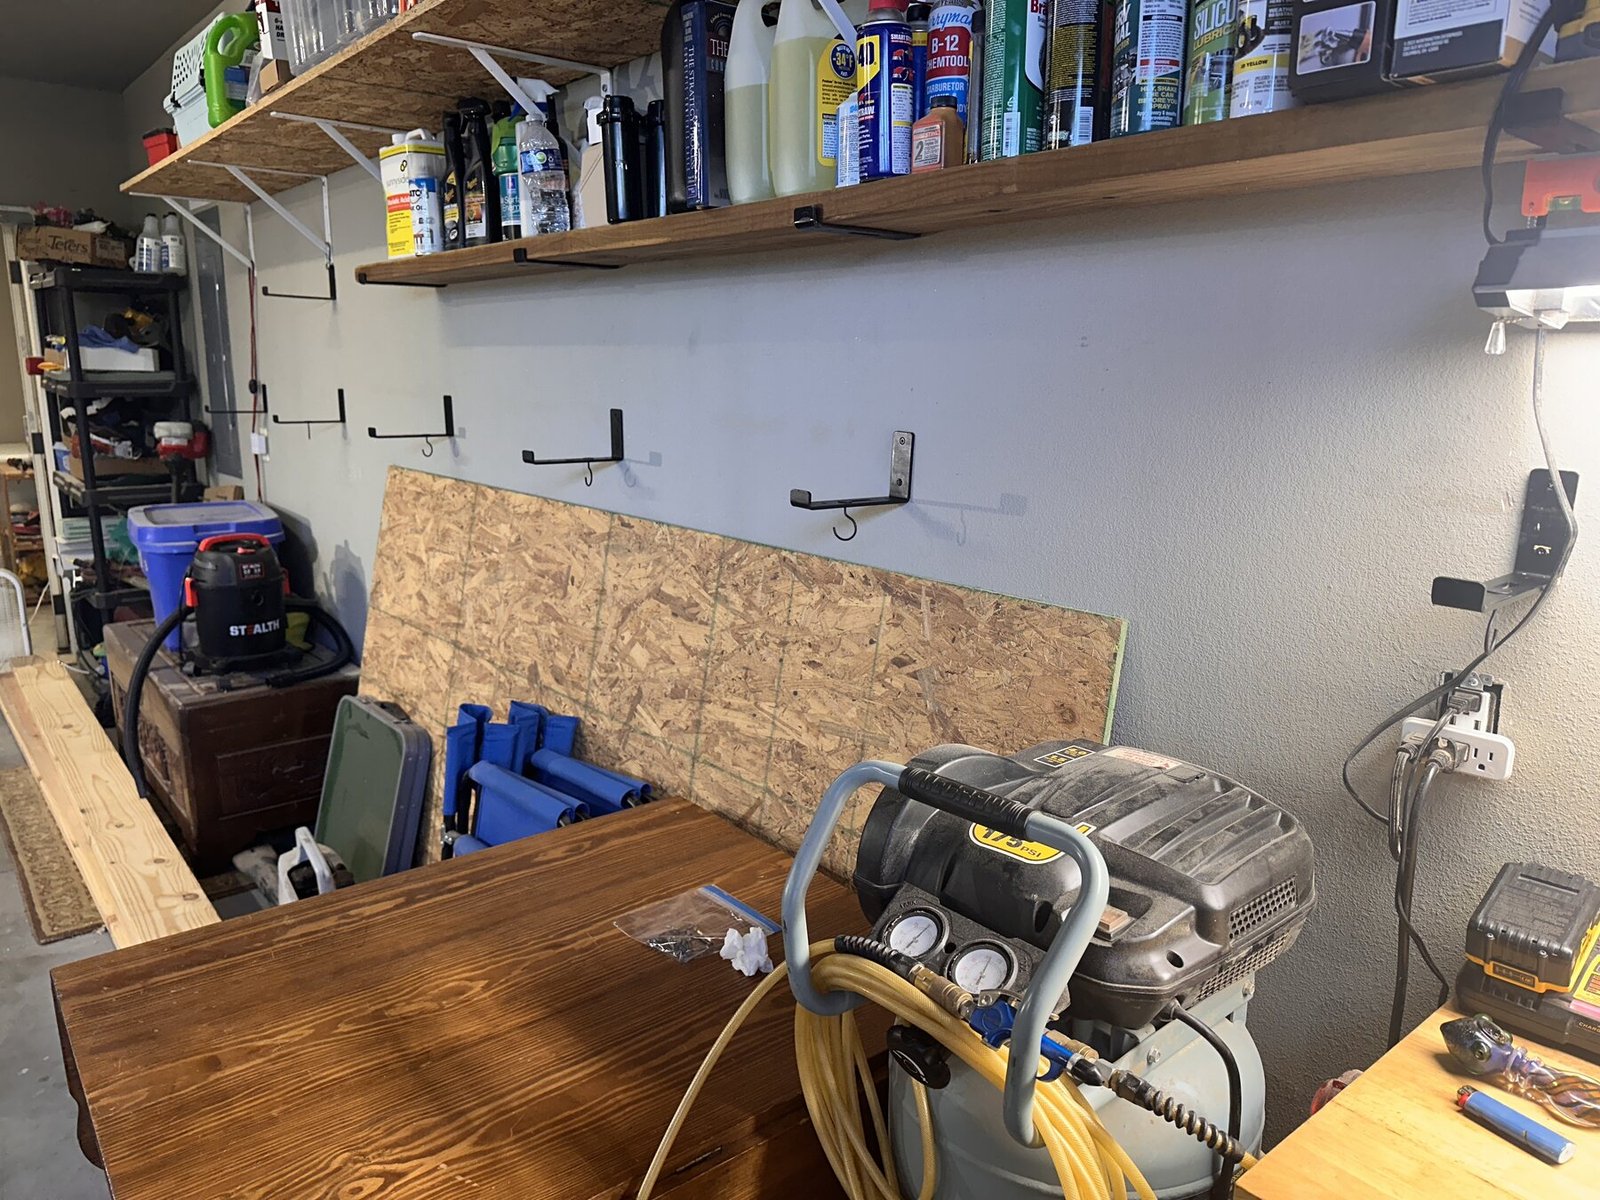
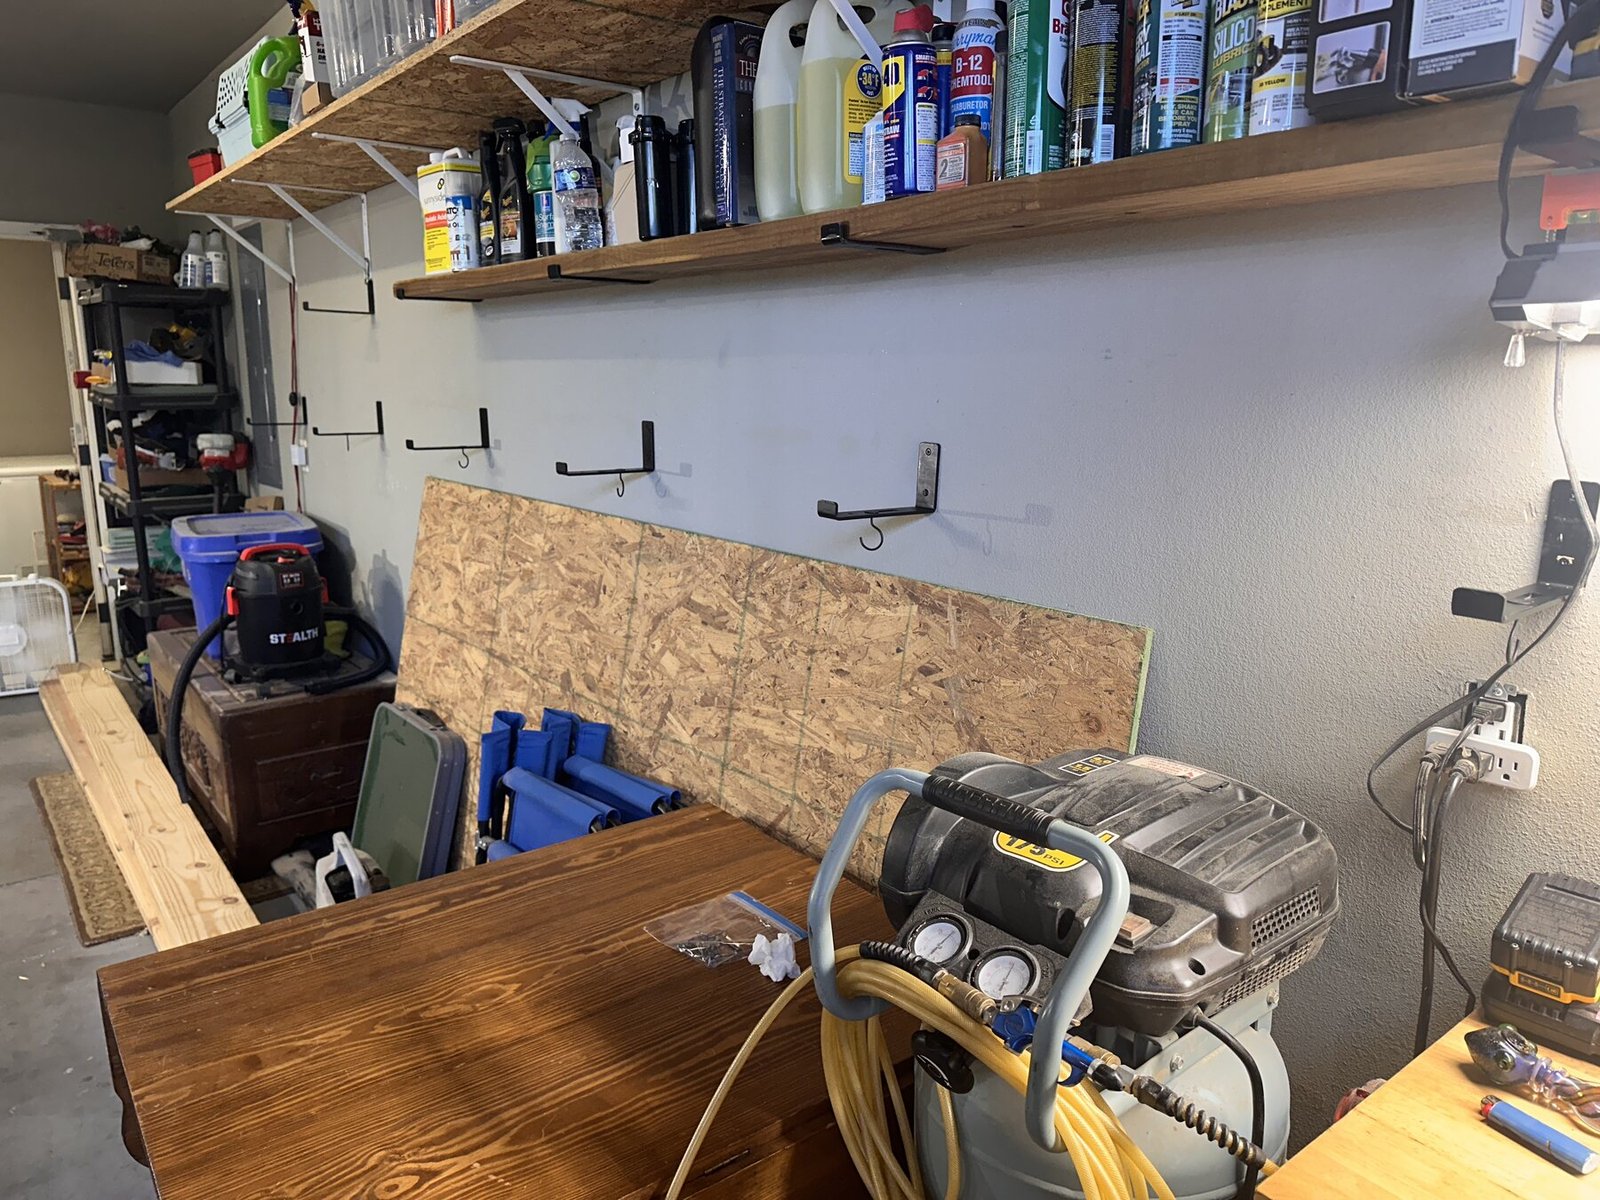
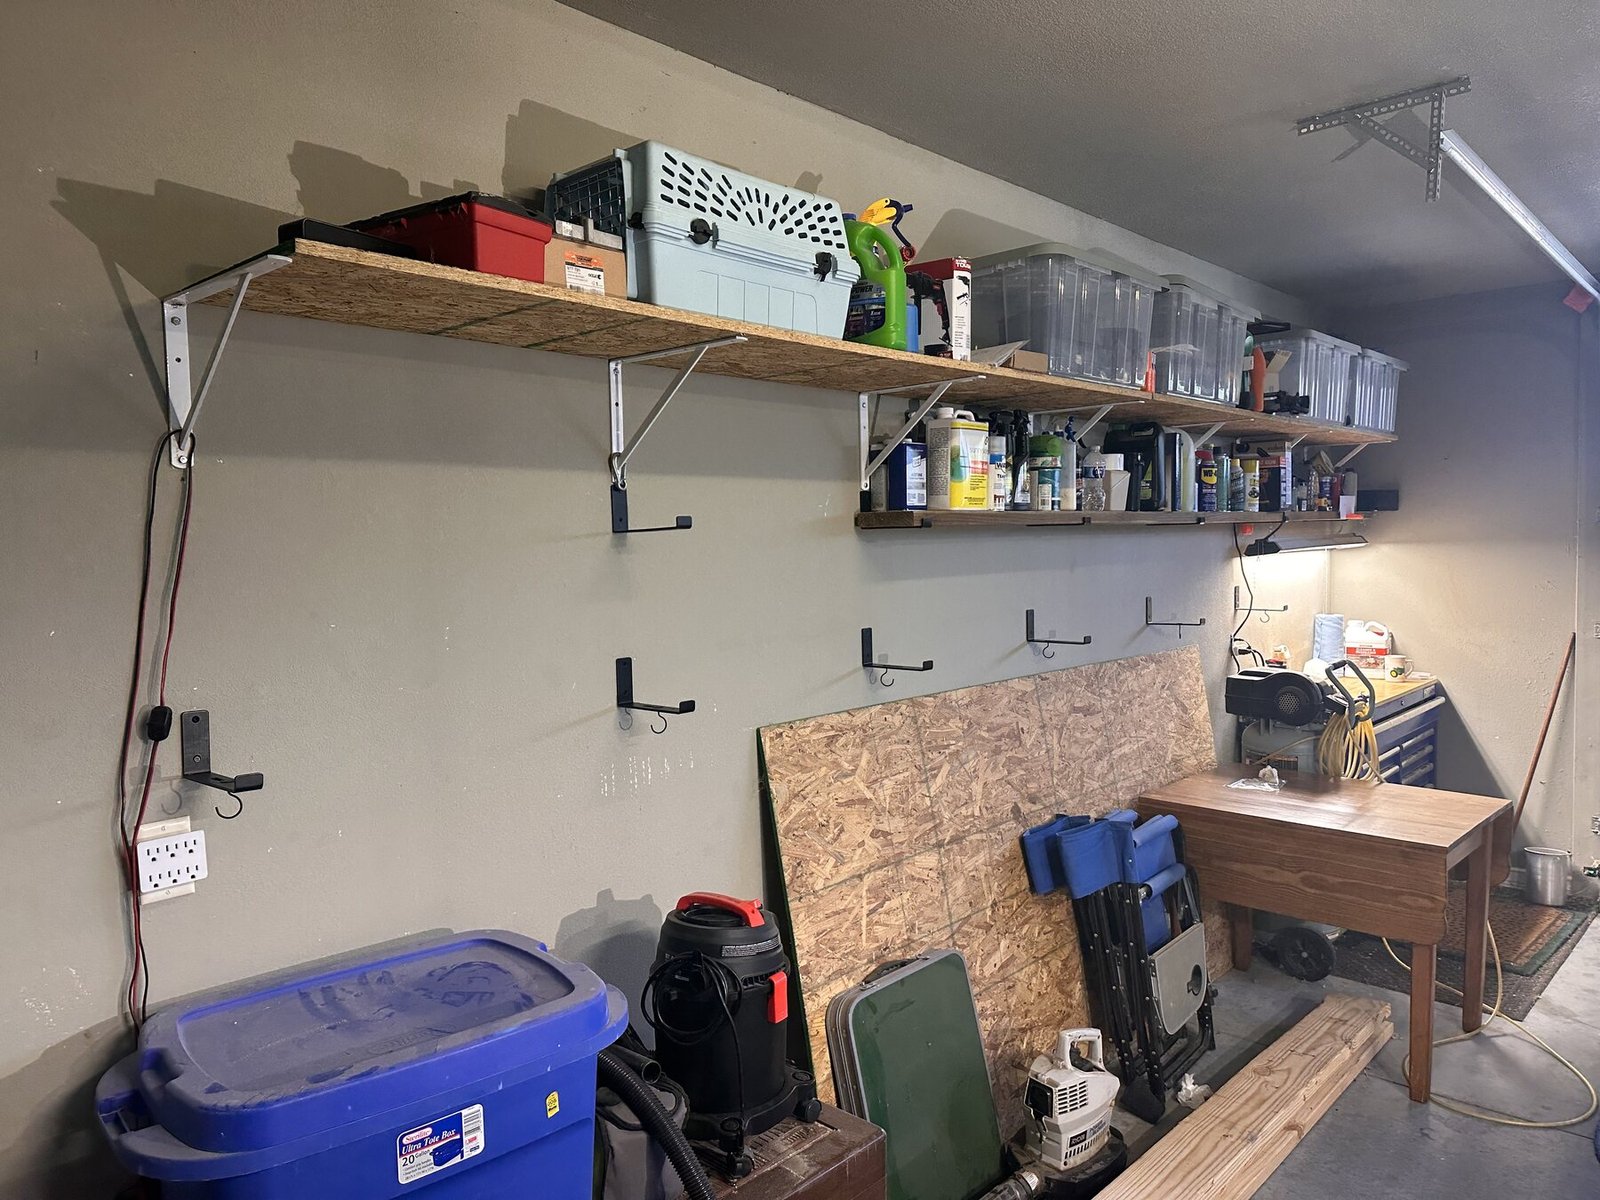
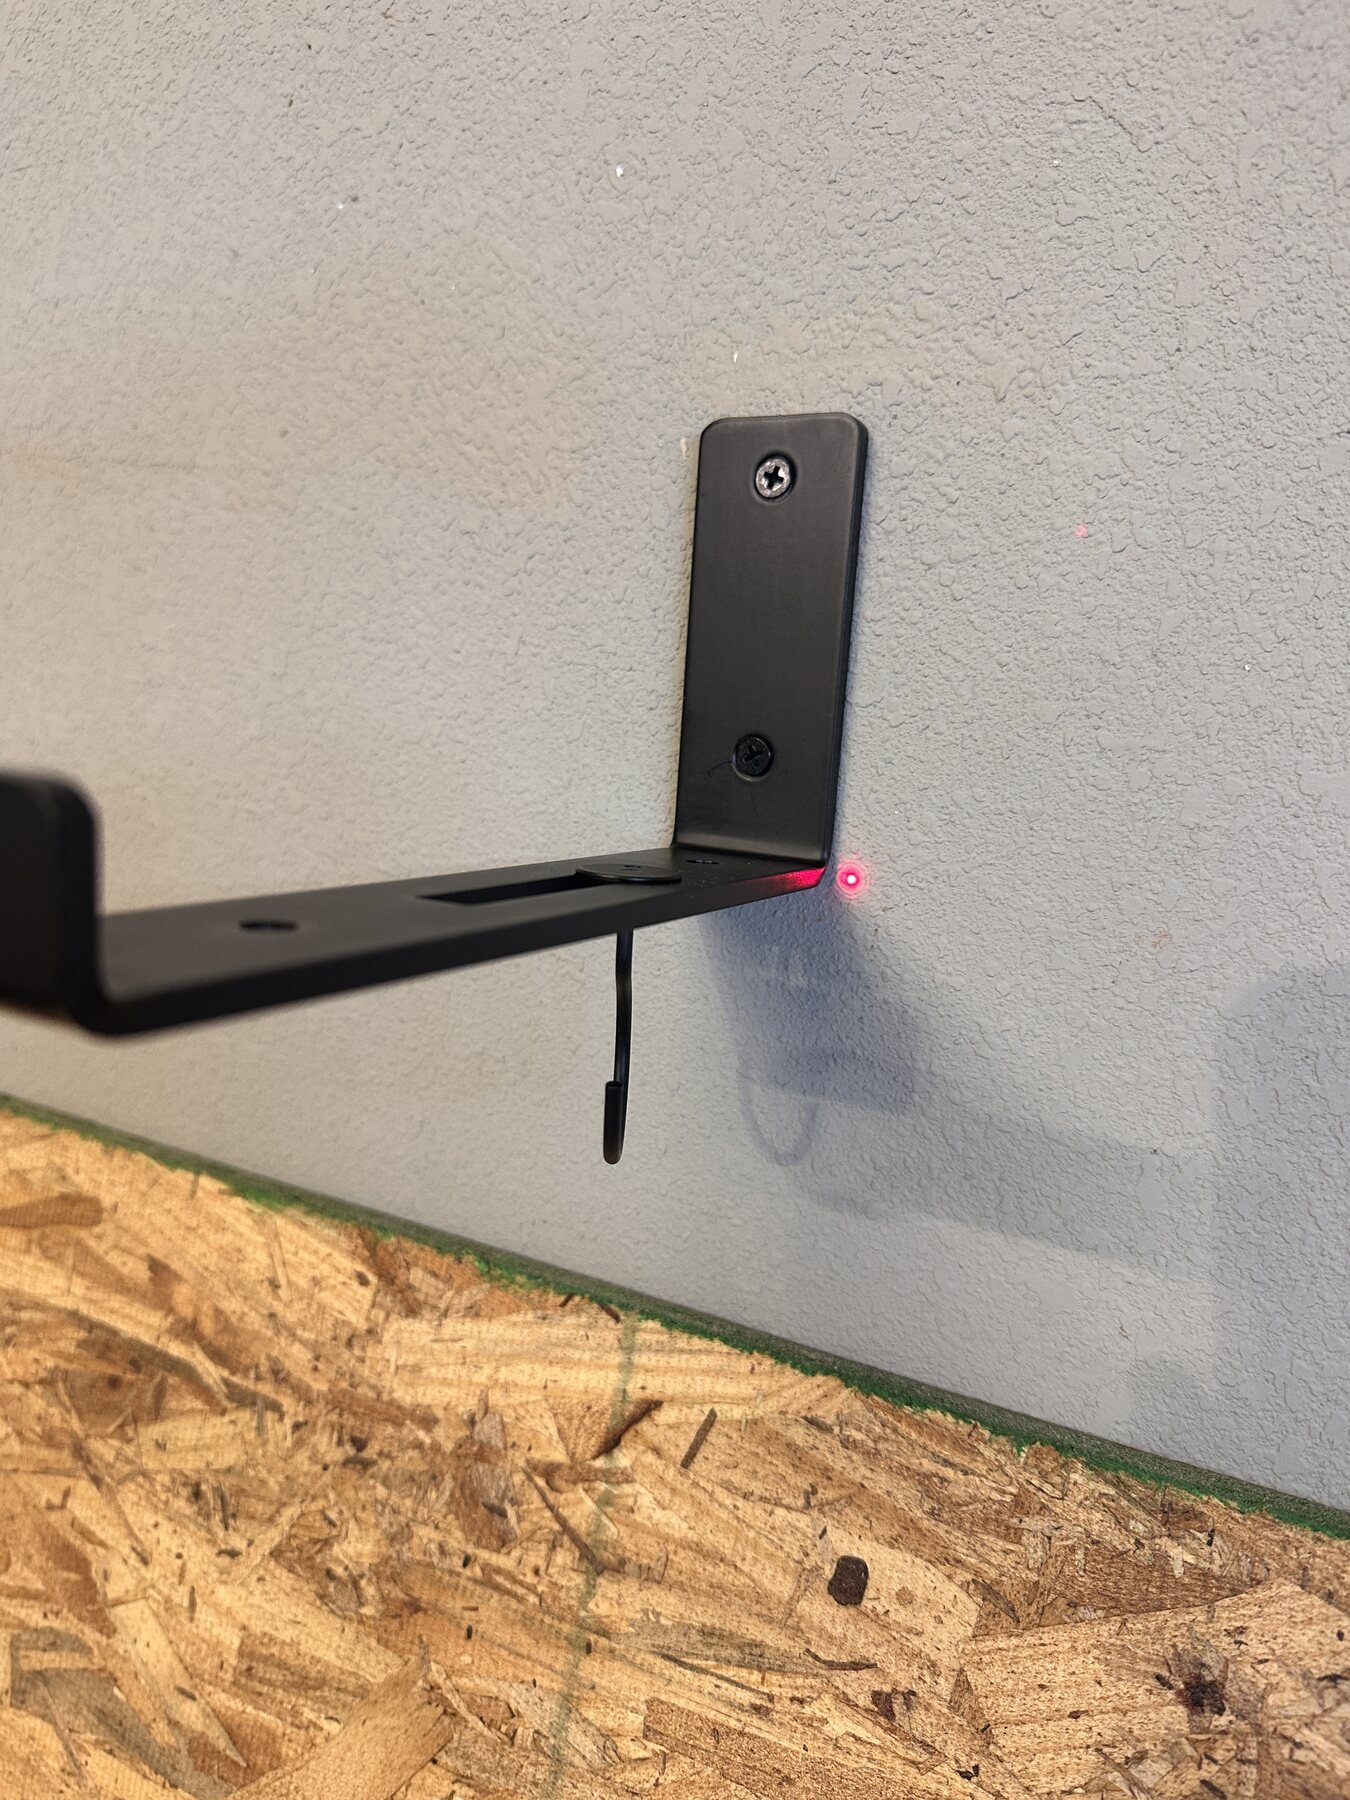
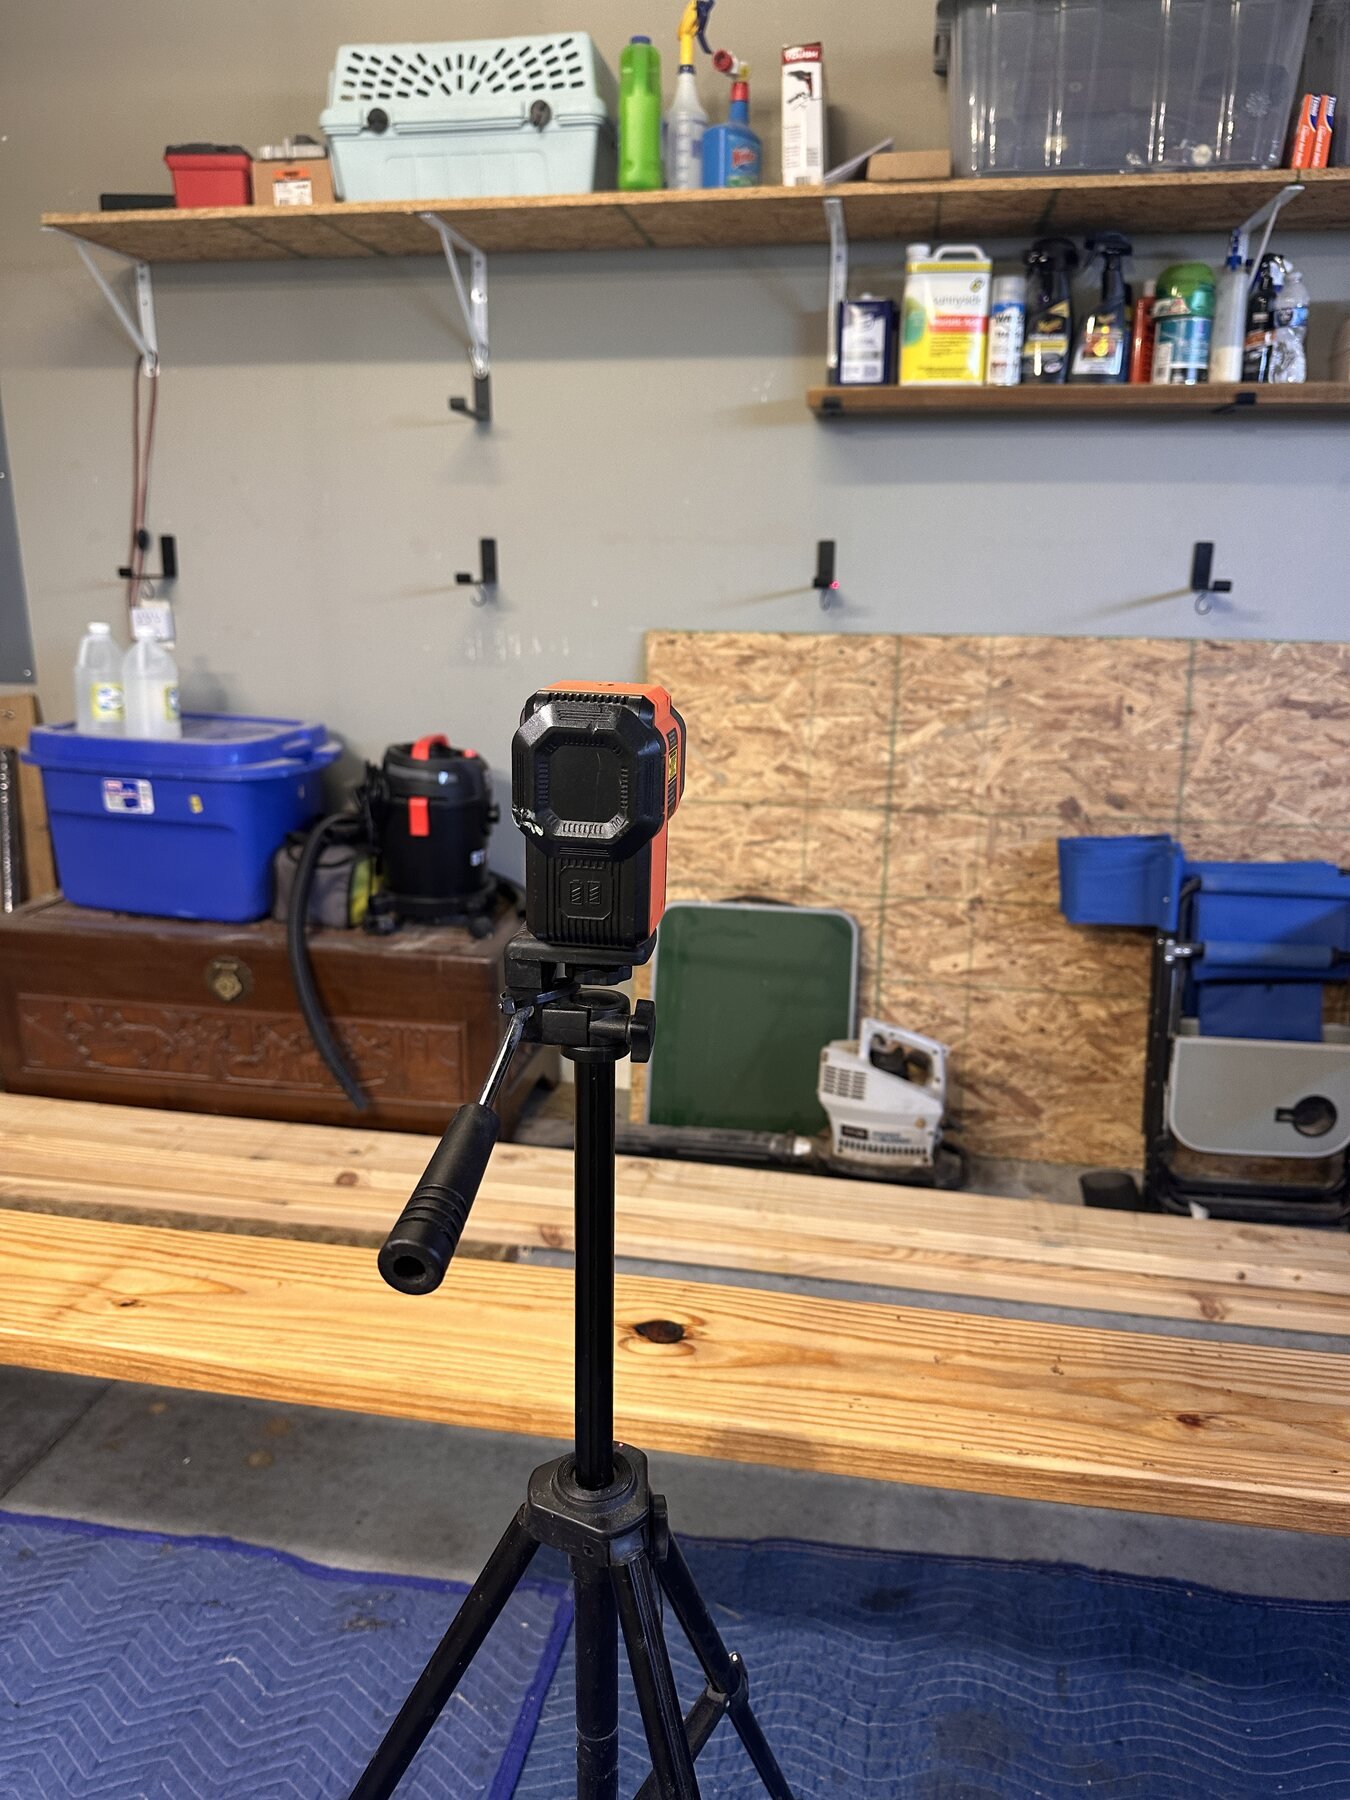
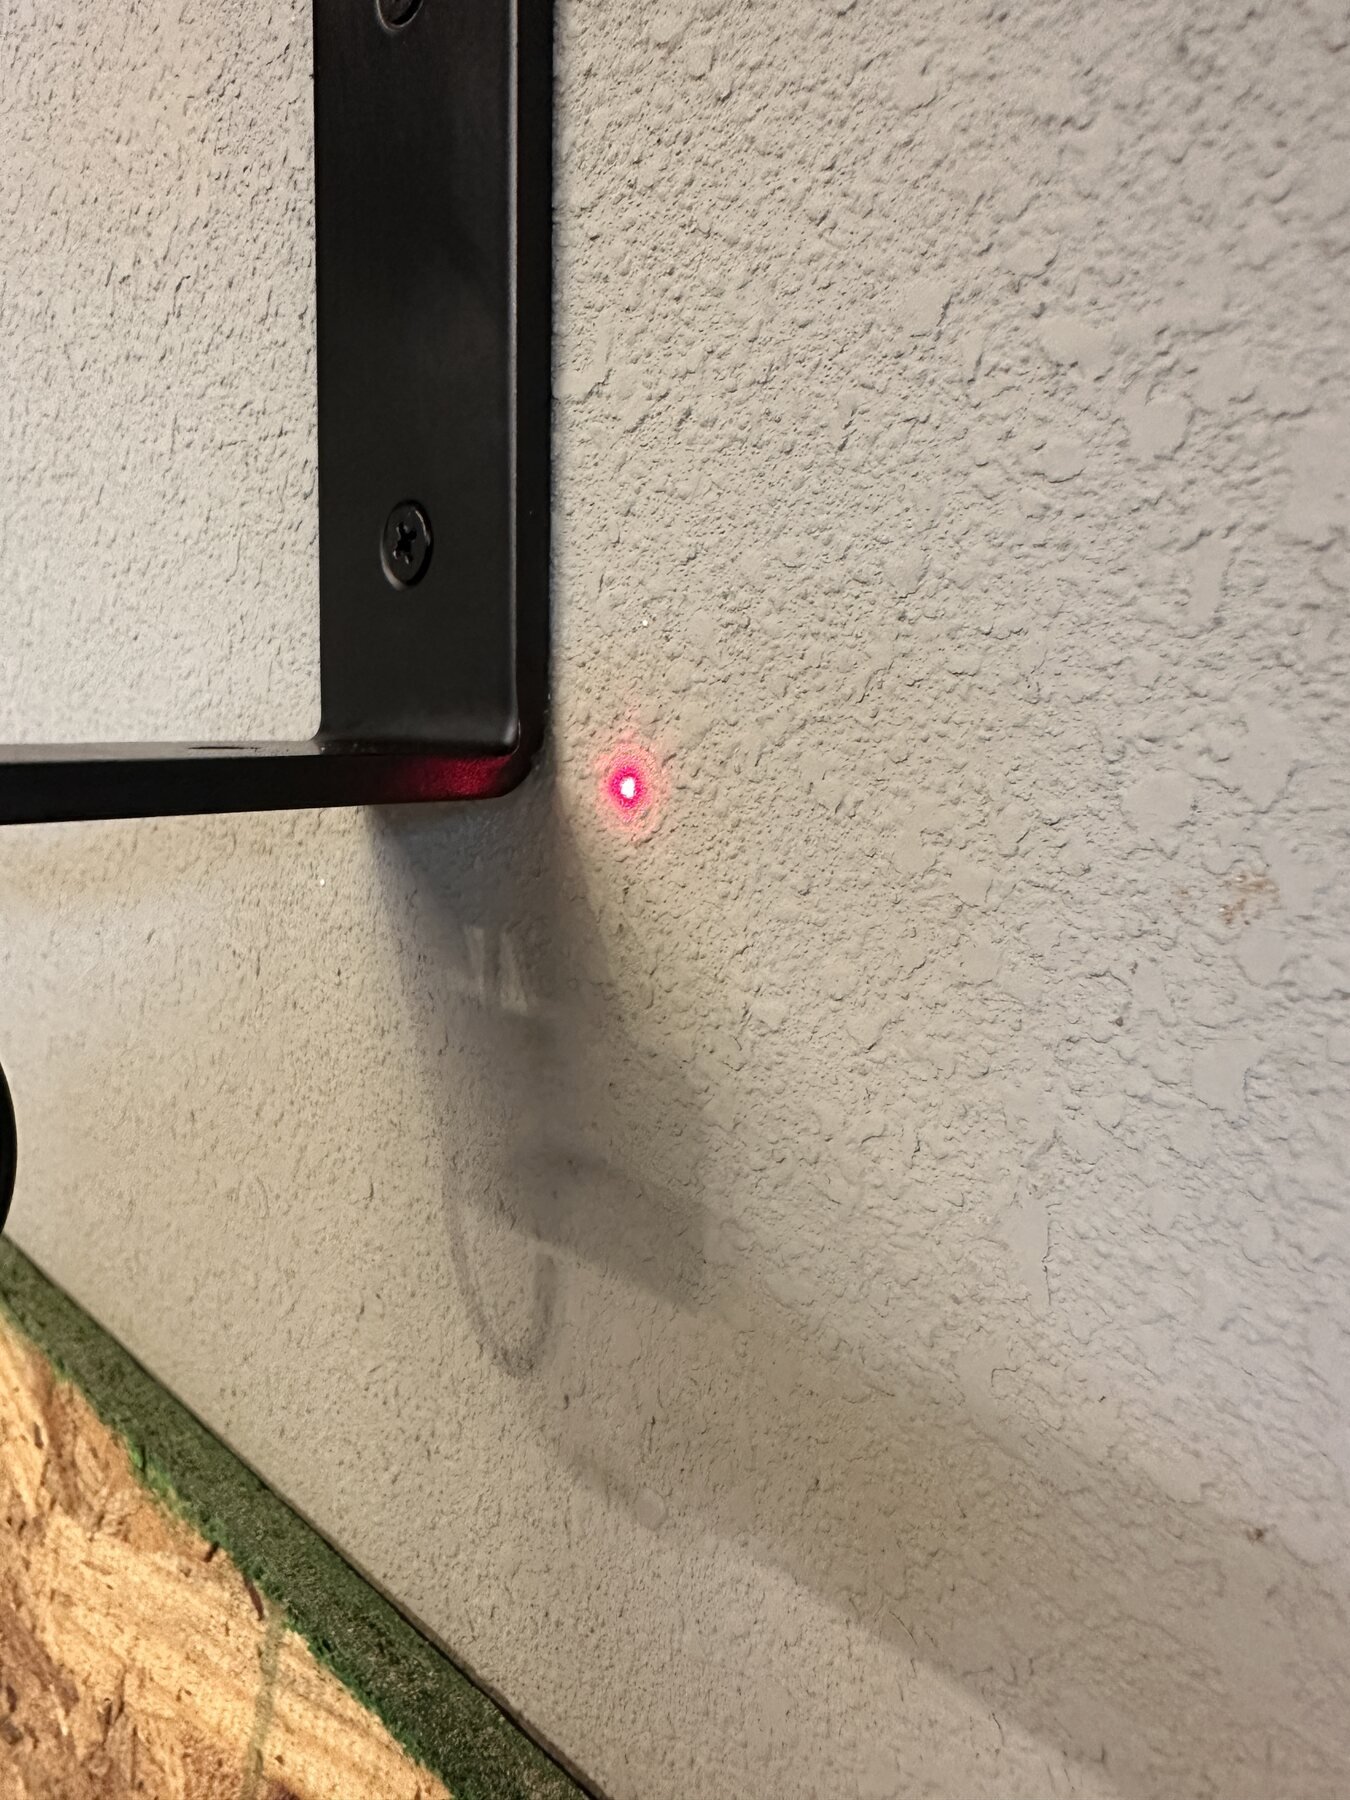
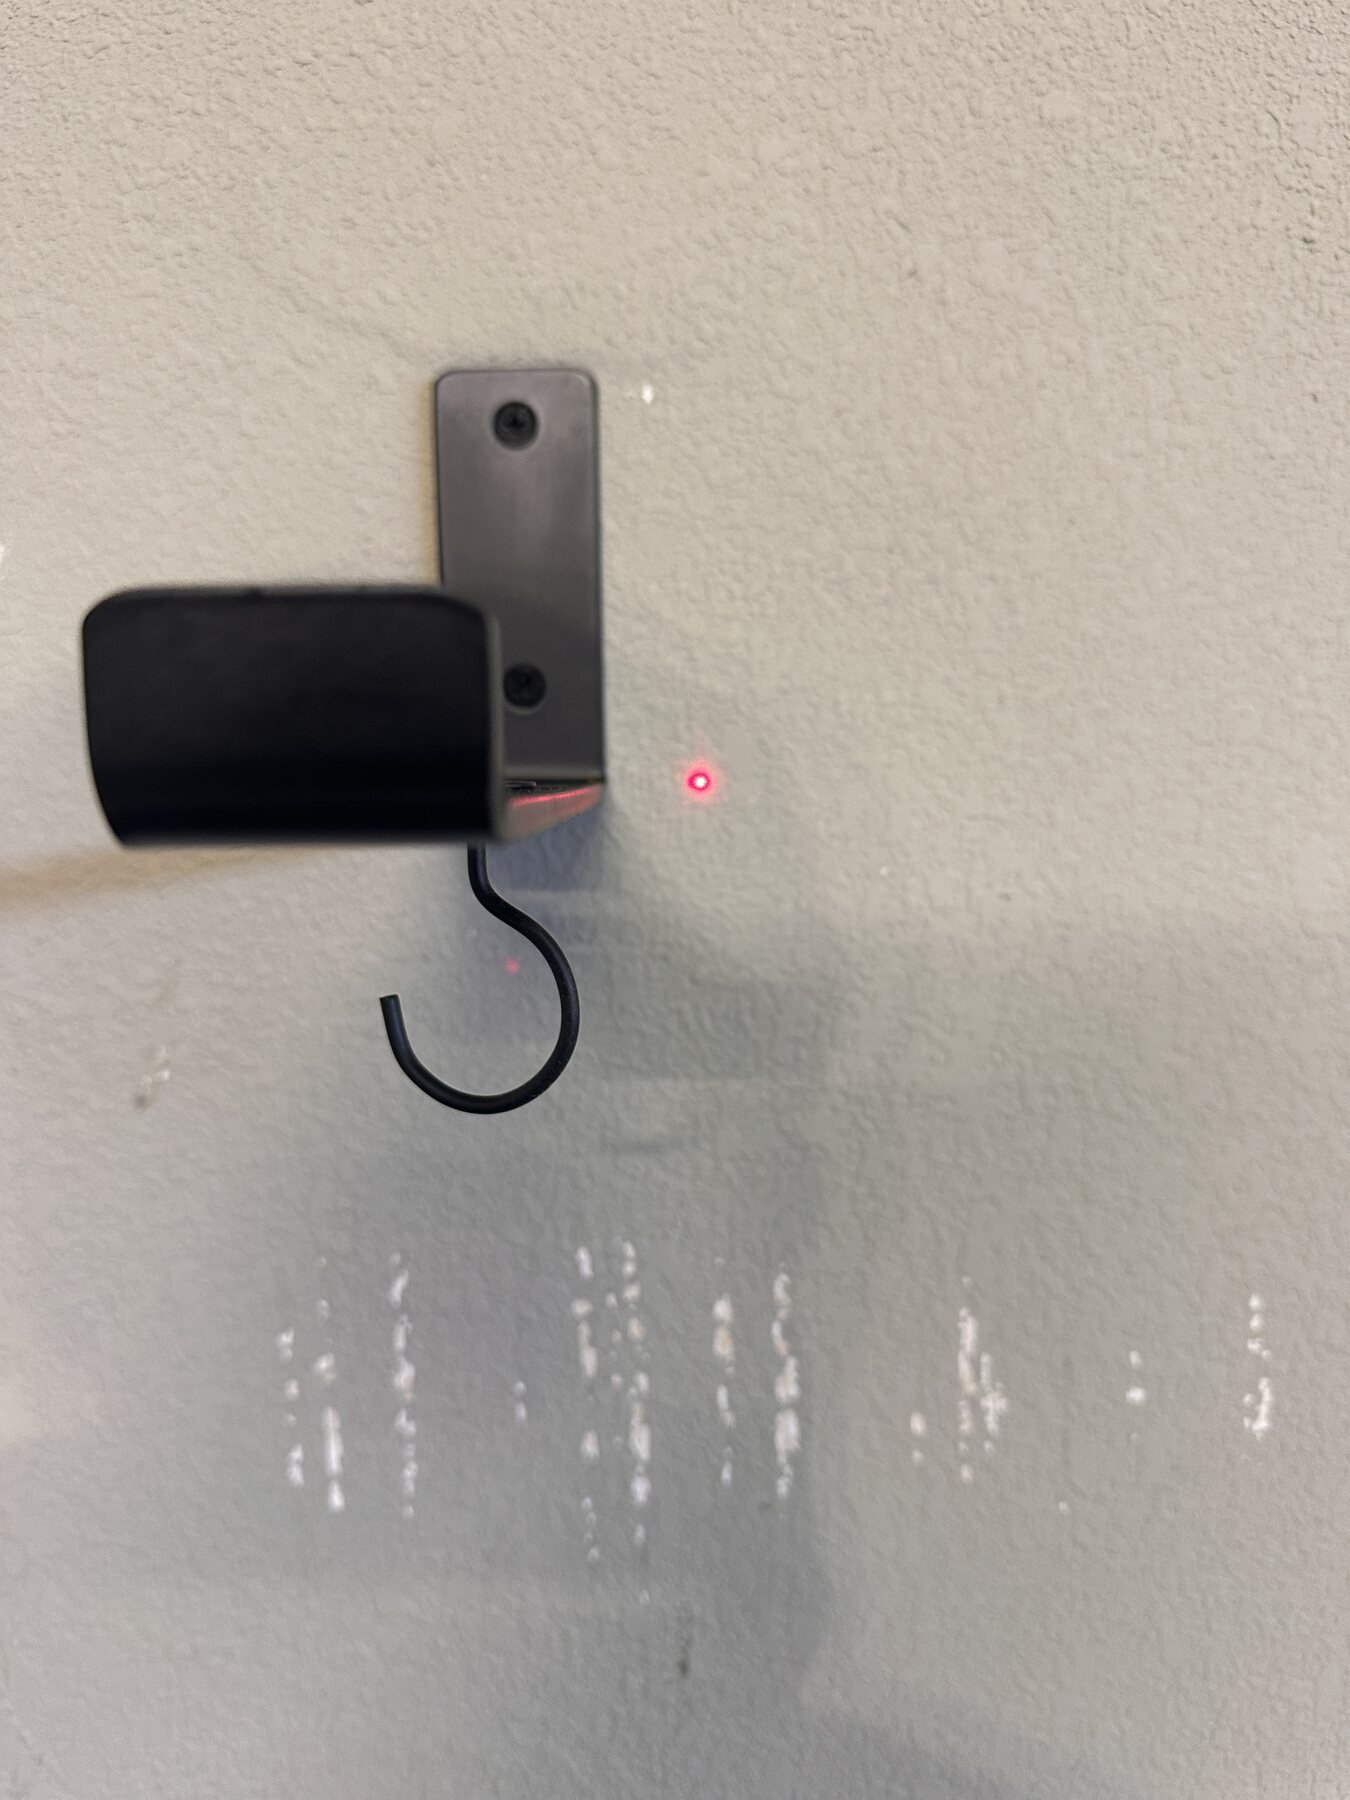
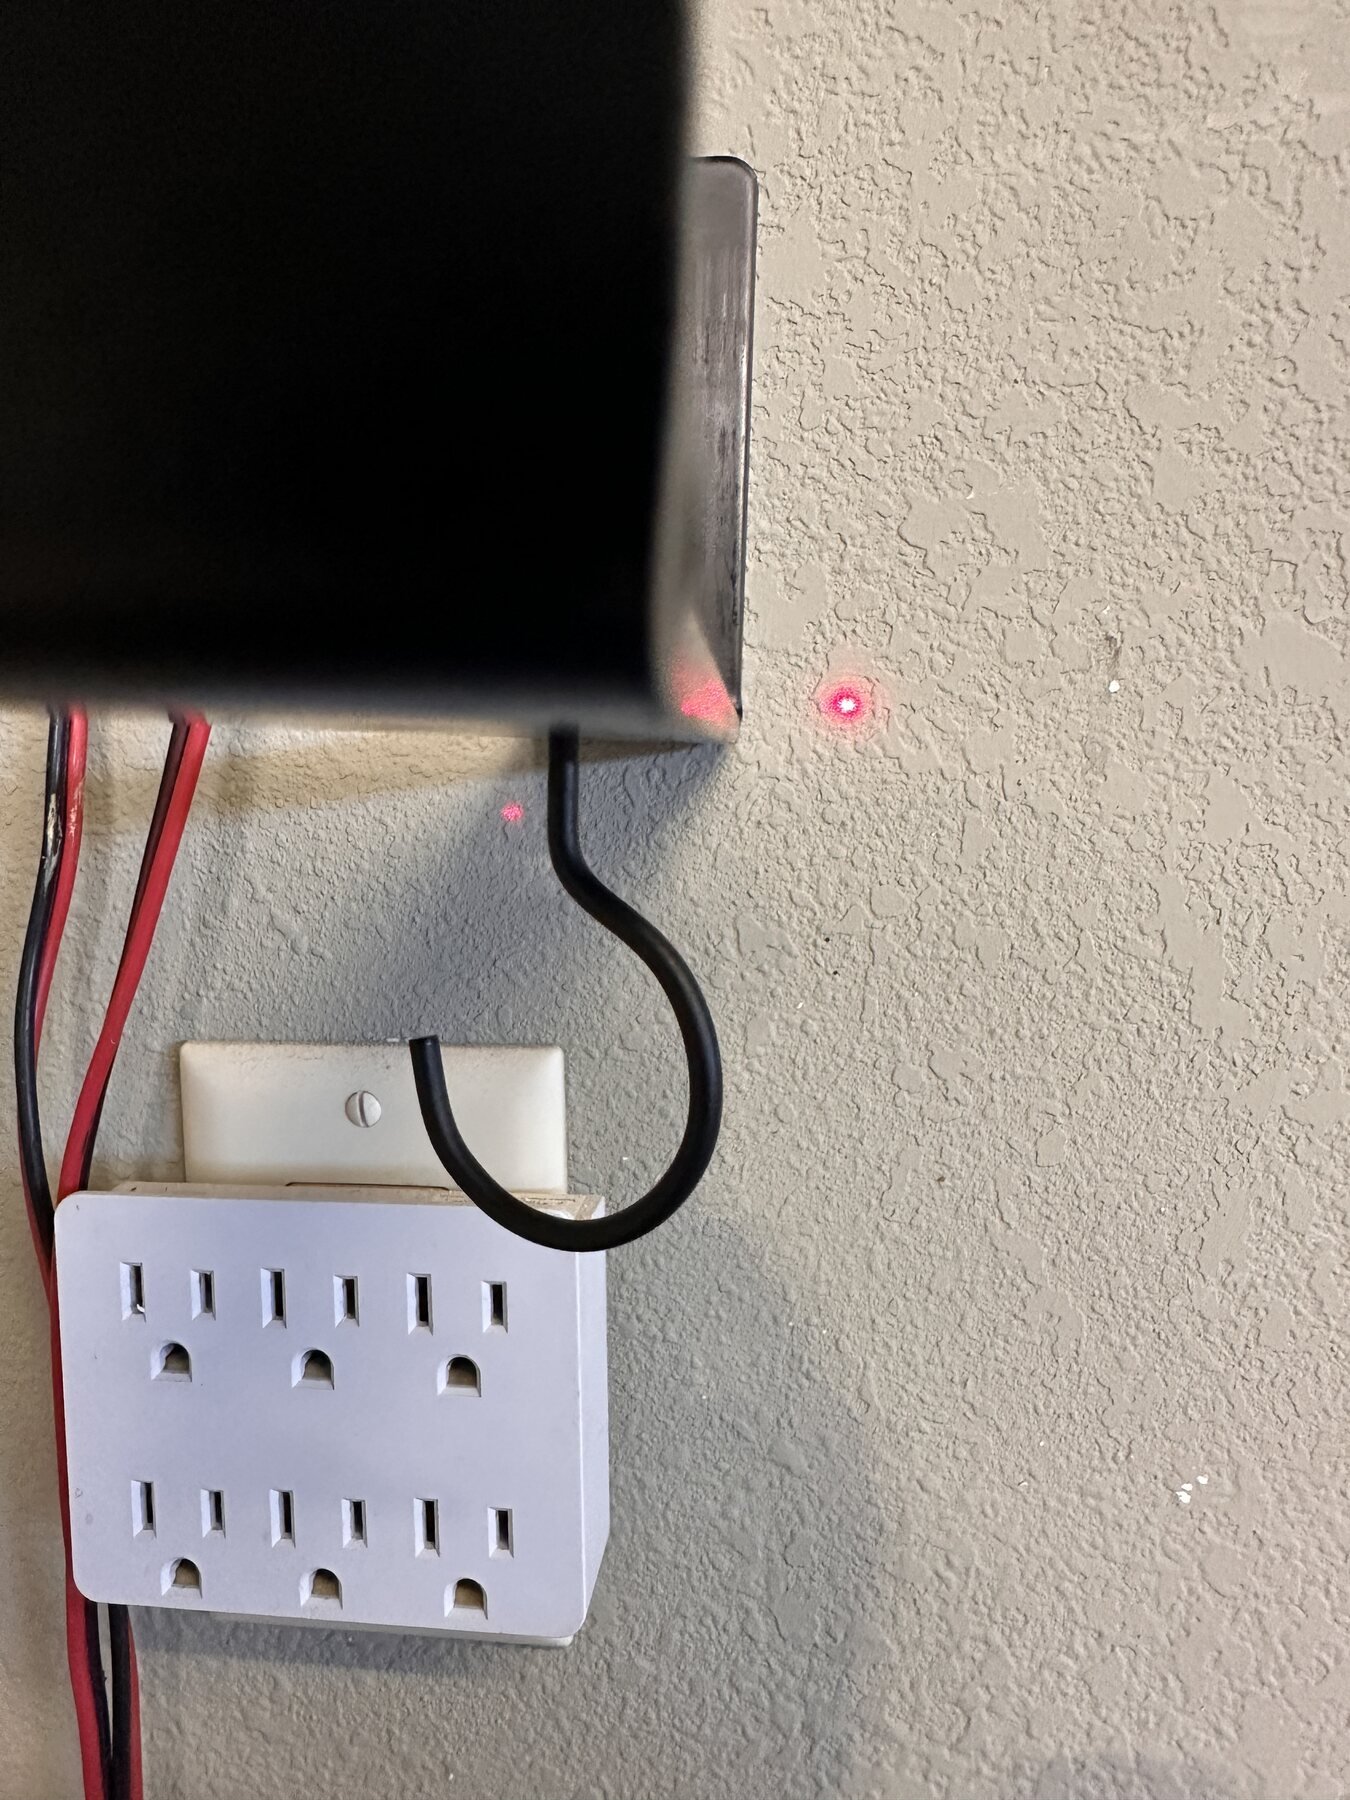
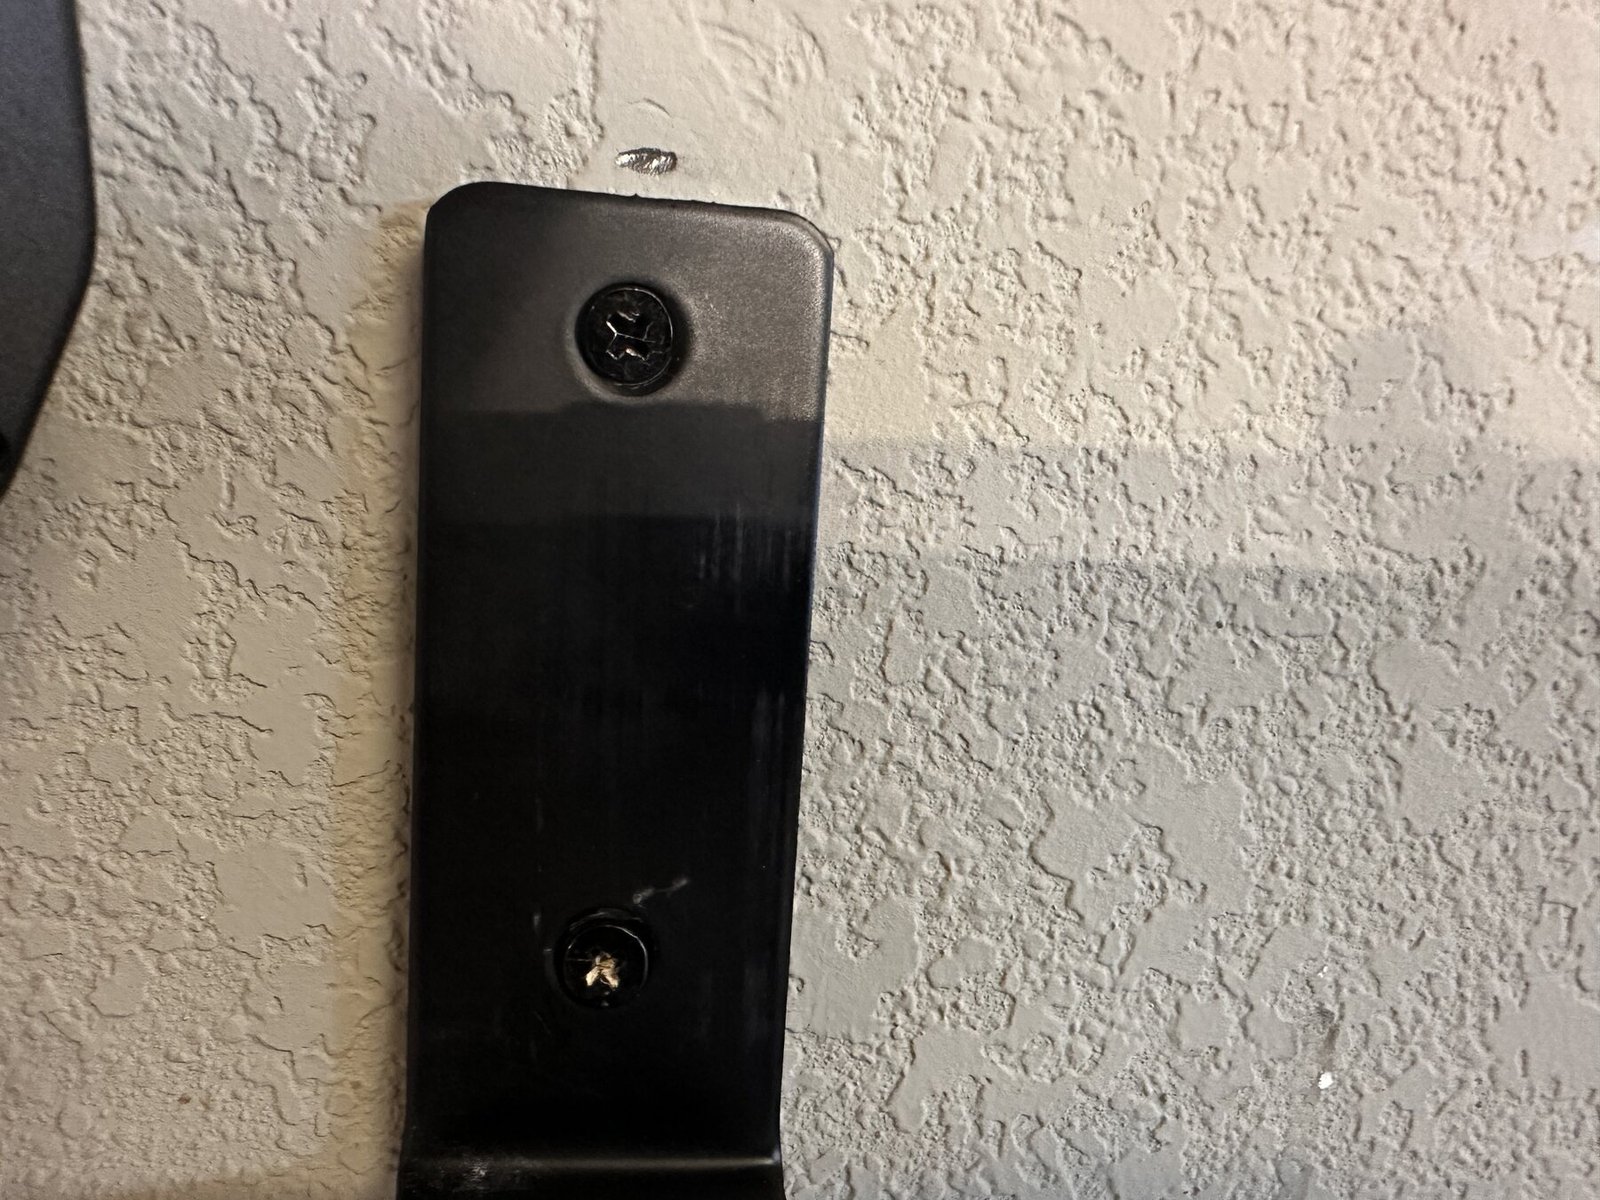
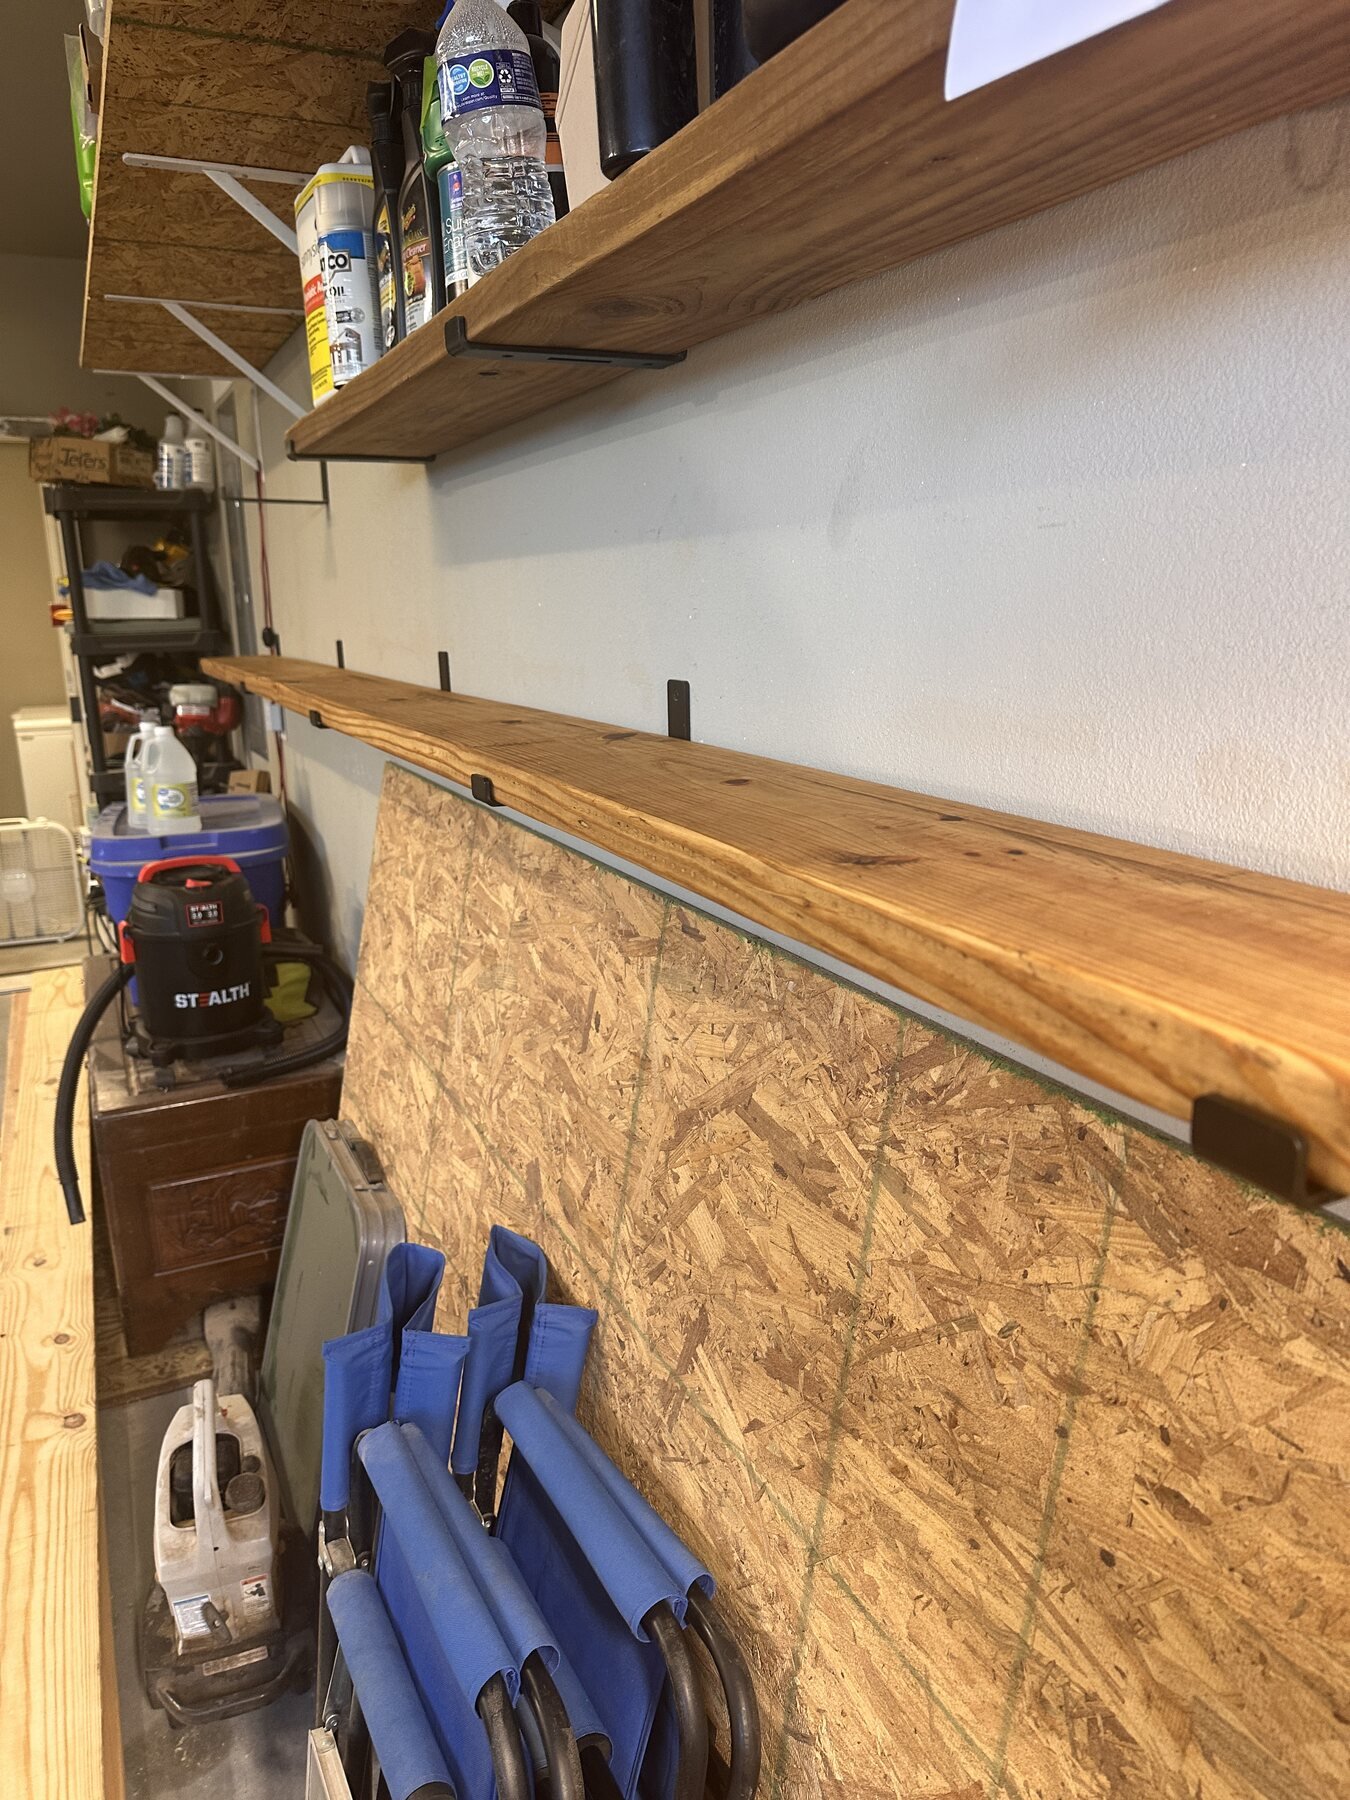
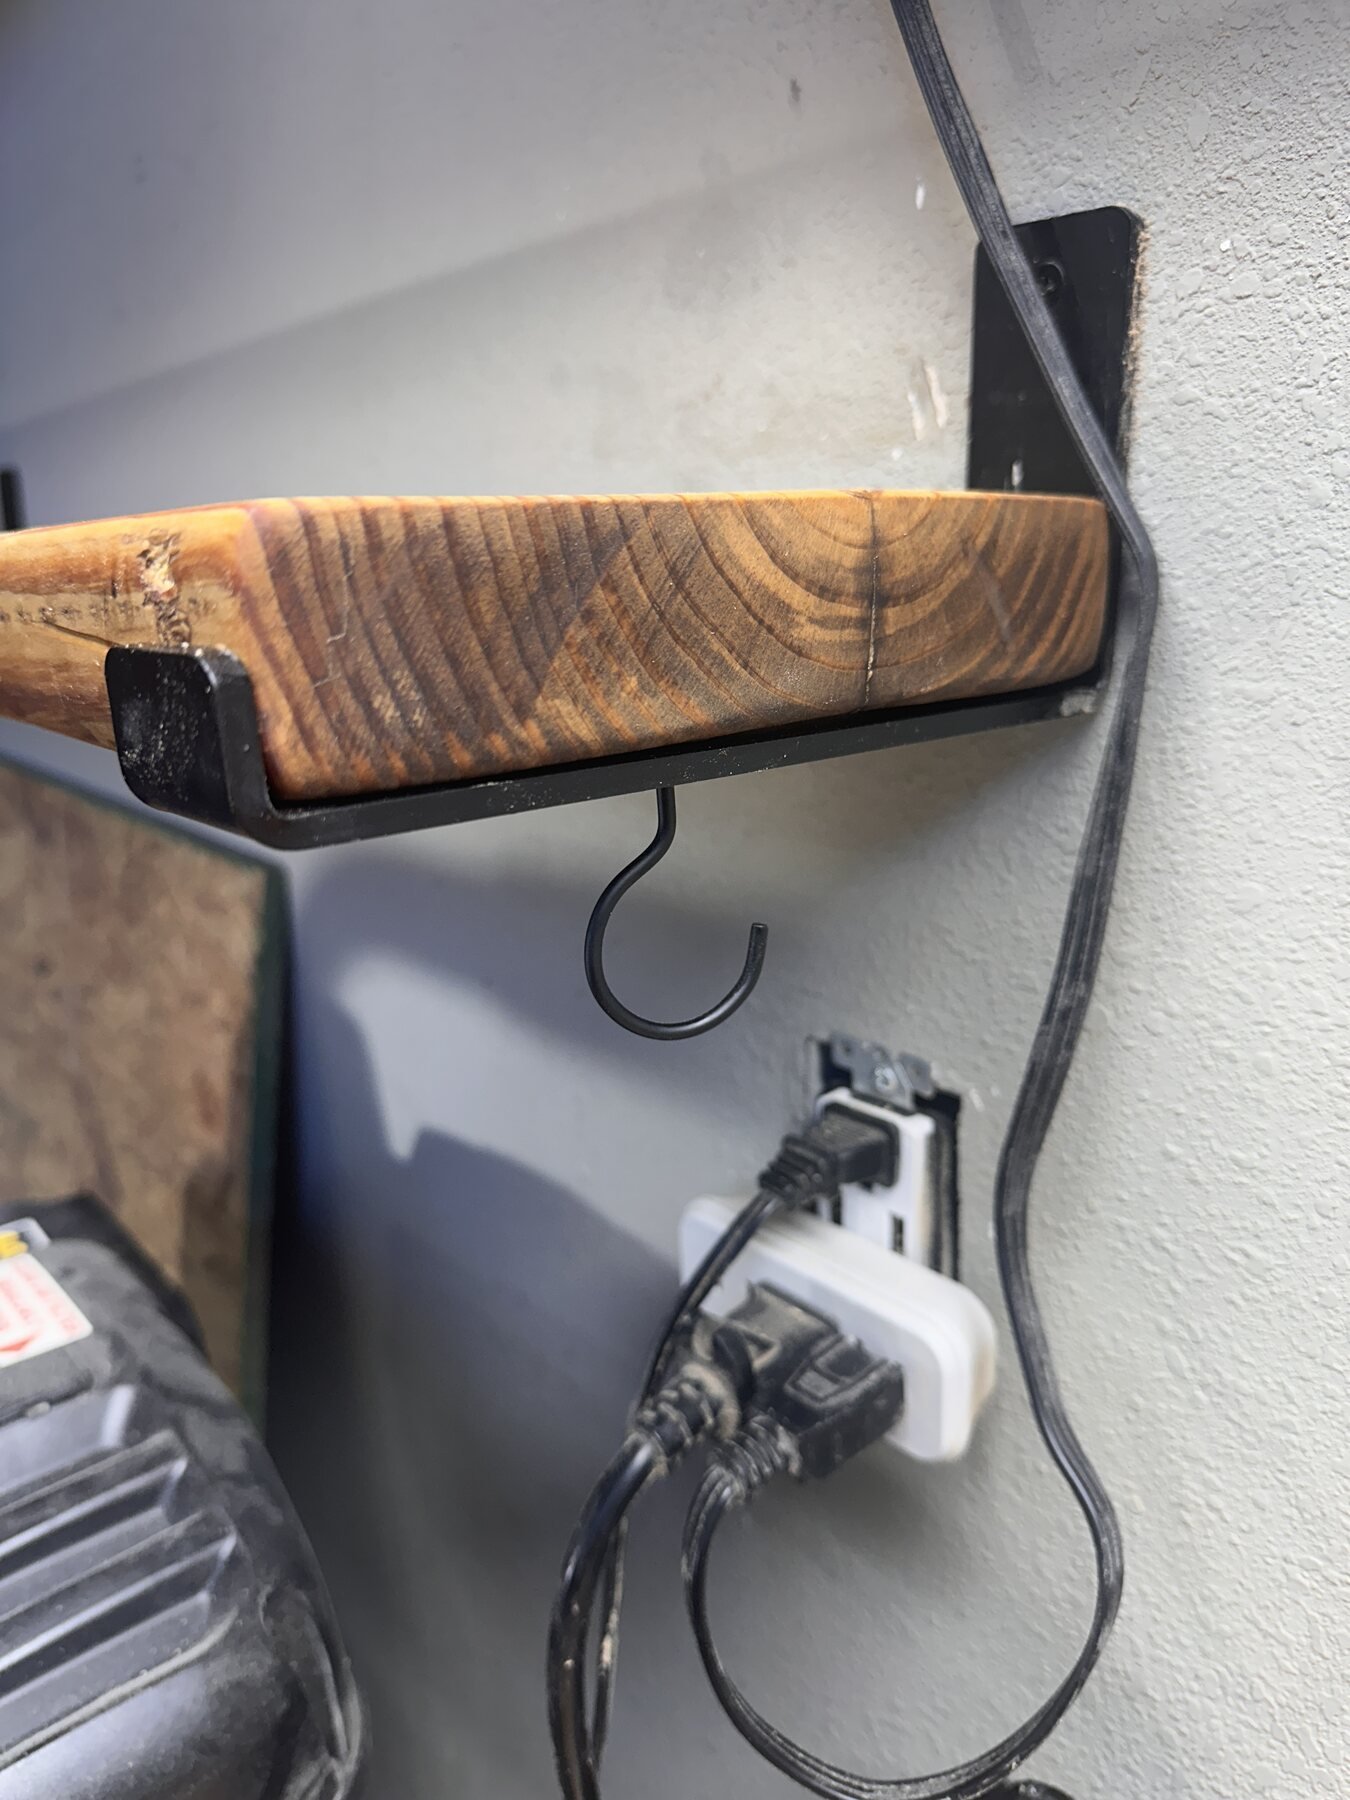
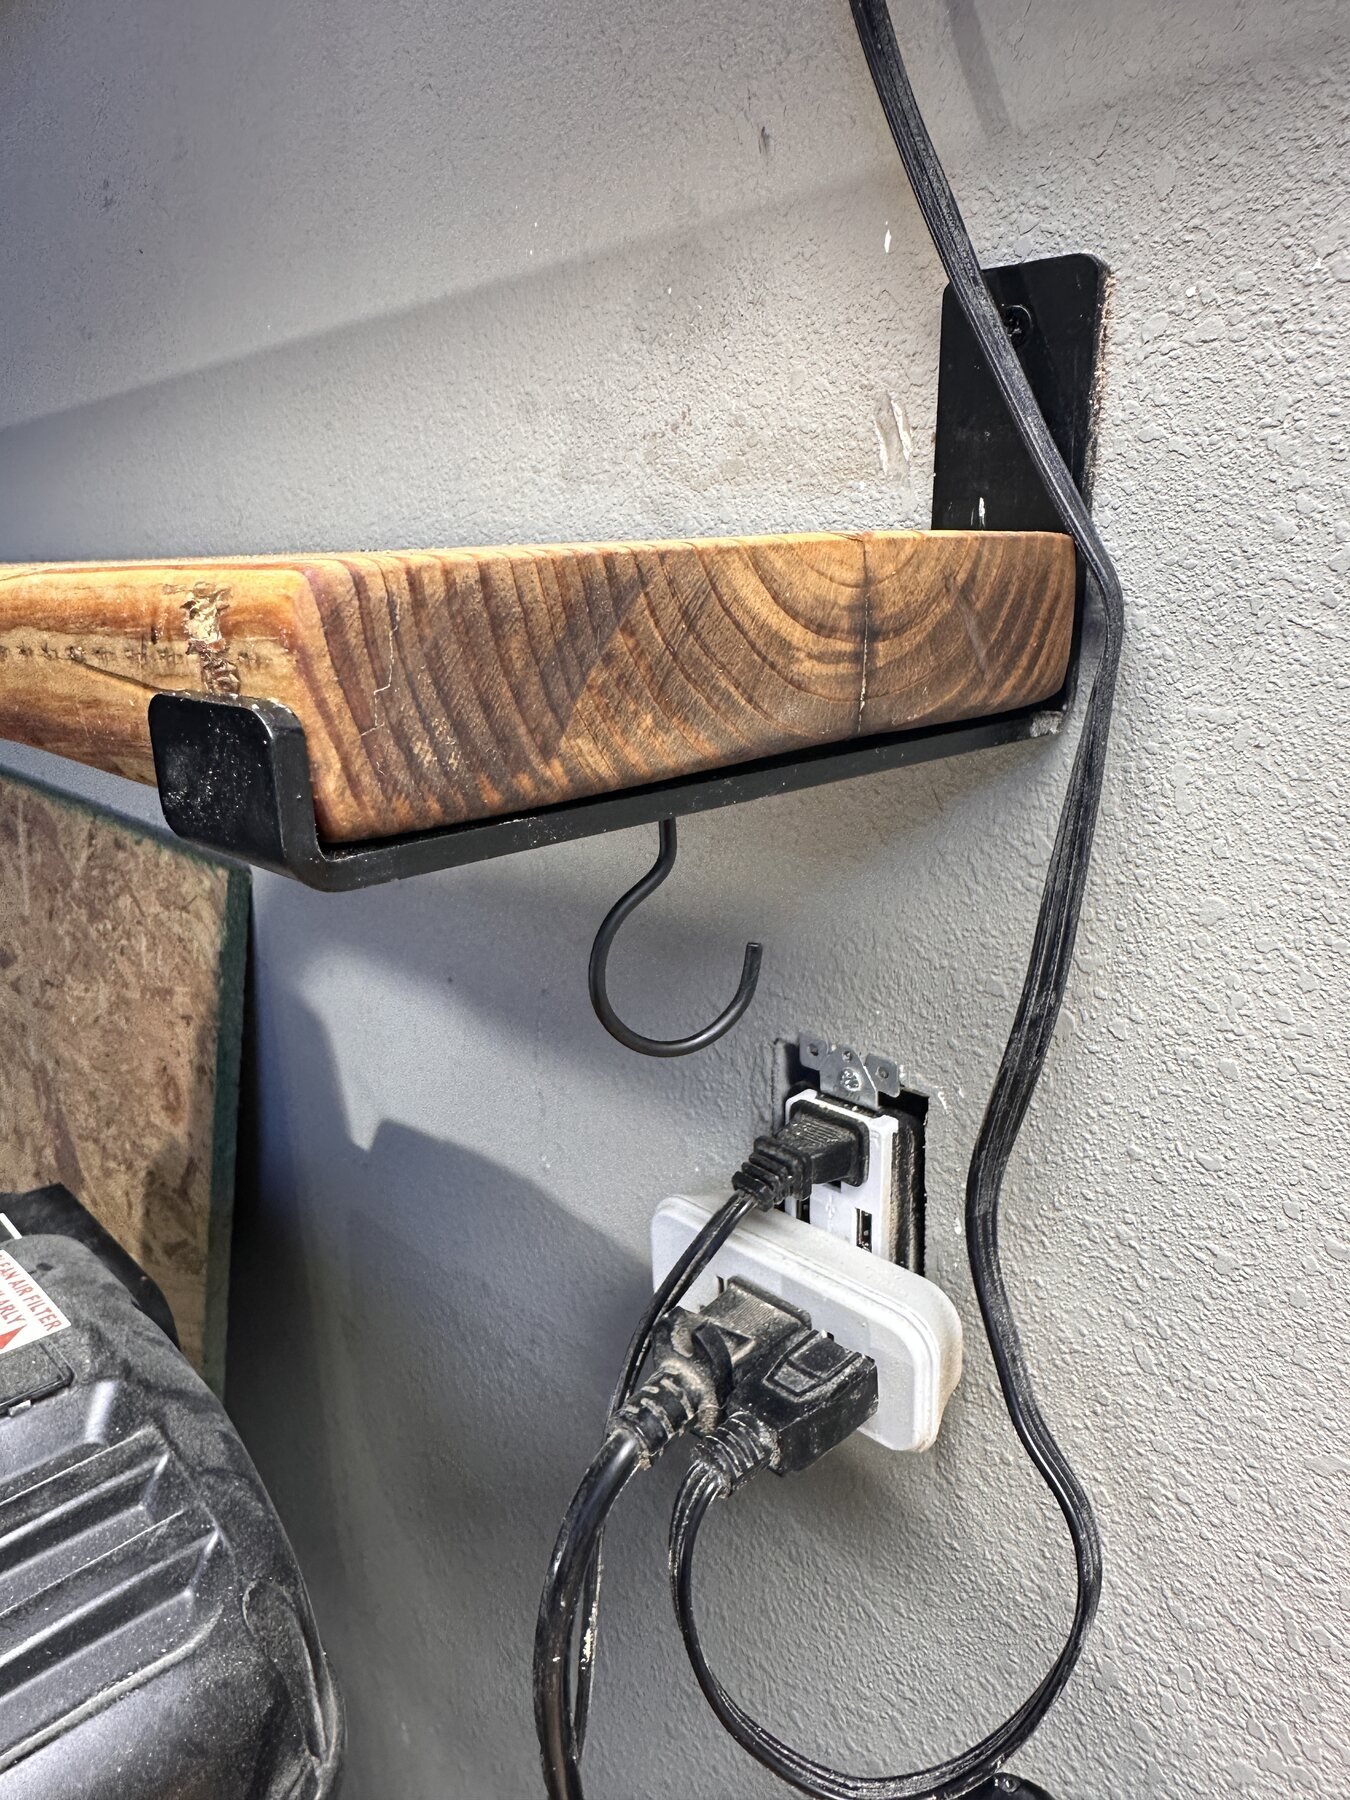
After spending time with the board and its history, I moved back to the wall. The brackets had to be level before the new shelf could become permanent, so I checked the line, chased the red dot, and made sure the supports were ready for the first board.
The First New Shelf
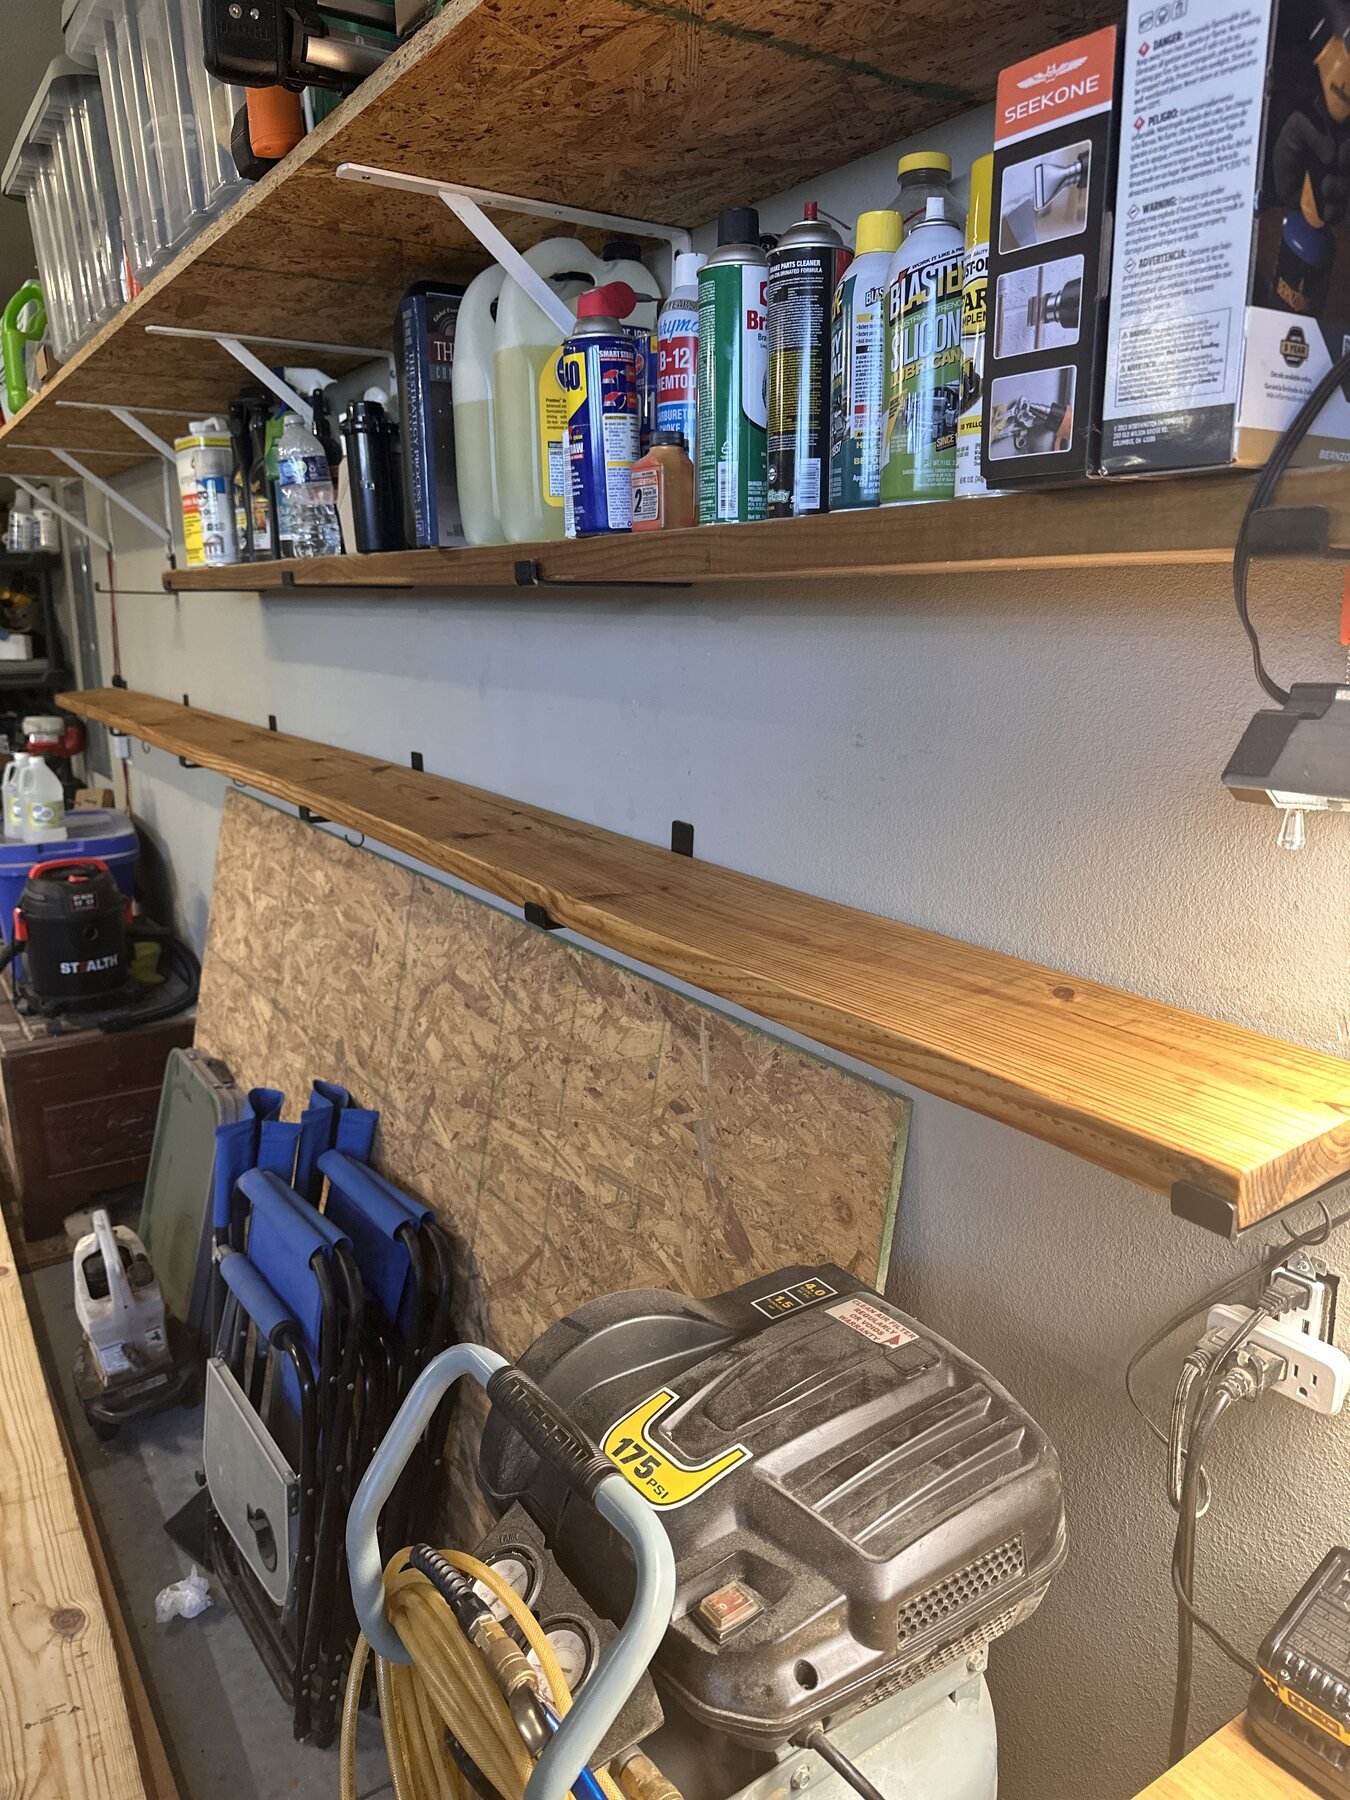
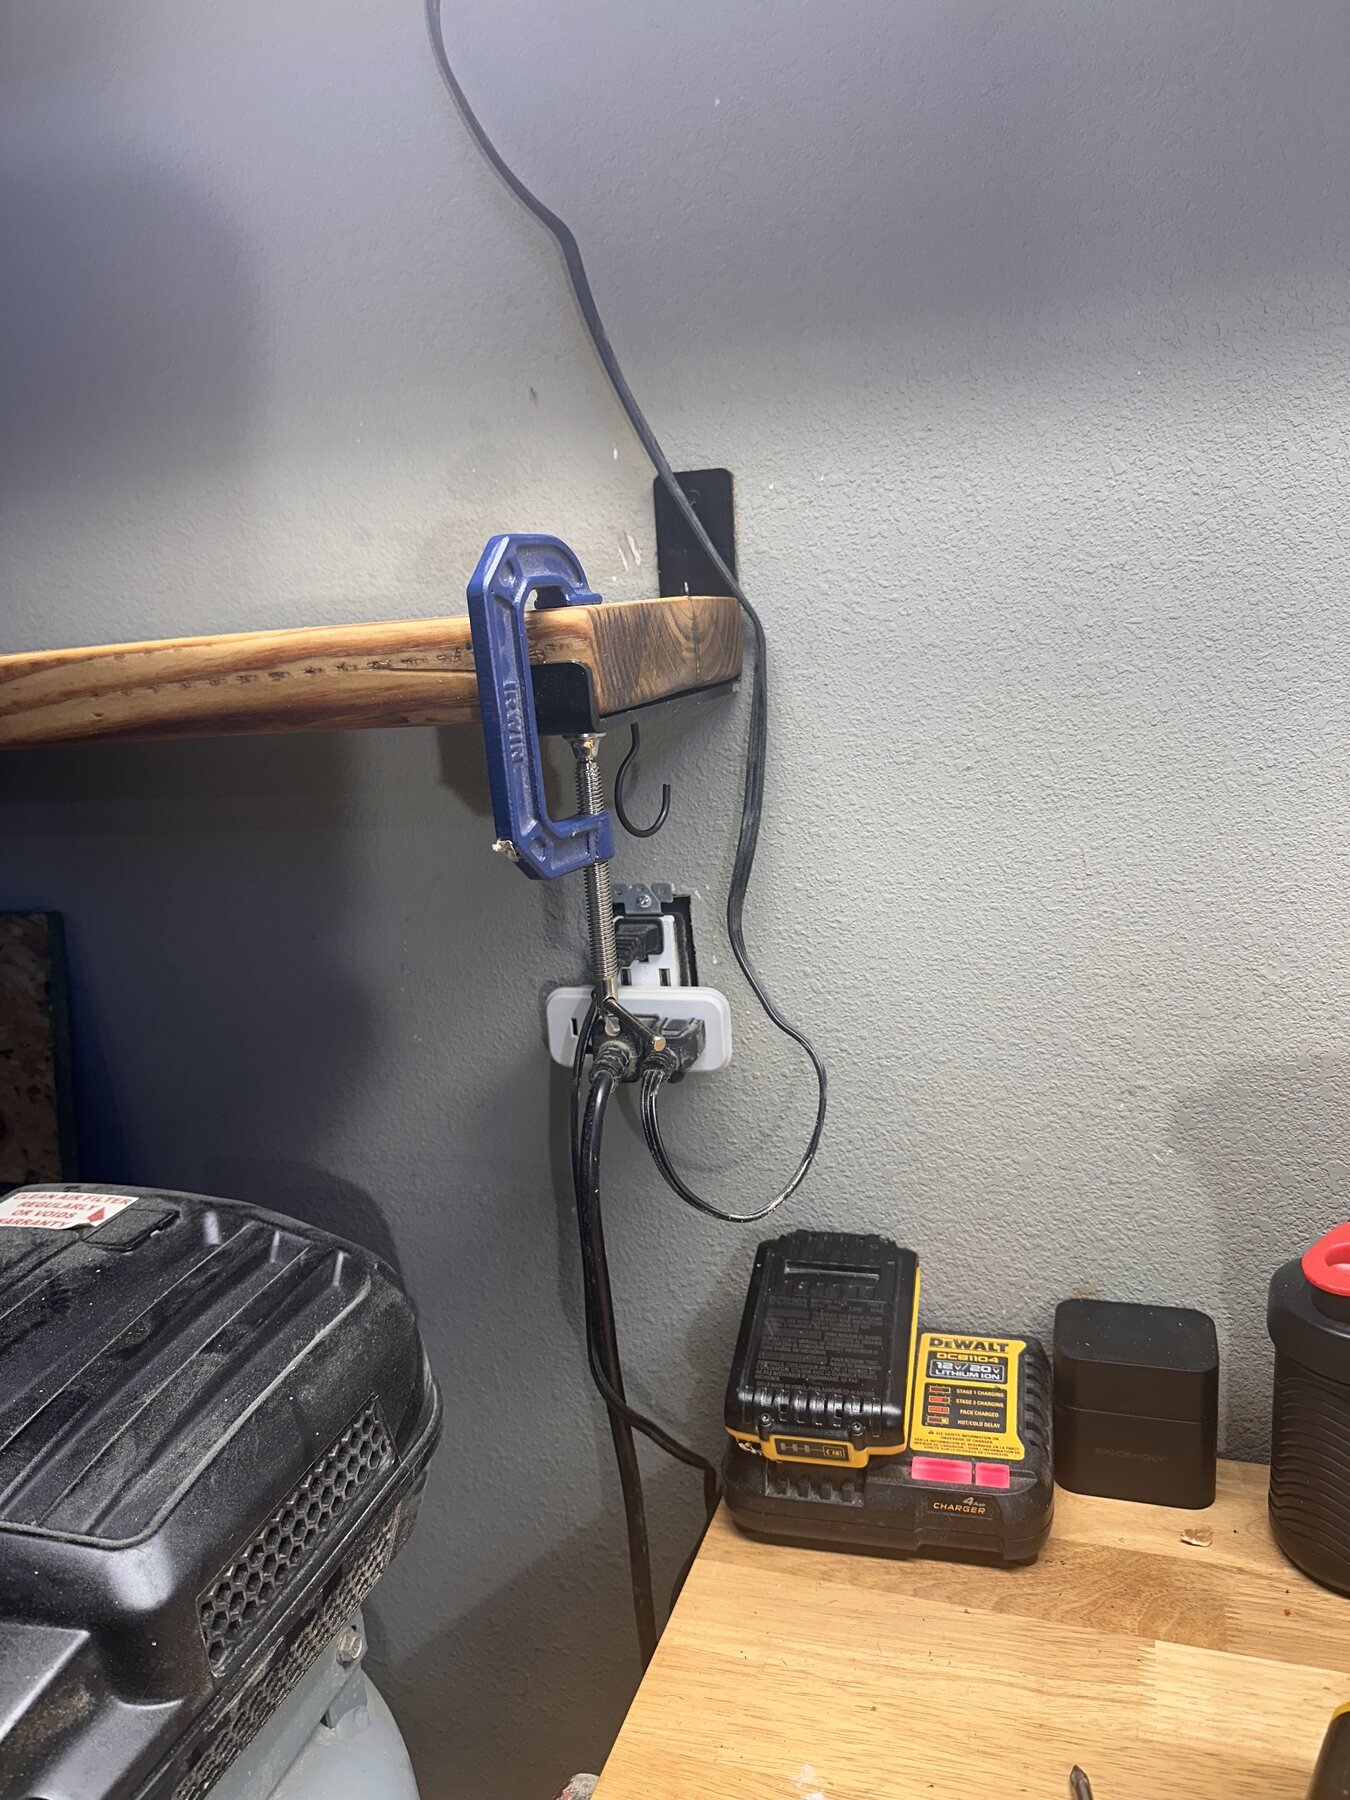
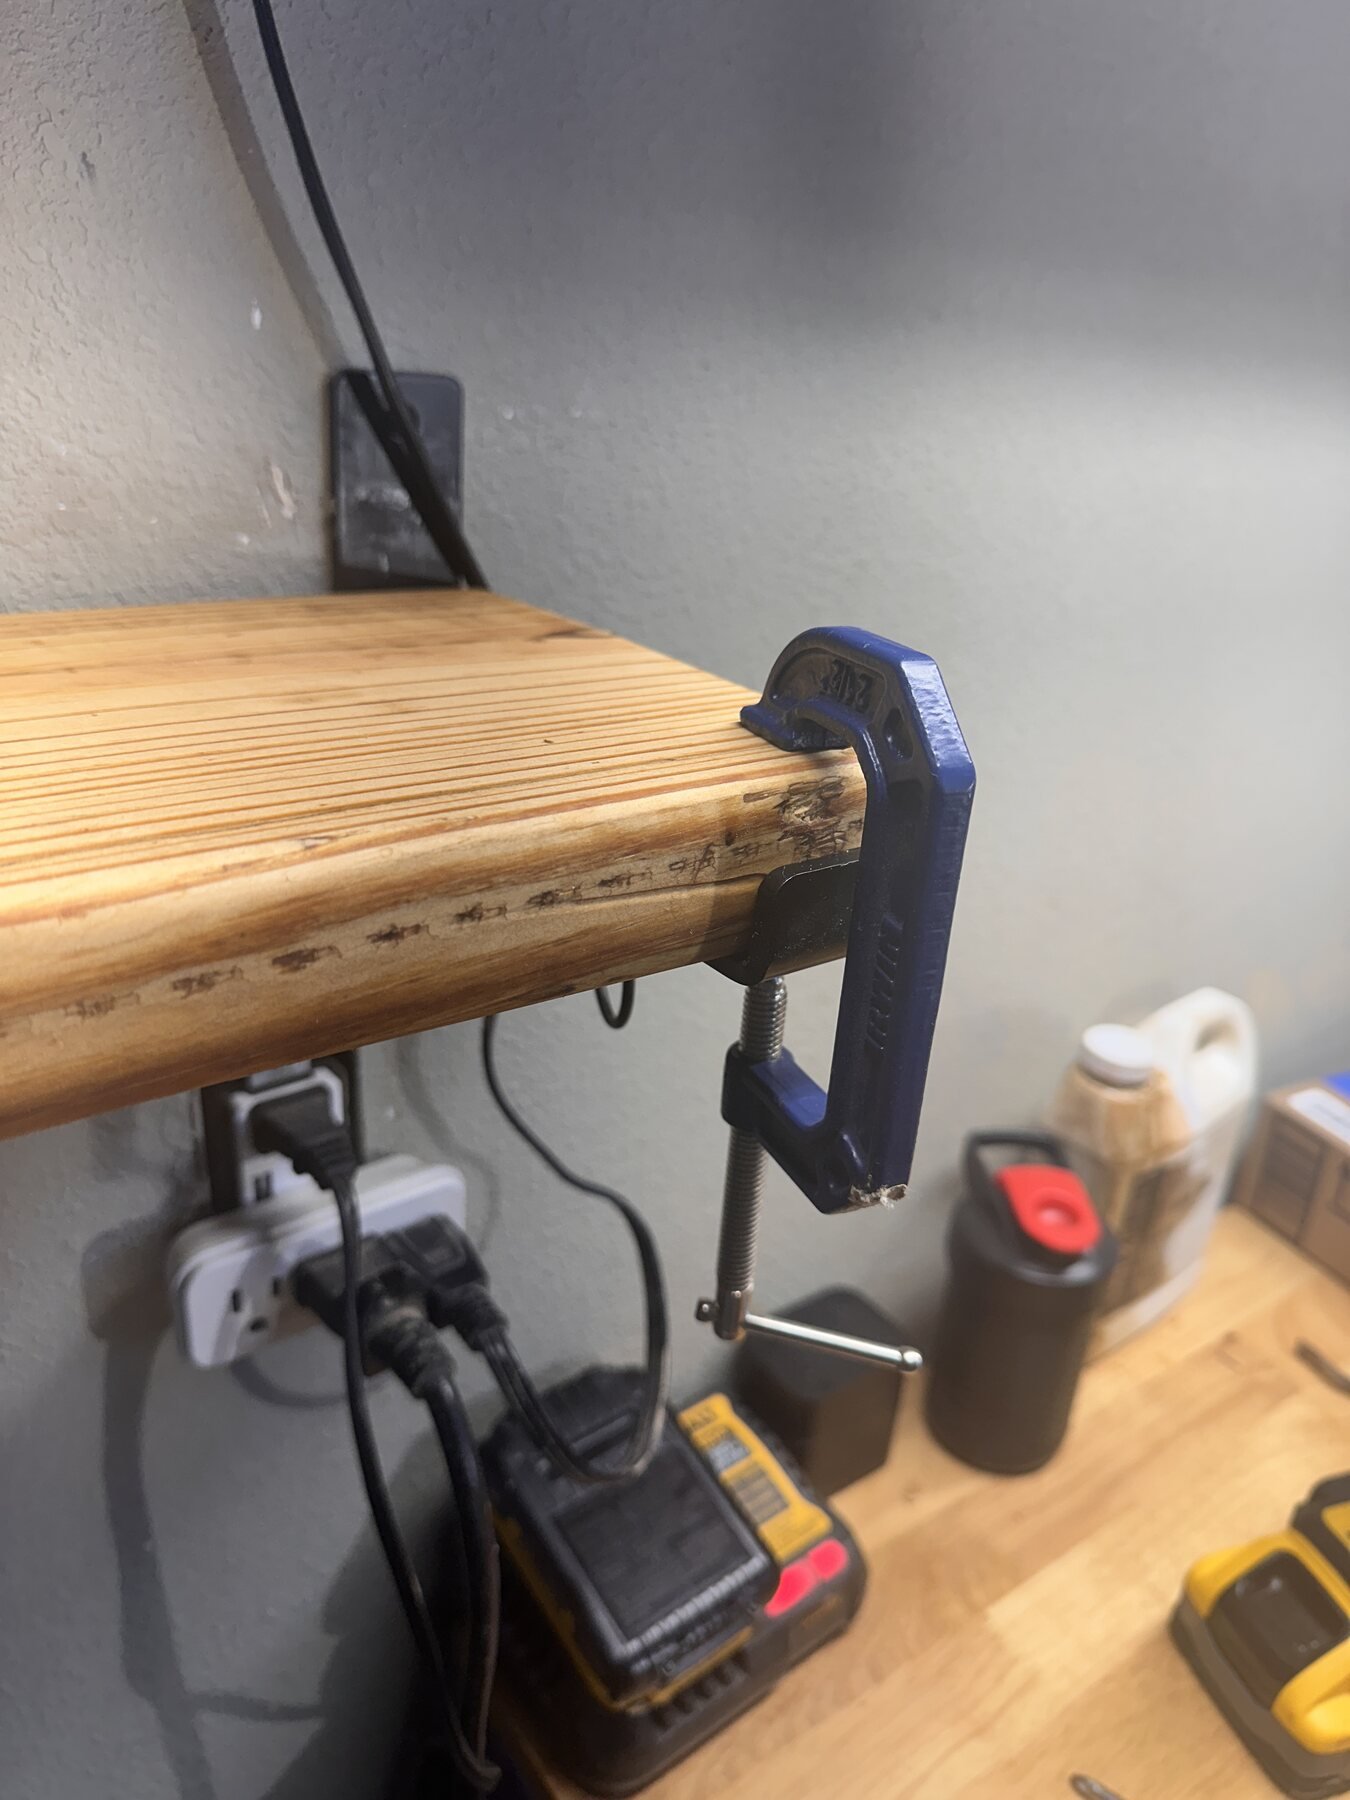
Once the brackets were level, the board finally came off the work surface and moved to the wall. I am in the process of anchoring it now as the first new shelf in the garage. Seeing that finished pine sitting under the older storage shelf makes the whole idea feel real.
I love how it is progressing. The project started as a useful garage shelf, but this first board is becoming something better than useful: a working shelf with a little memory in it.
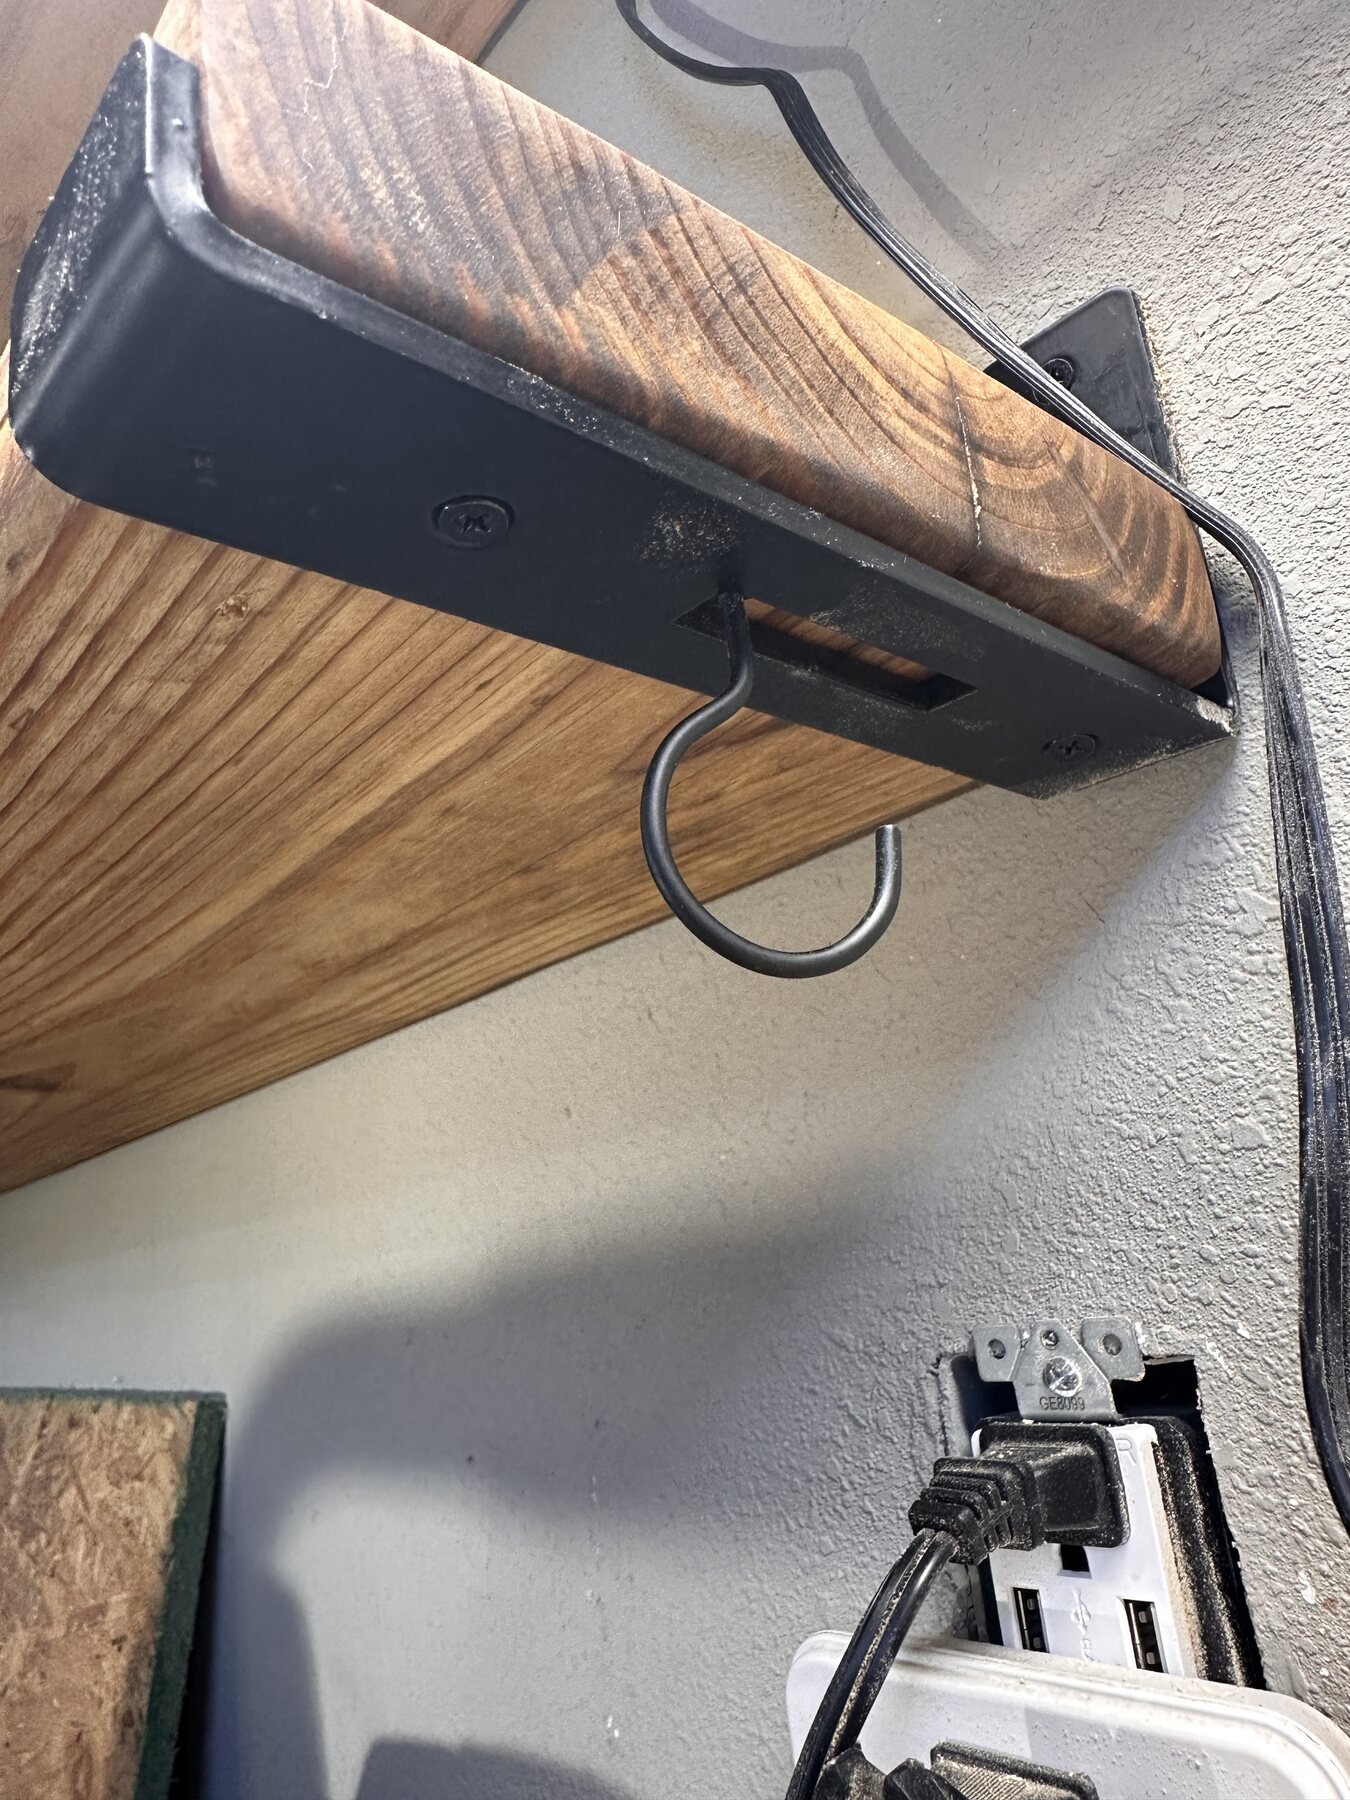
Stopping With Shelf One Started
There is a point in a good workday when progress means knowing when to stop. Tonight the first board is finished, leveled, seated on its brackets, and being anchored as the first new shelf.
The pressboard shelf still works. The pine shelf is starting to become something else. Somewhere between those two facts is the reason I came back to this project: usefulness may have started it, but learning the wood is what makes me want to finish it well.
Before the Color Arrived
Board Two began with the same promise and a different plan: sand every face and edge to 220 grit, study what the saw had exposed, and let this board decide how much color it wanted.
The photographs in this section belong to the before-stain record. Some show completely dry, freshly sanded pine. The later photographs show the face after Minwax pre-stain wood conditioner, but still before a drop of Early American 230 stain touched it. The finished-color photographs appear in the reveal below, and that separation matters: this is the board at the threshold, not after the color arrived.
By the time I wrote these notes, the opposite face had become my natural-finish experiment. It received four thin coats of Minwax Warm Gloss polyurethane cut 50/50 with odorless mineral spirits. The mixture flowed beautifully, and it confirmed a lesson I am learning quickly: several patient, thin coats beat one or two heavy coats.
Where the Tree Chose Another Direction
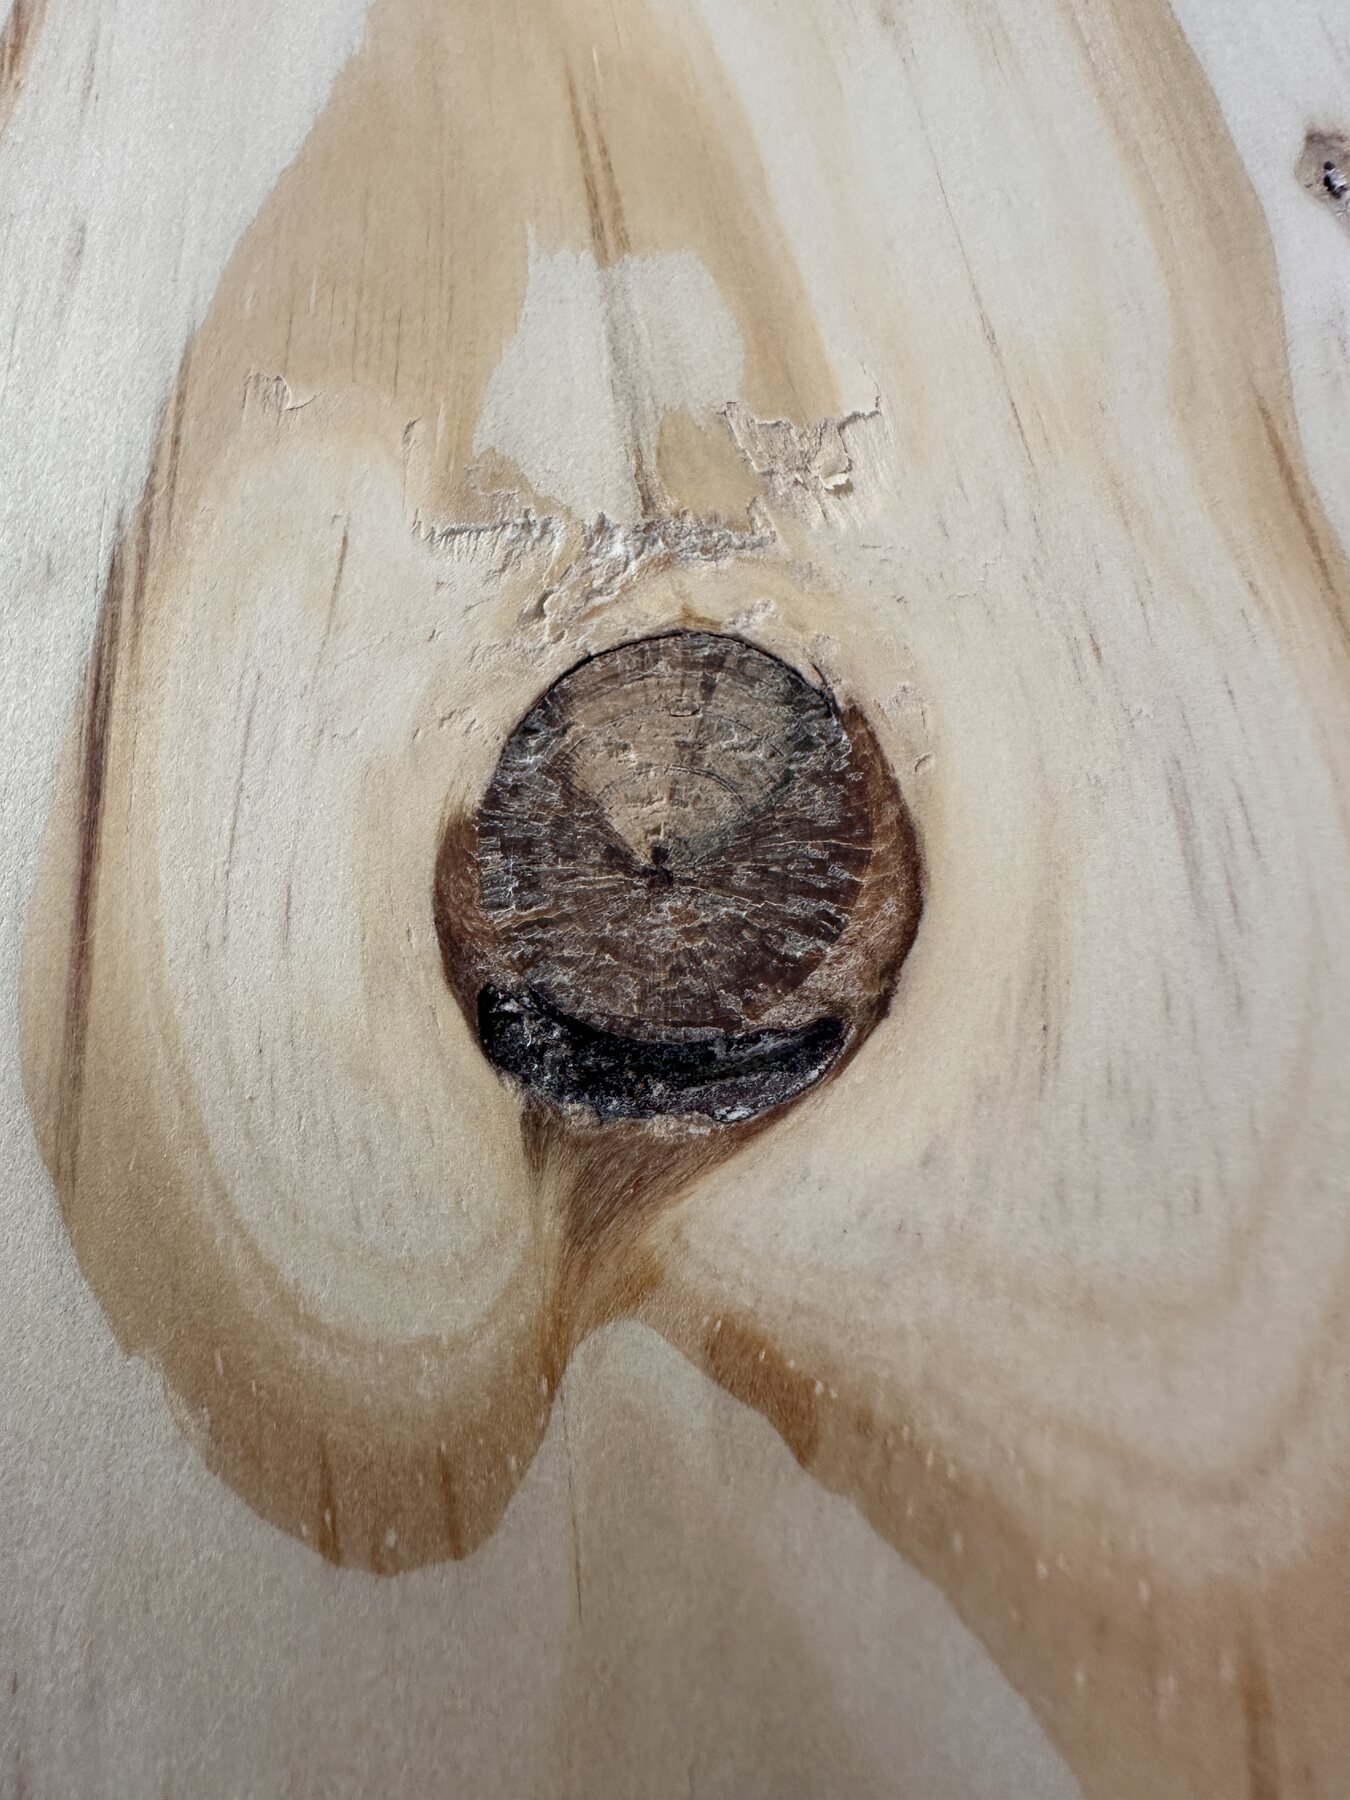
A knot is not an ornament added to wood. It is the buried base of a branch—a place where the trunk and limb once grew together and the fibers were forced to bend, tighten, and negotiate around one another.
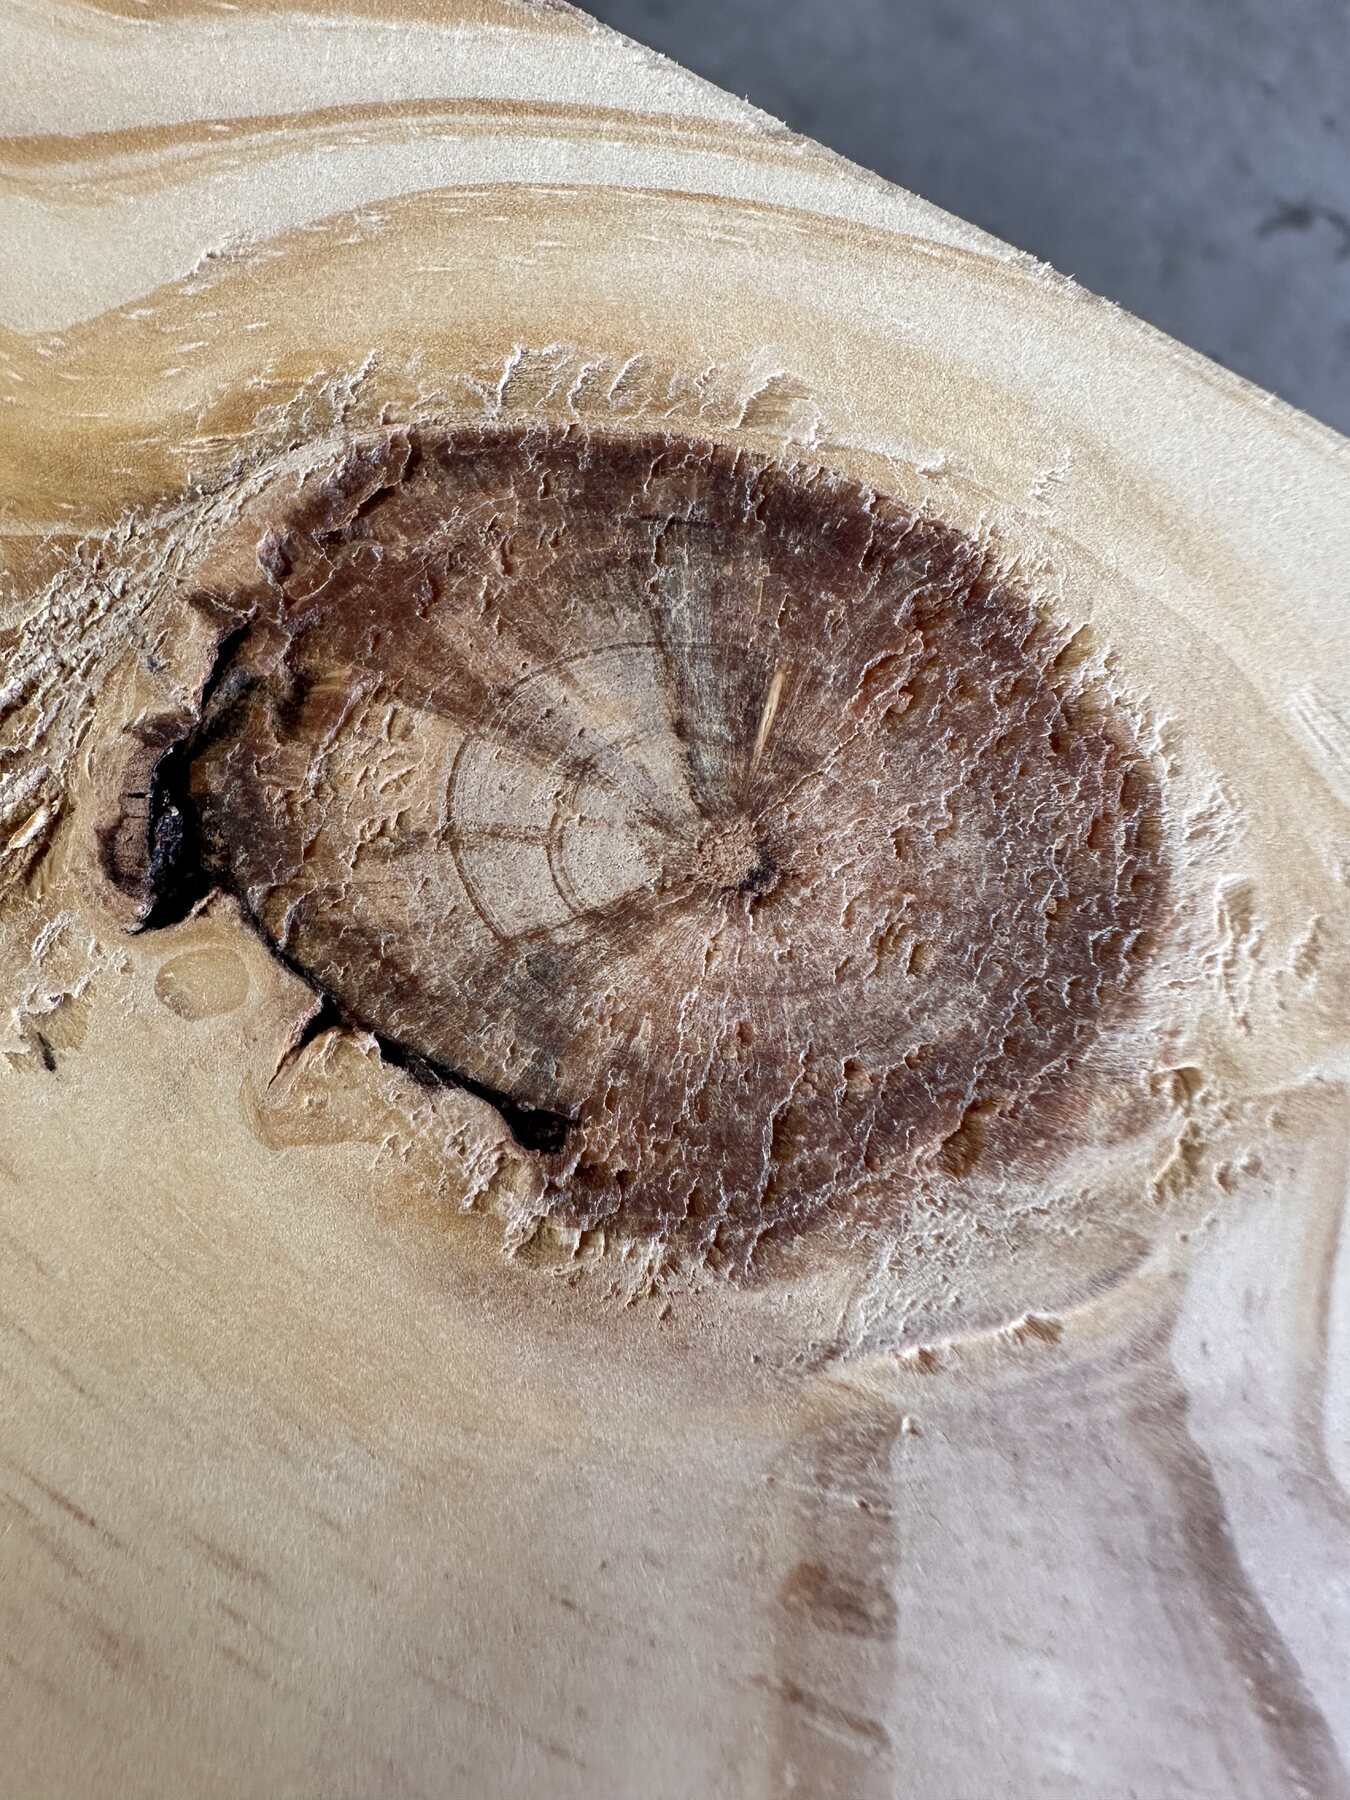
The saw did not create these scenes. It only opened them. In one cut, a branch becomes a dark oval. In another, it becomes rings, a cone, a loose island, or a half-circle caught at the edge. Tight knots remain locked into the surrounding wood; others shrink, crack, and pull away, leaving the dark little moats and caverns seen here. Together they are the oldest chapter in this shelf project.
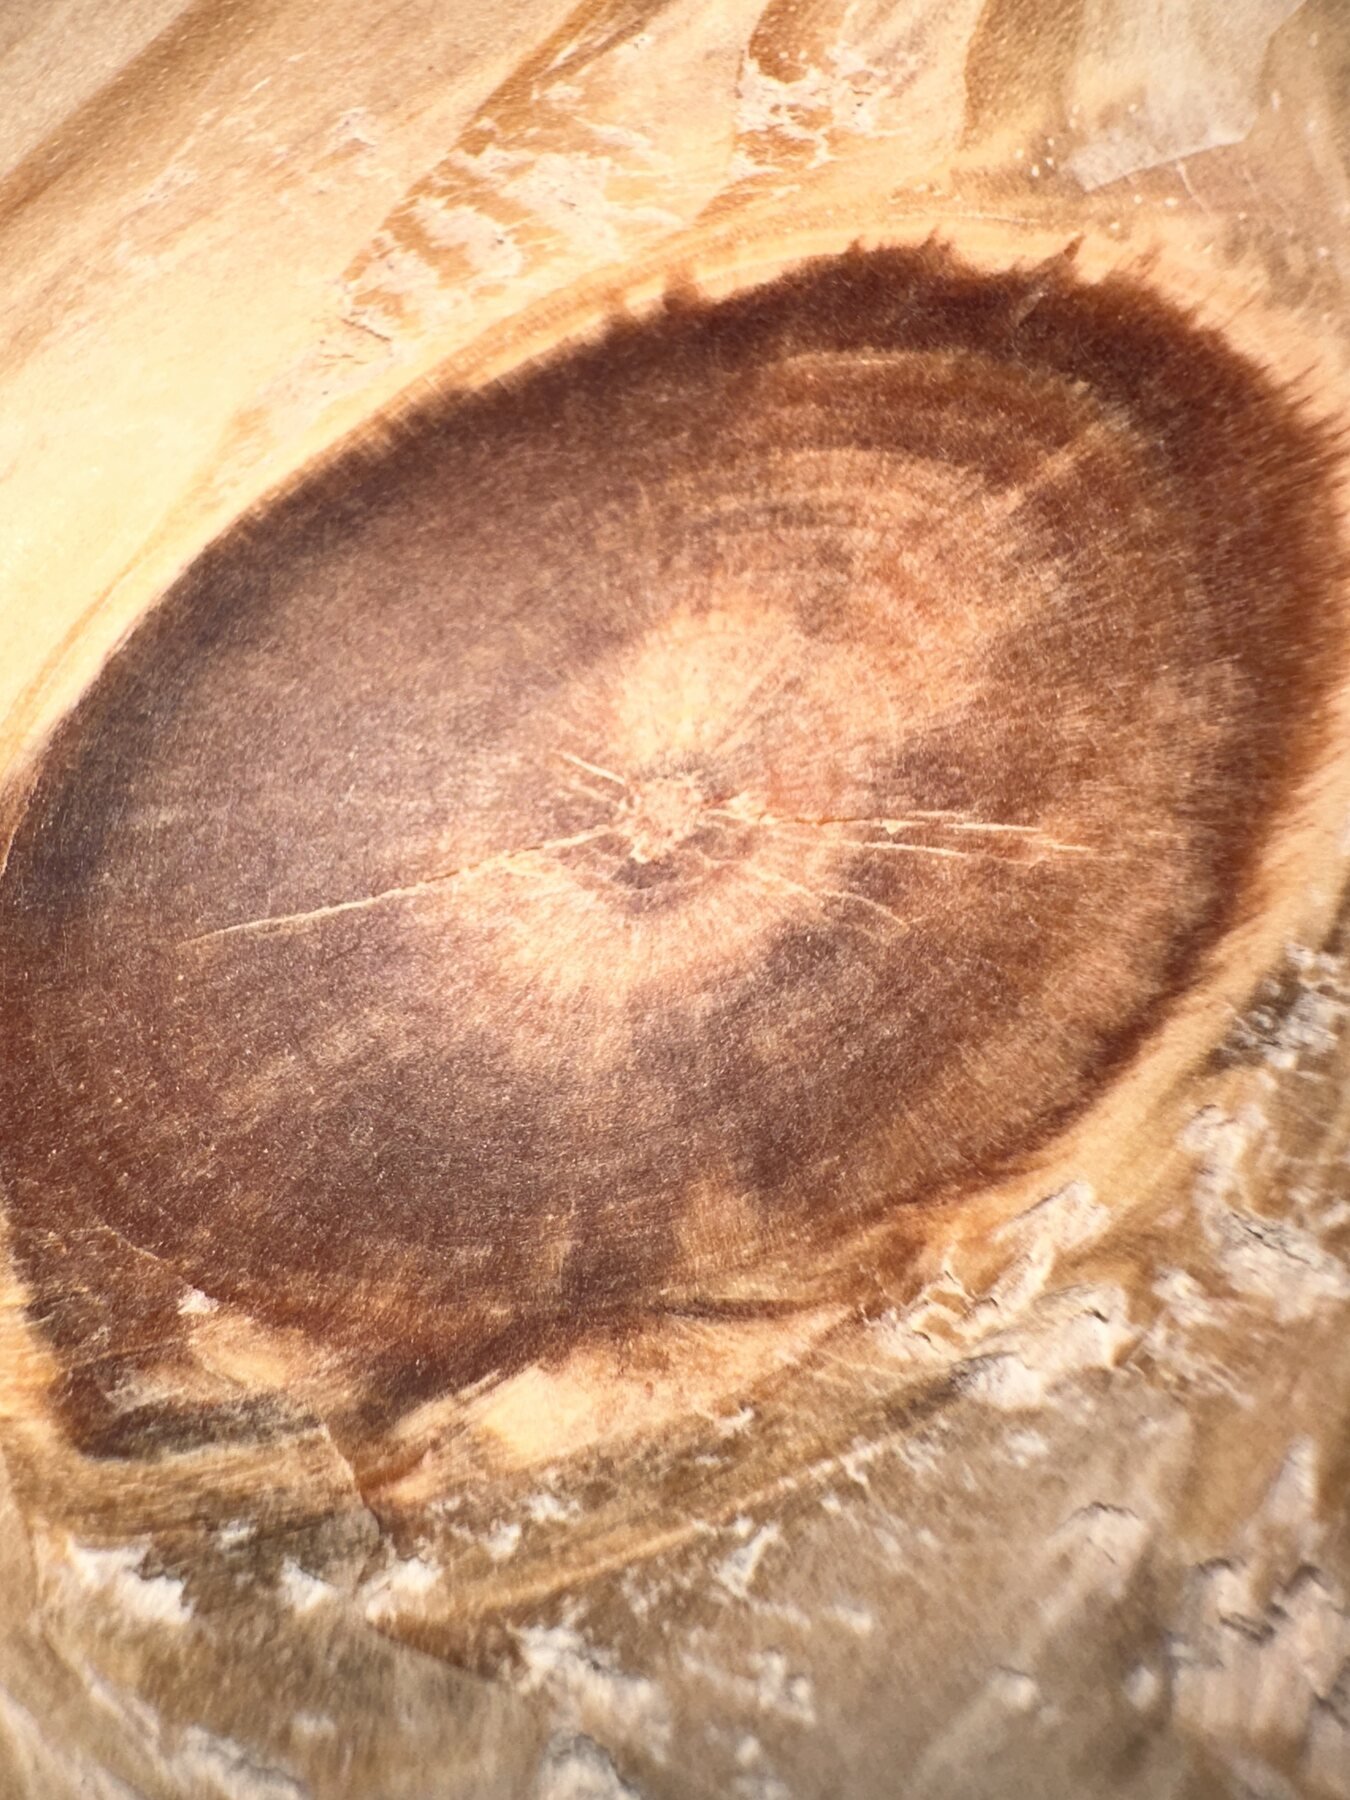
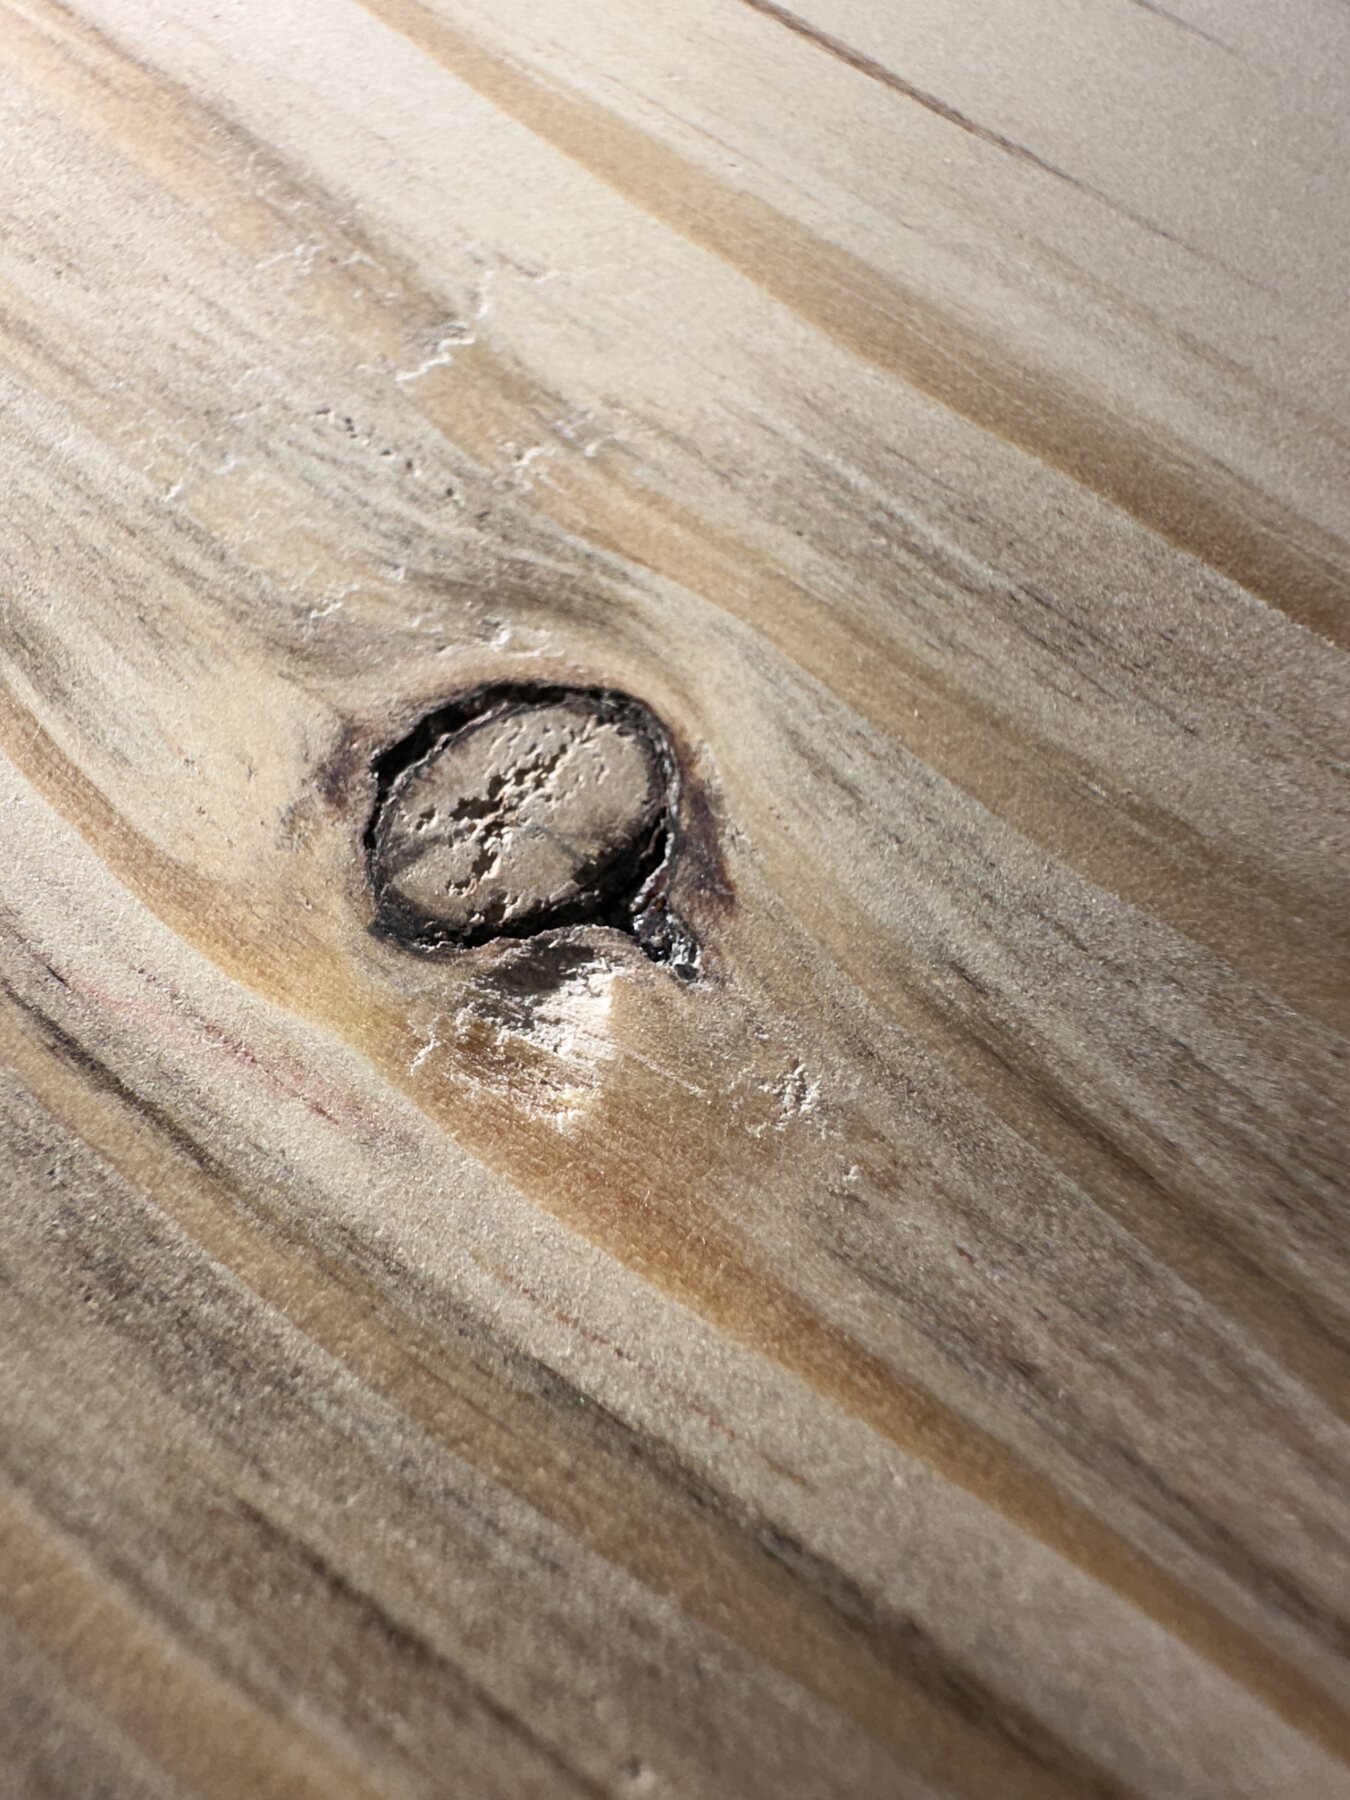
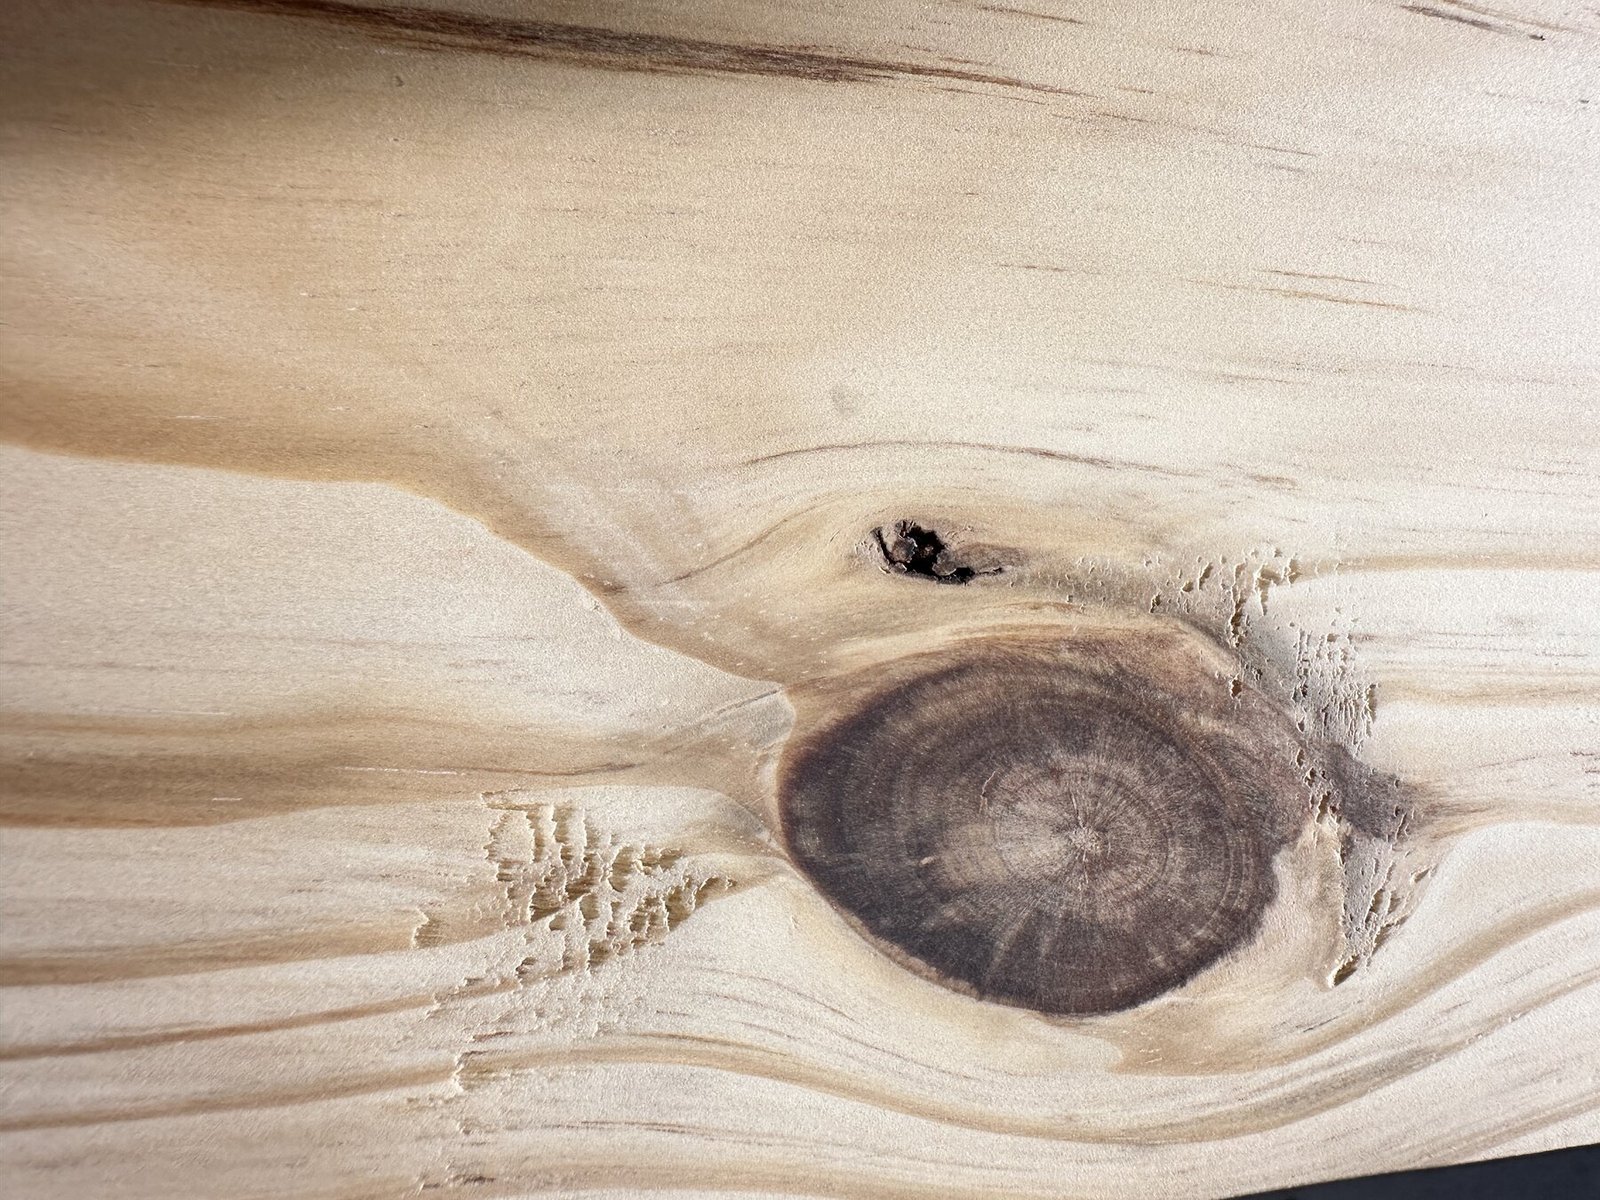
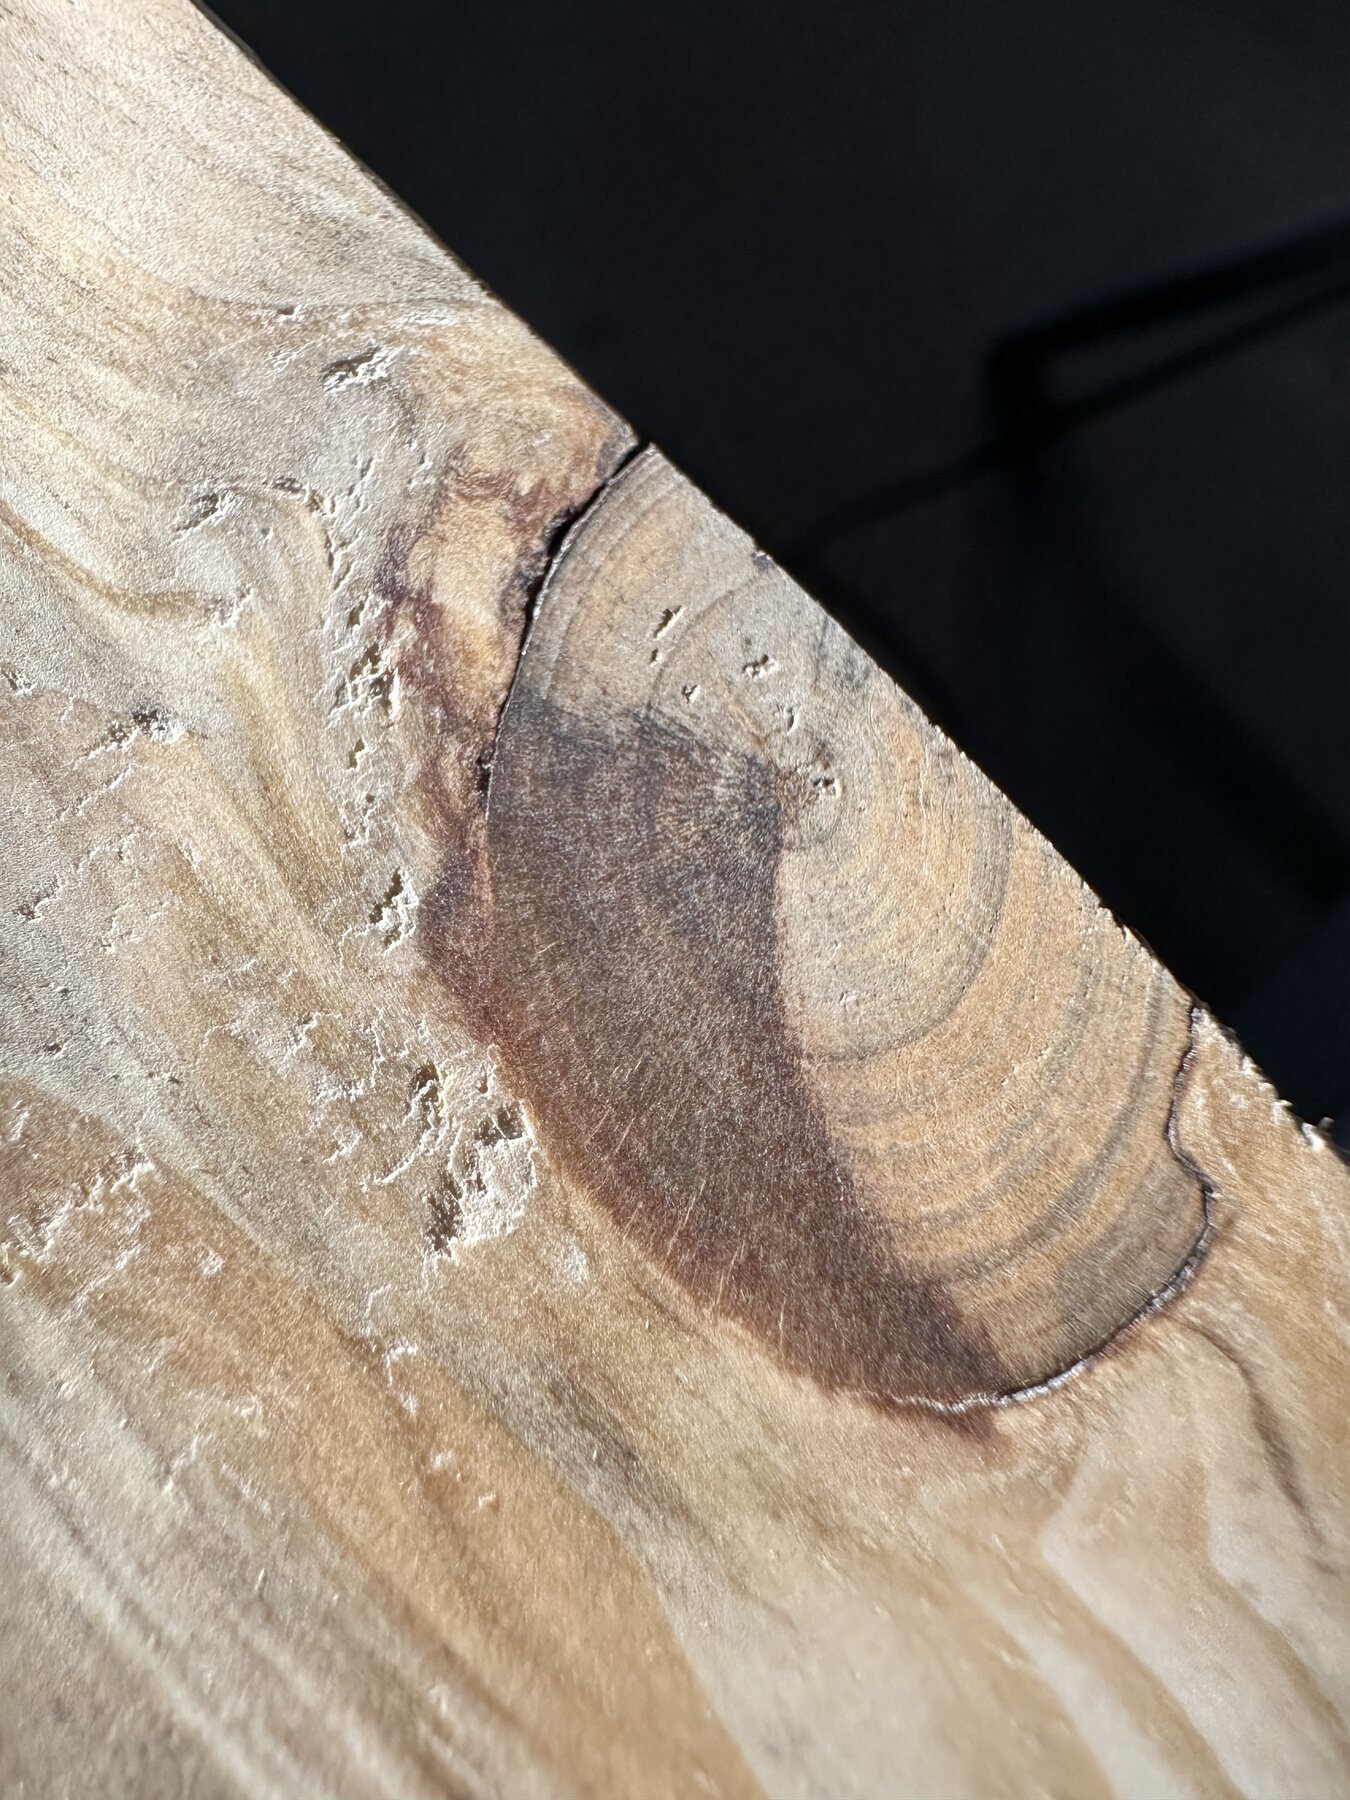
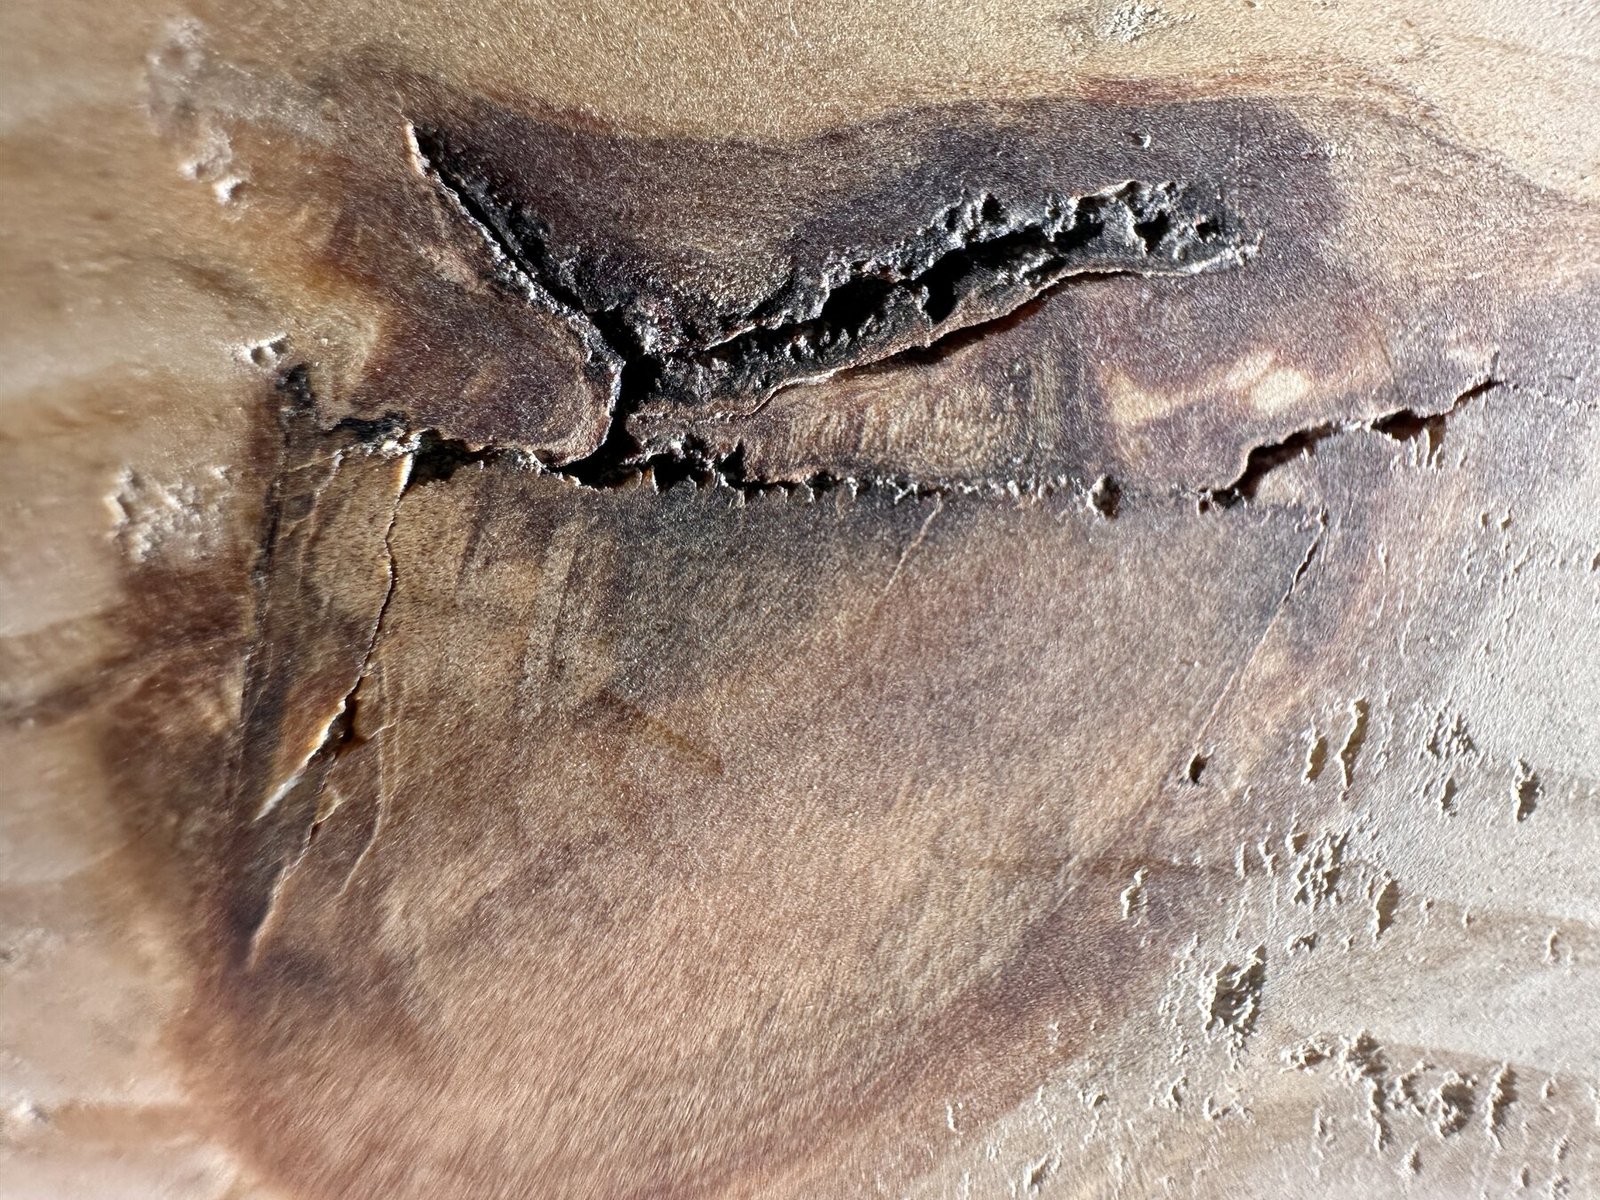
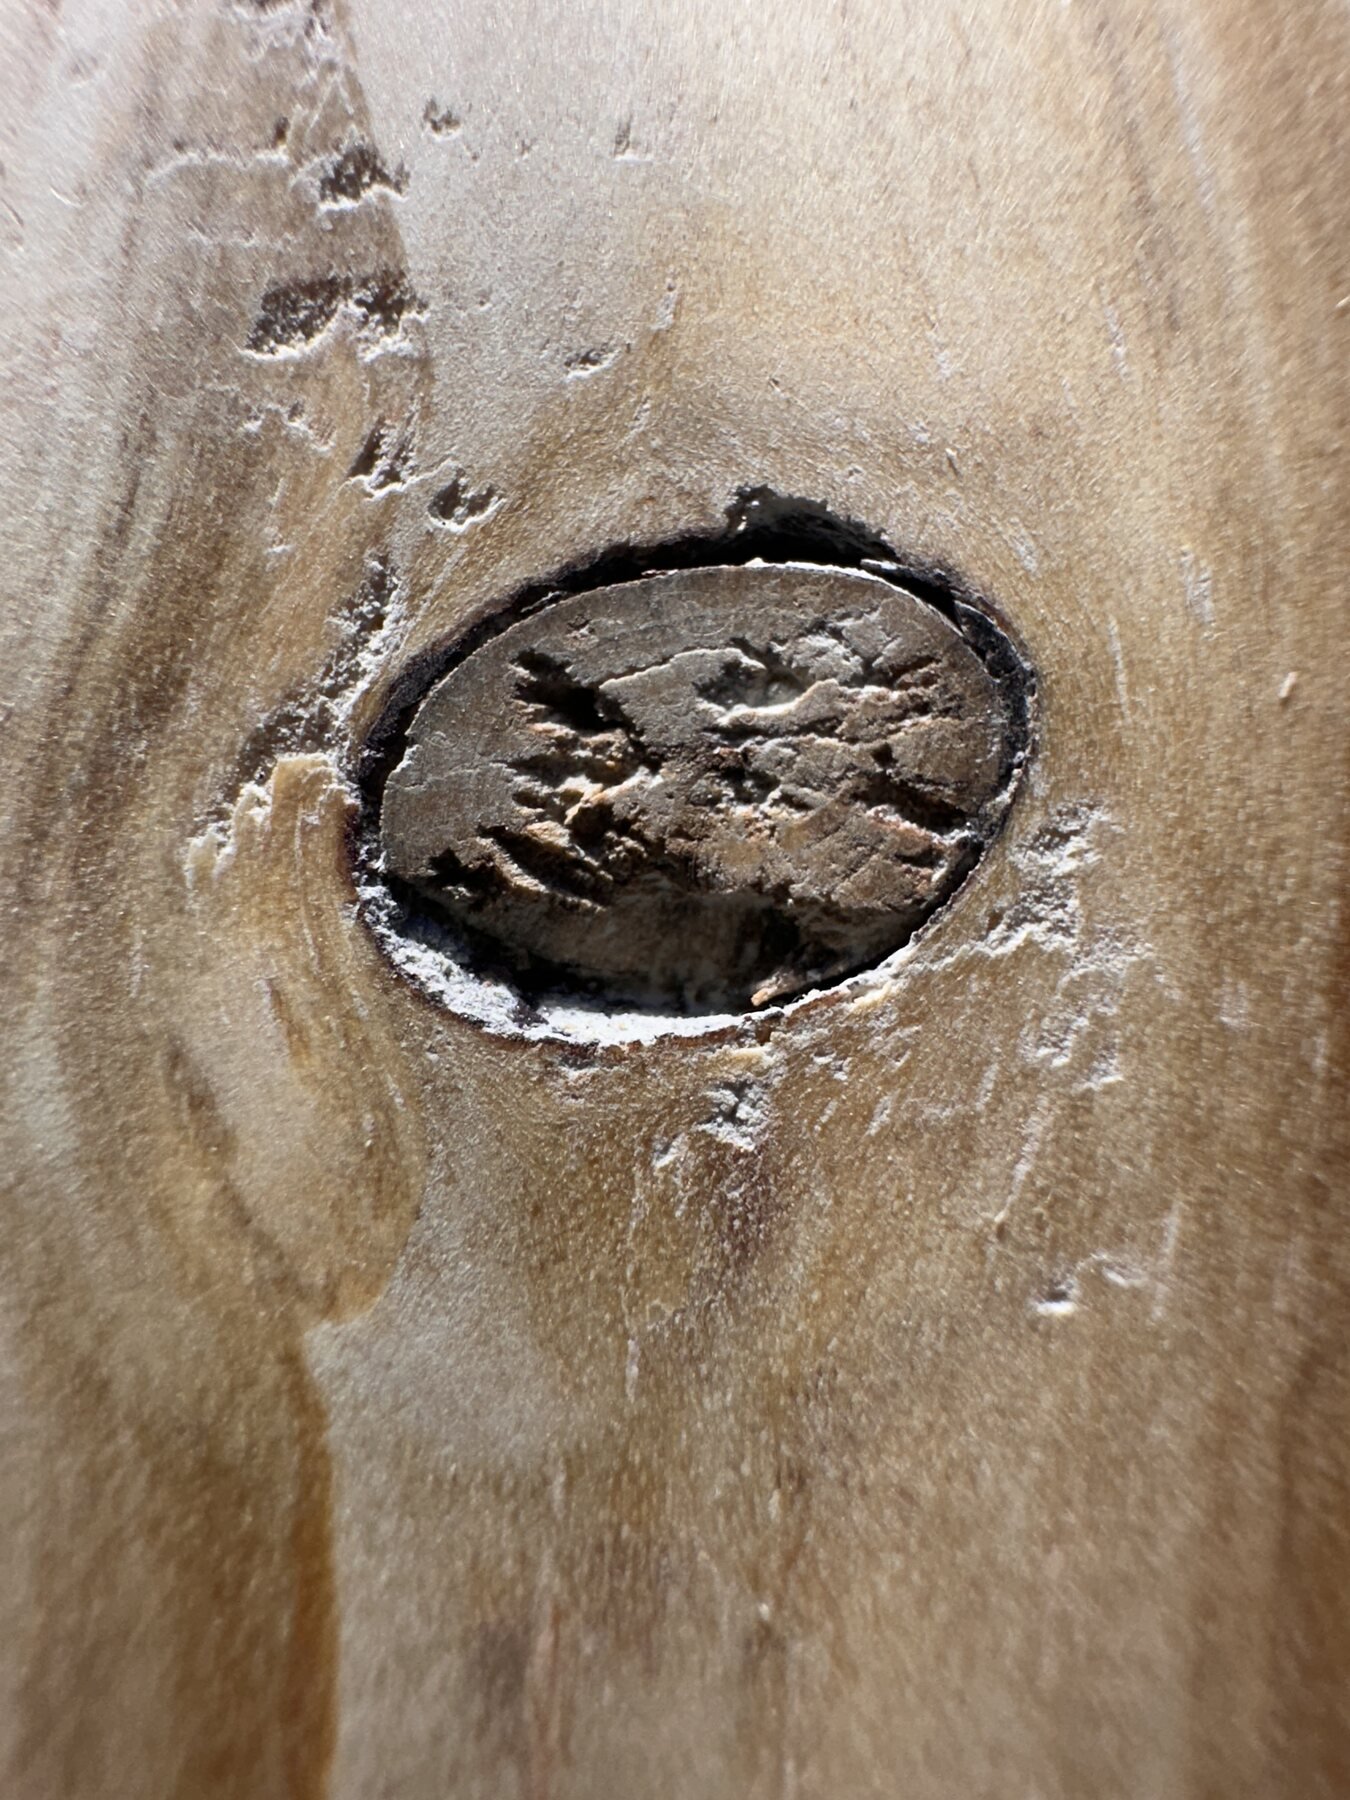
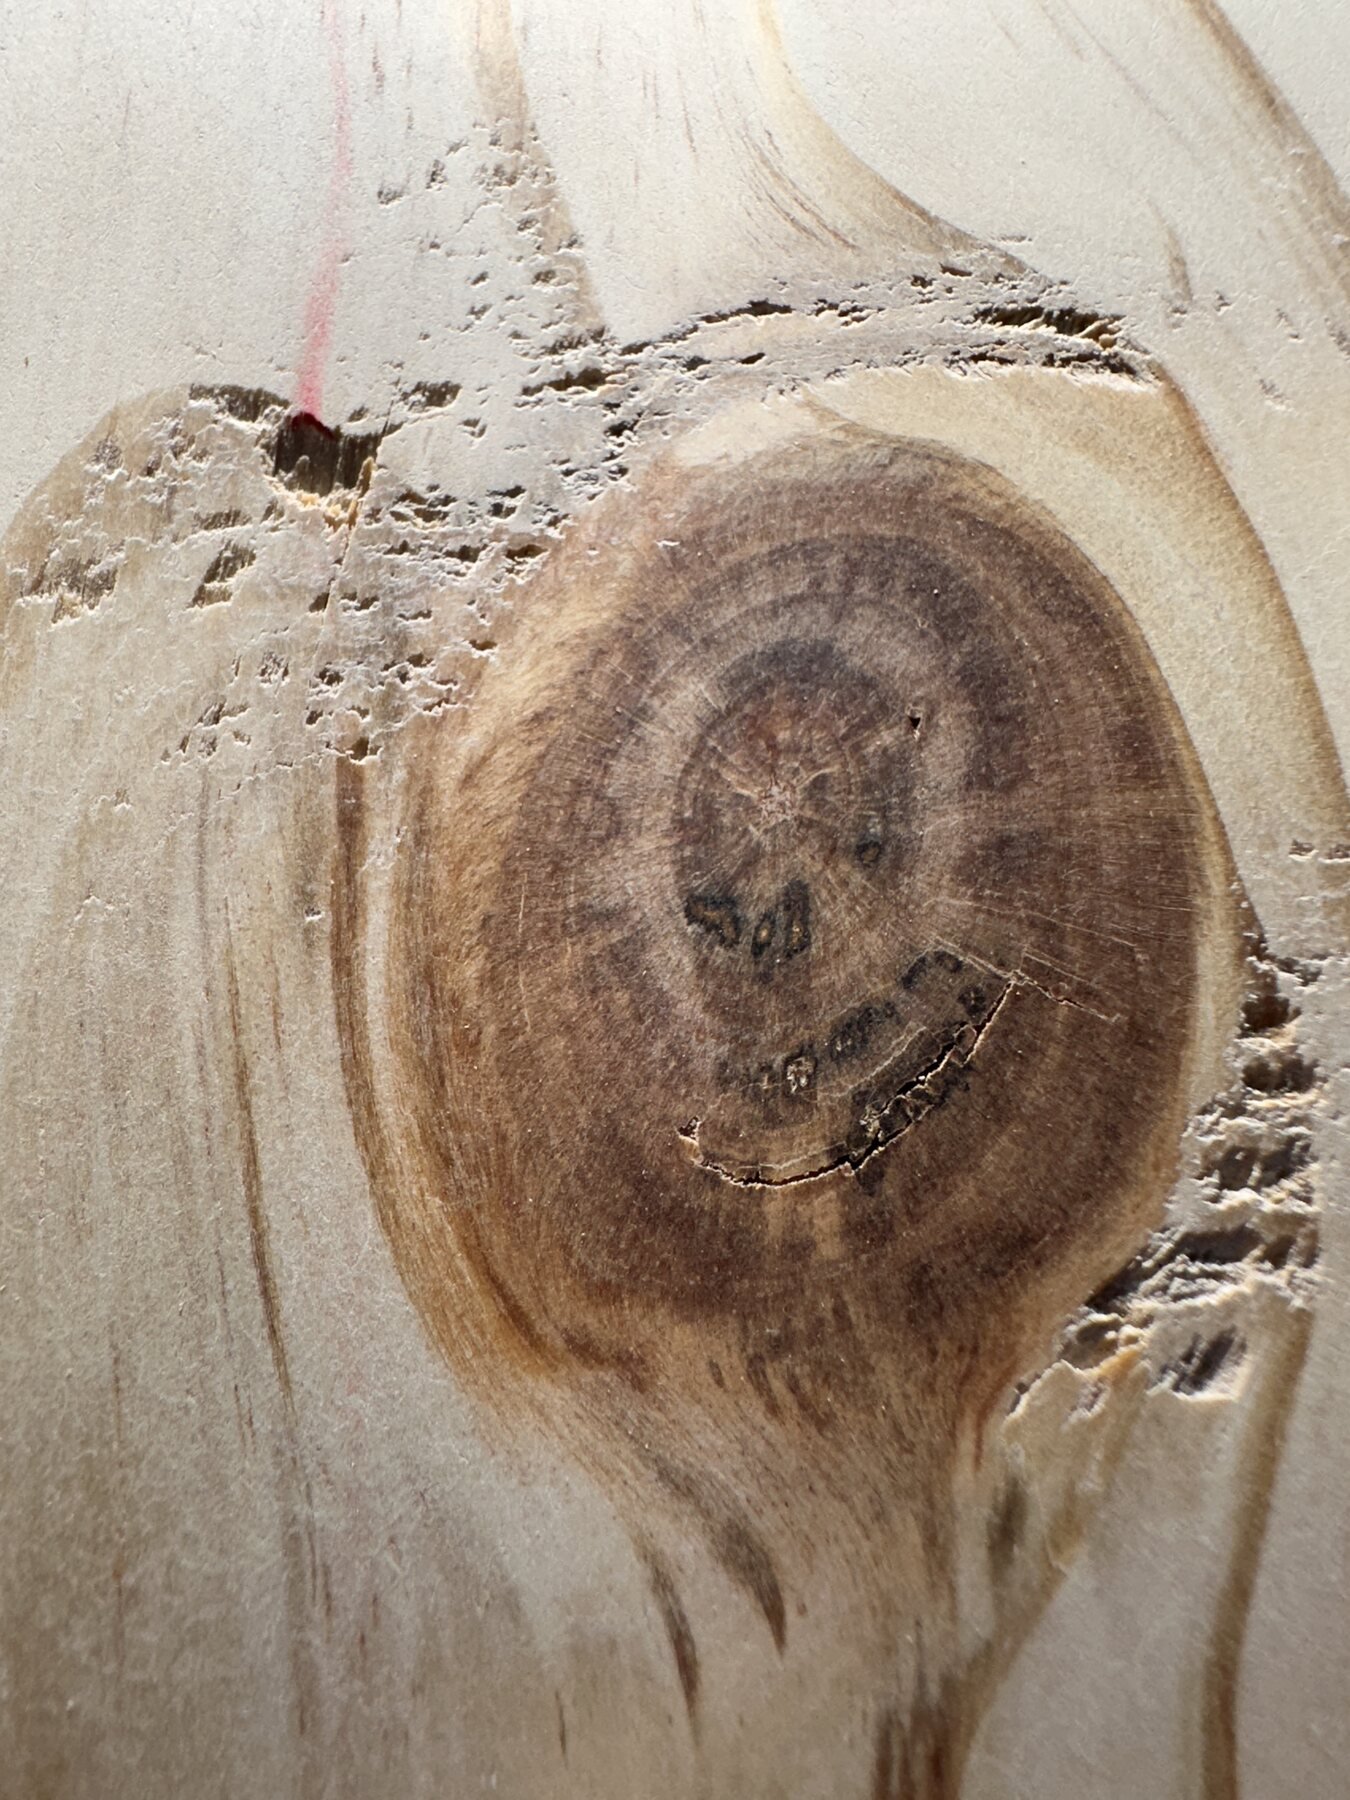
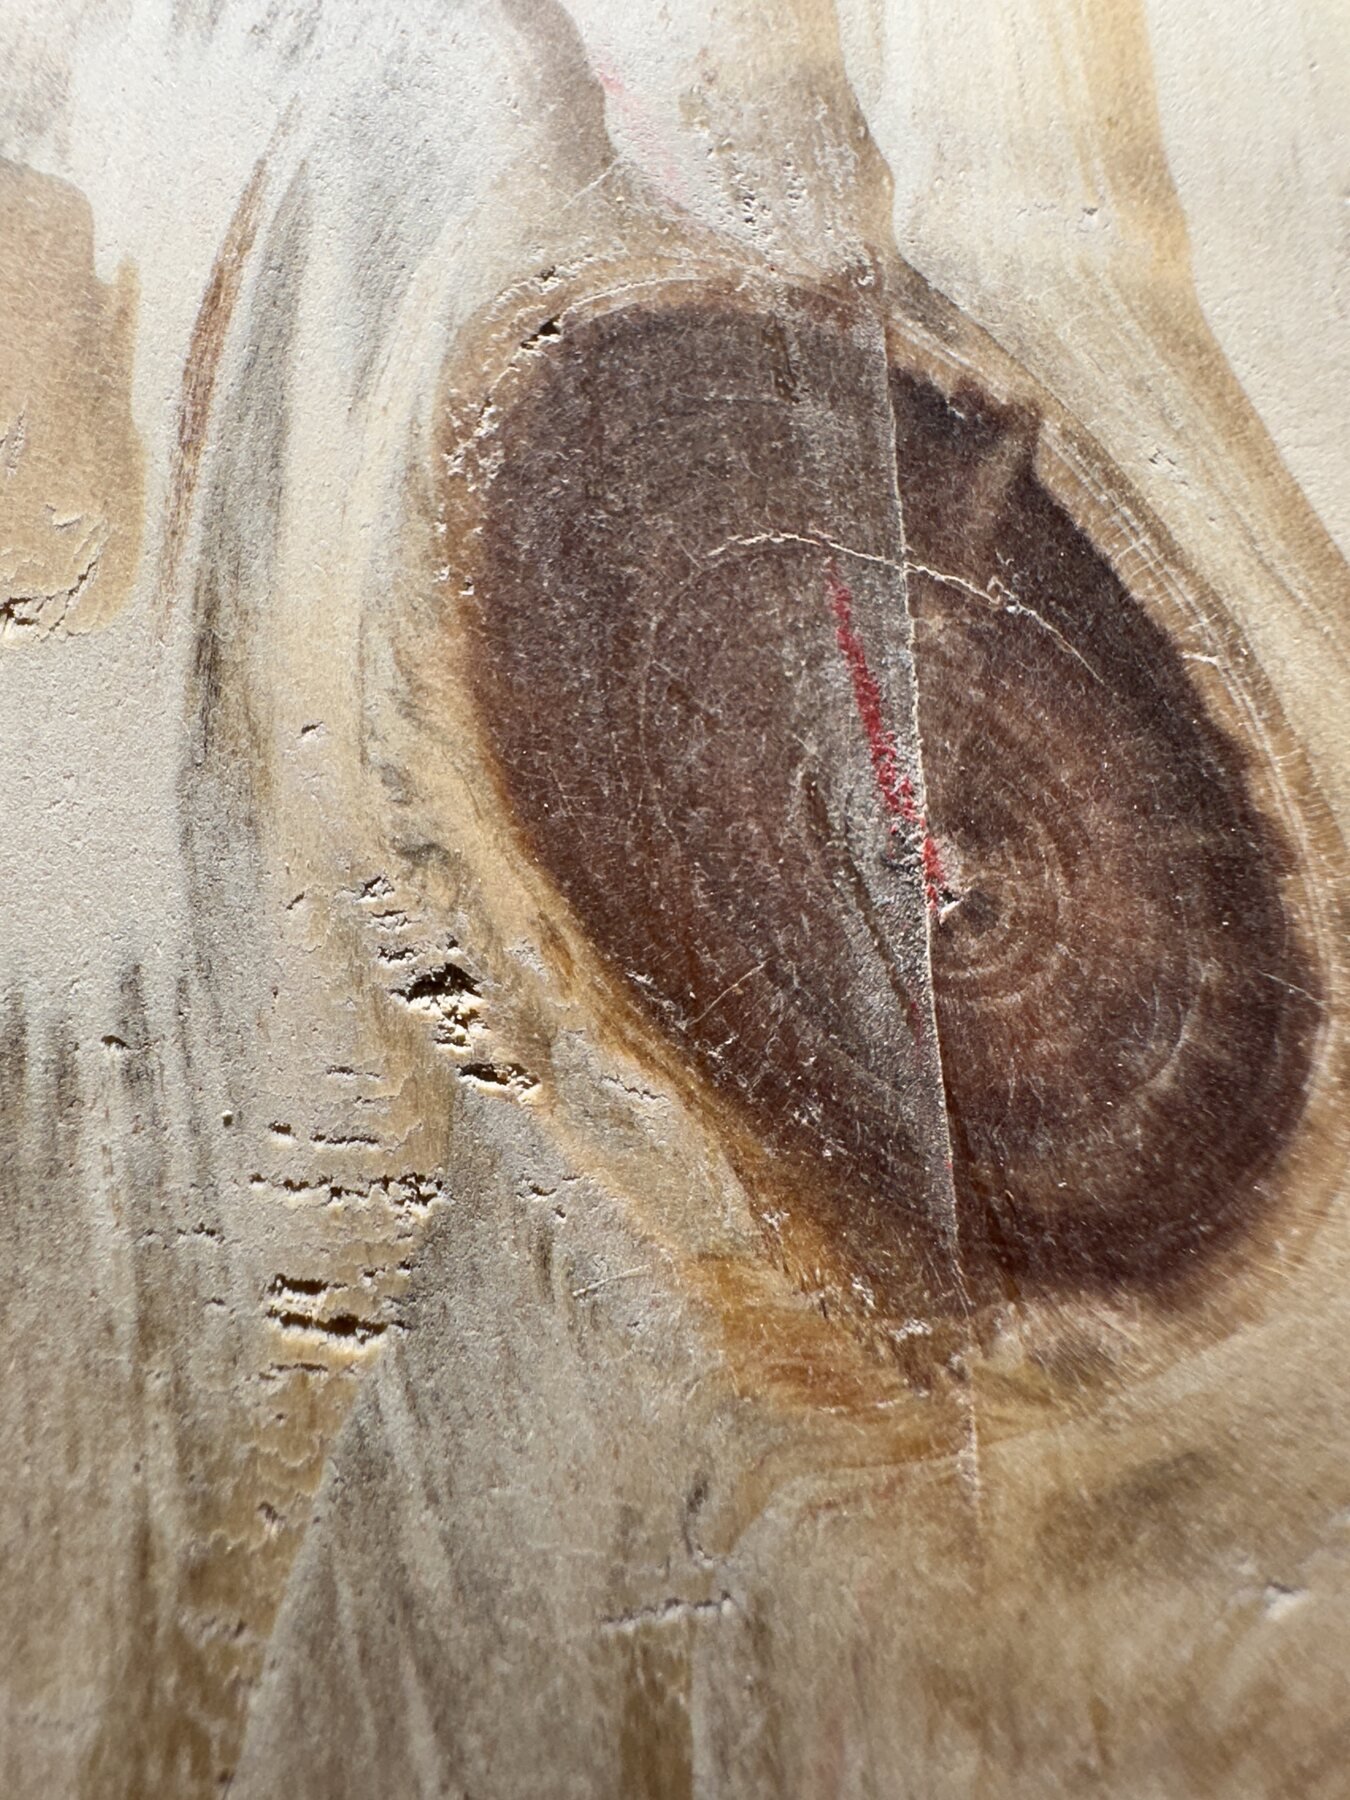
The shelf will eventually hold boxes. For one evening, before the finish arrived, it held an entire history of branches.
The Quiet Moment Before Early American
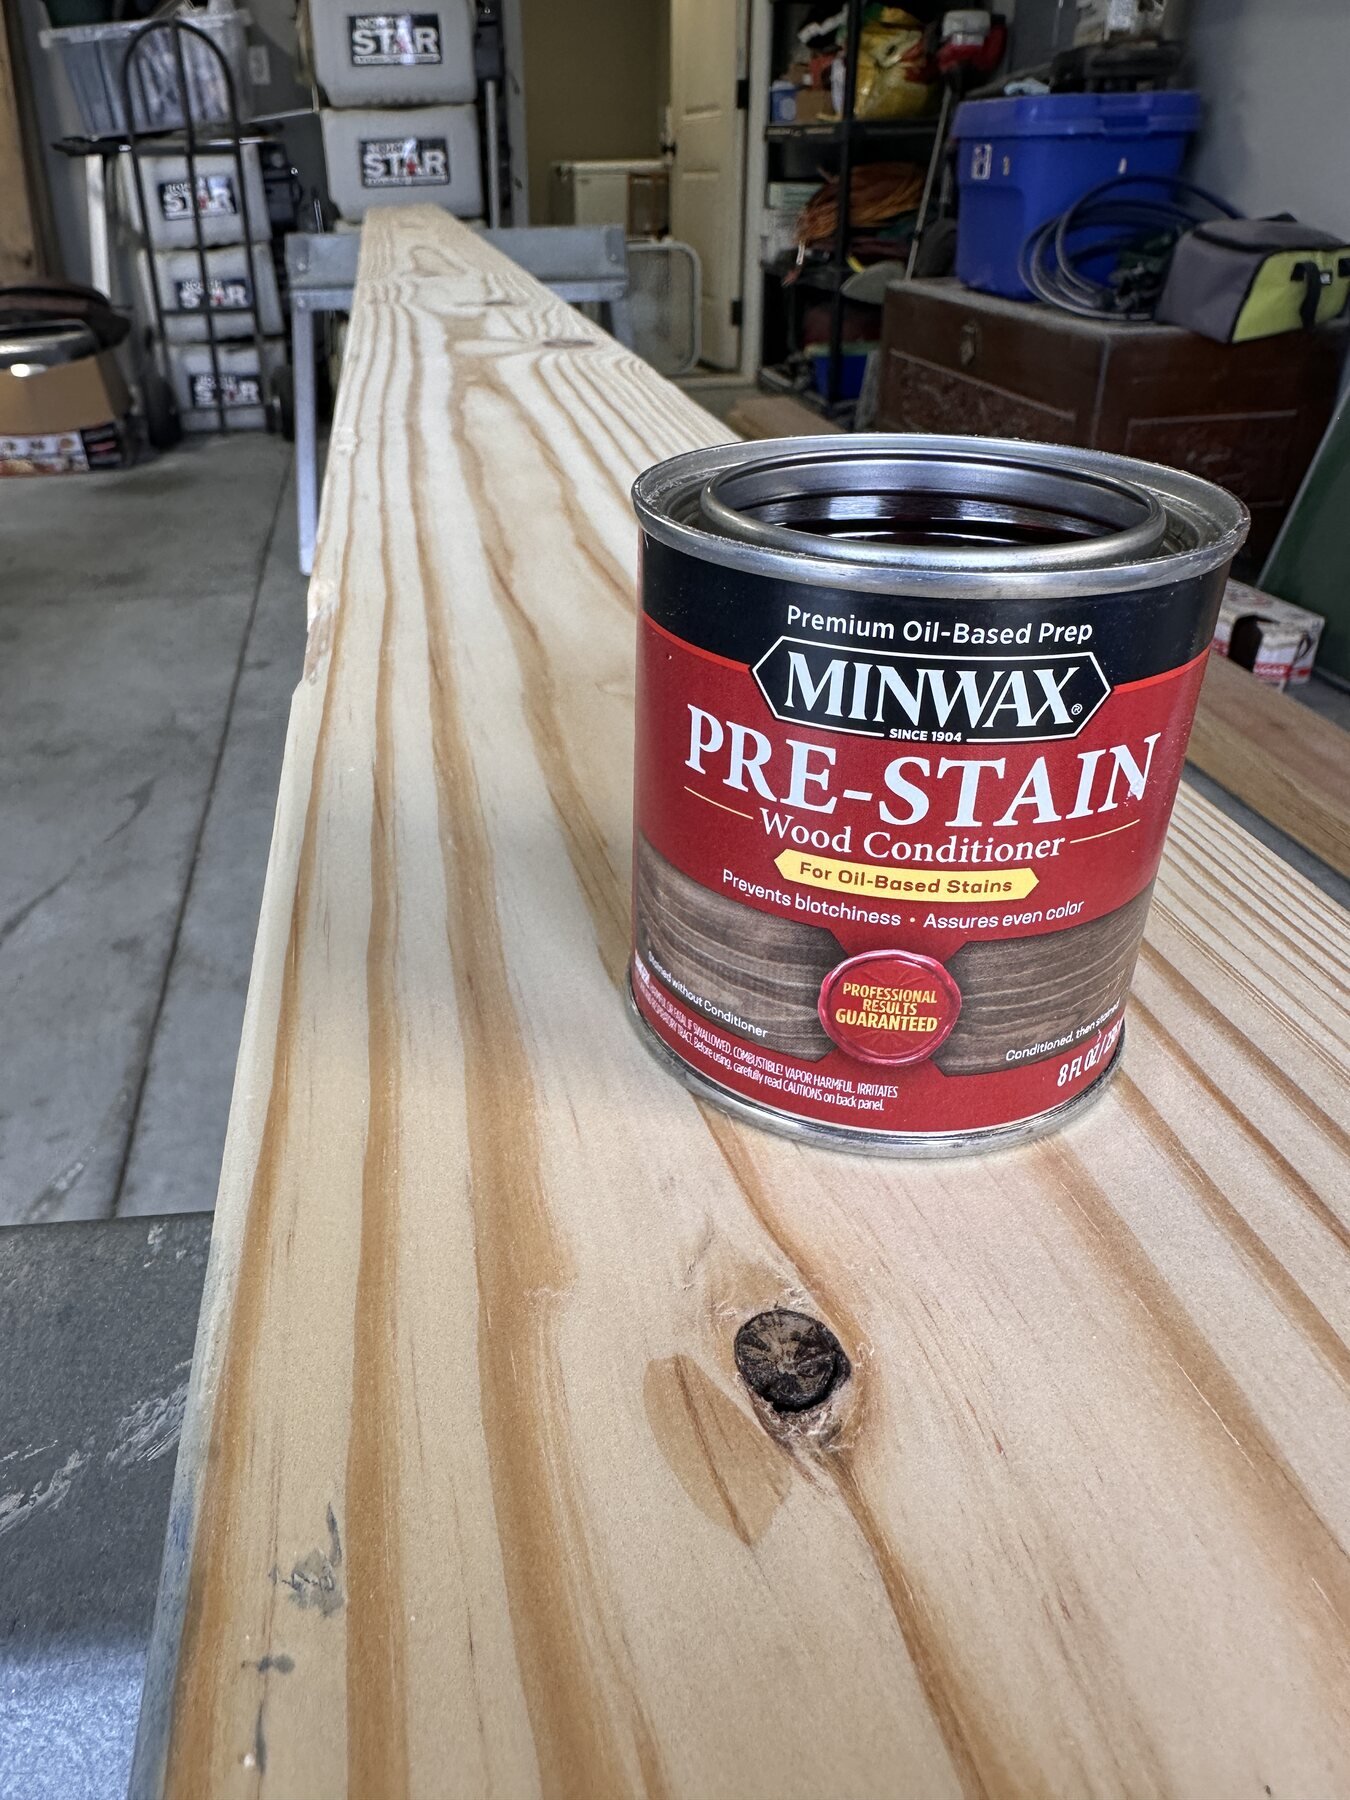
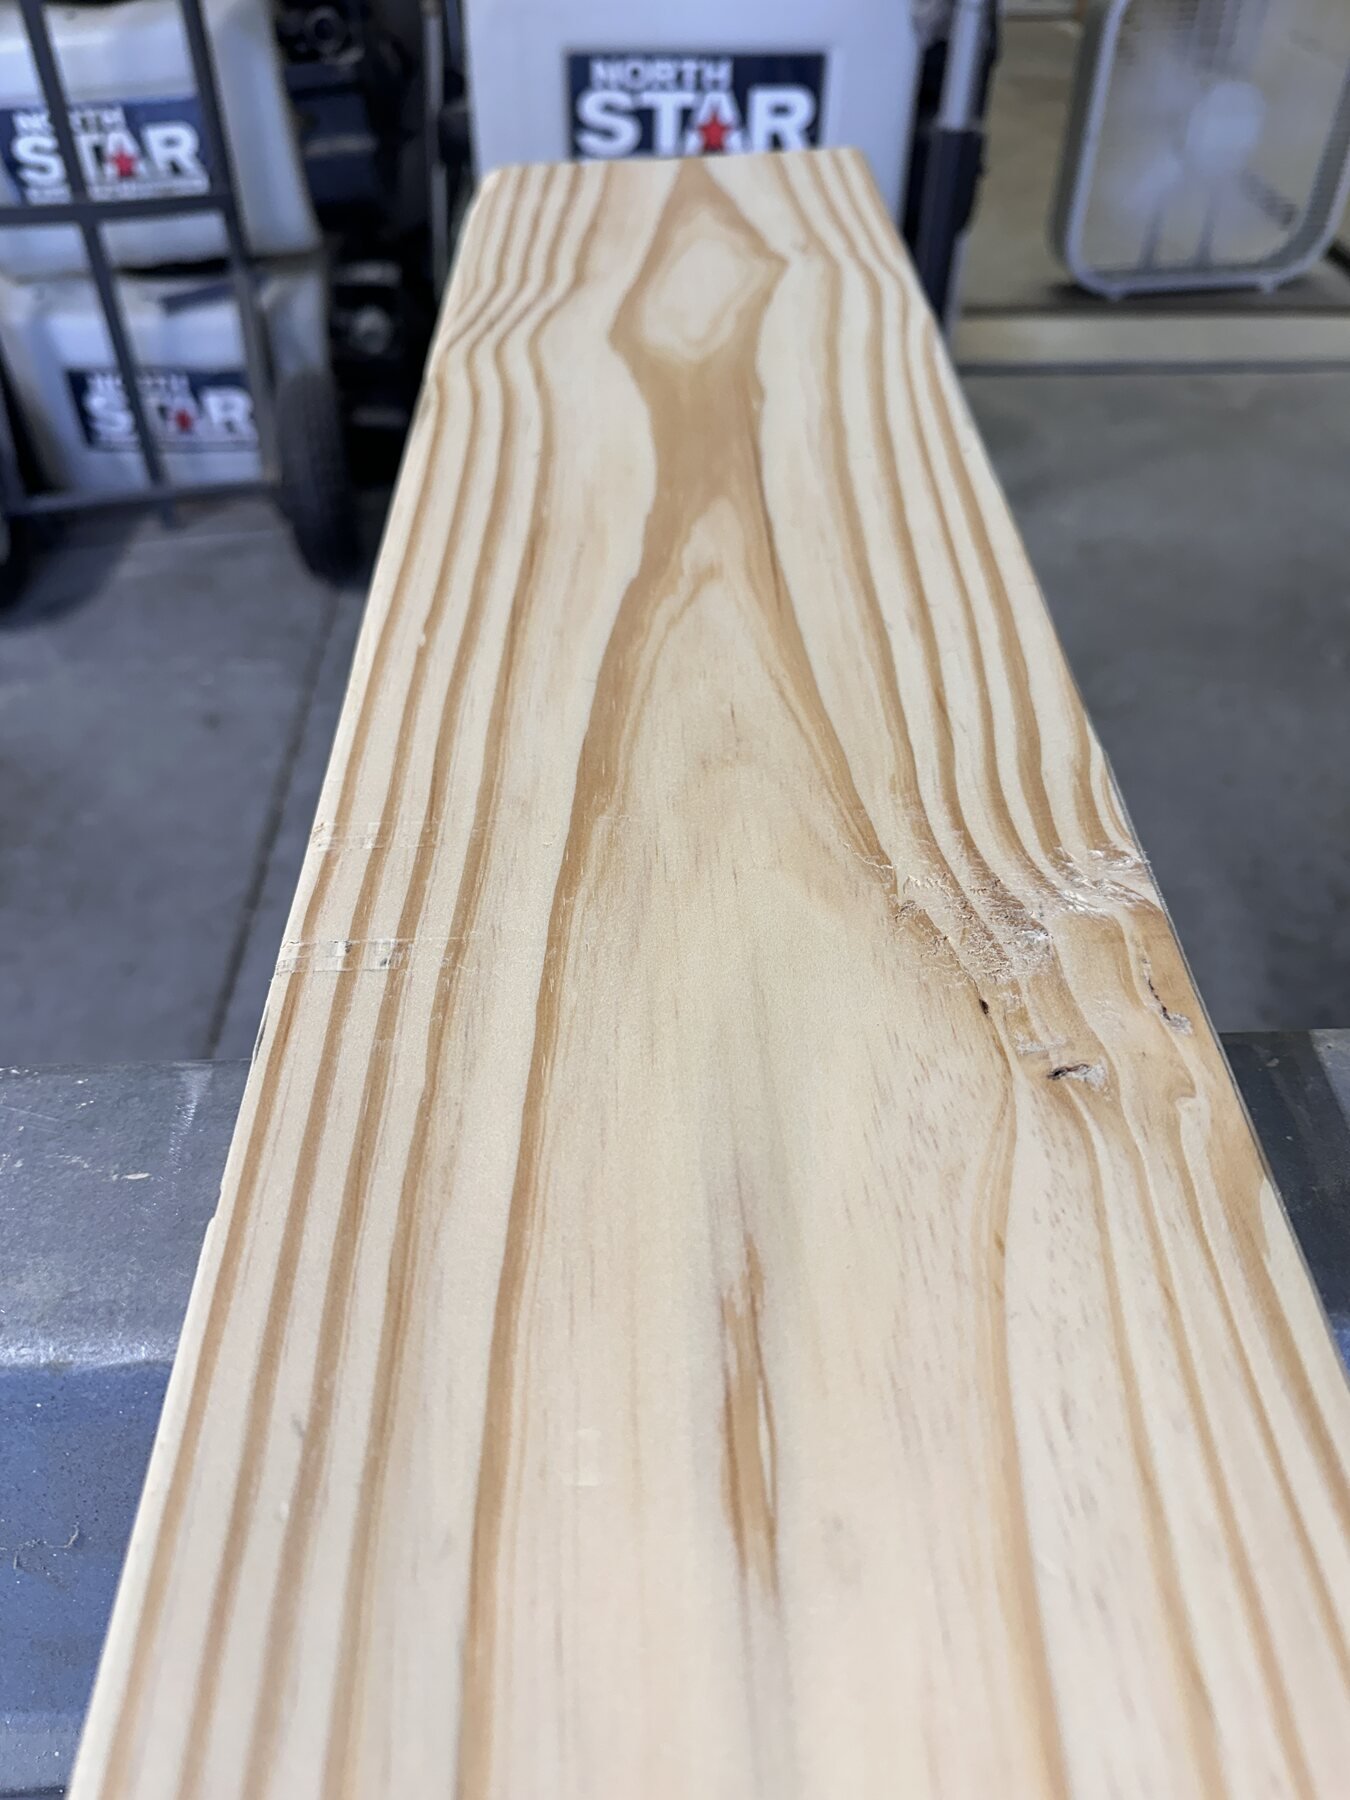
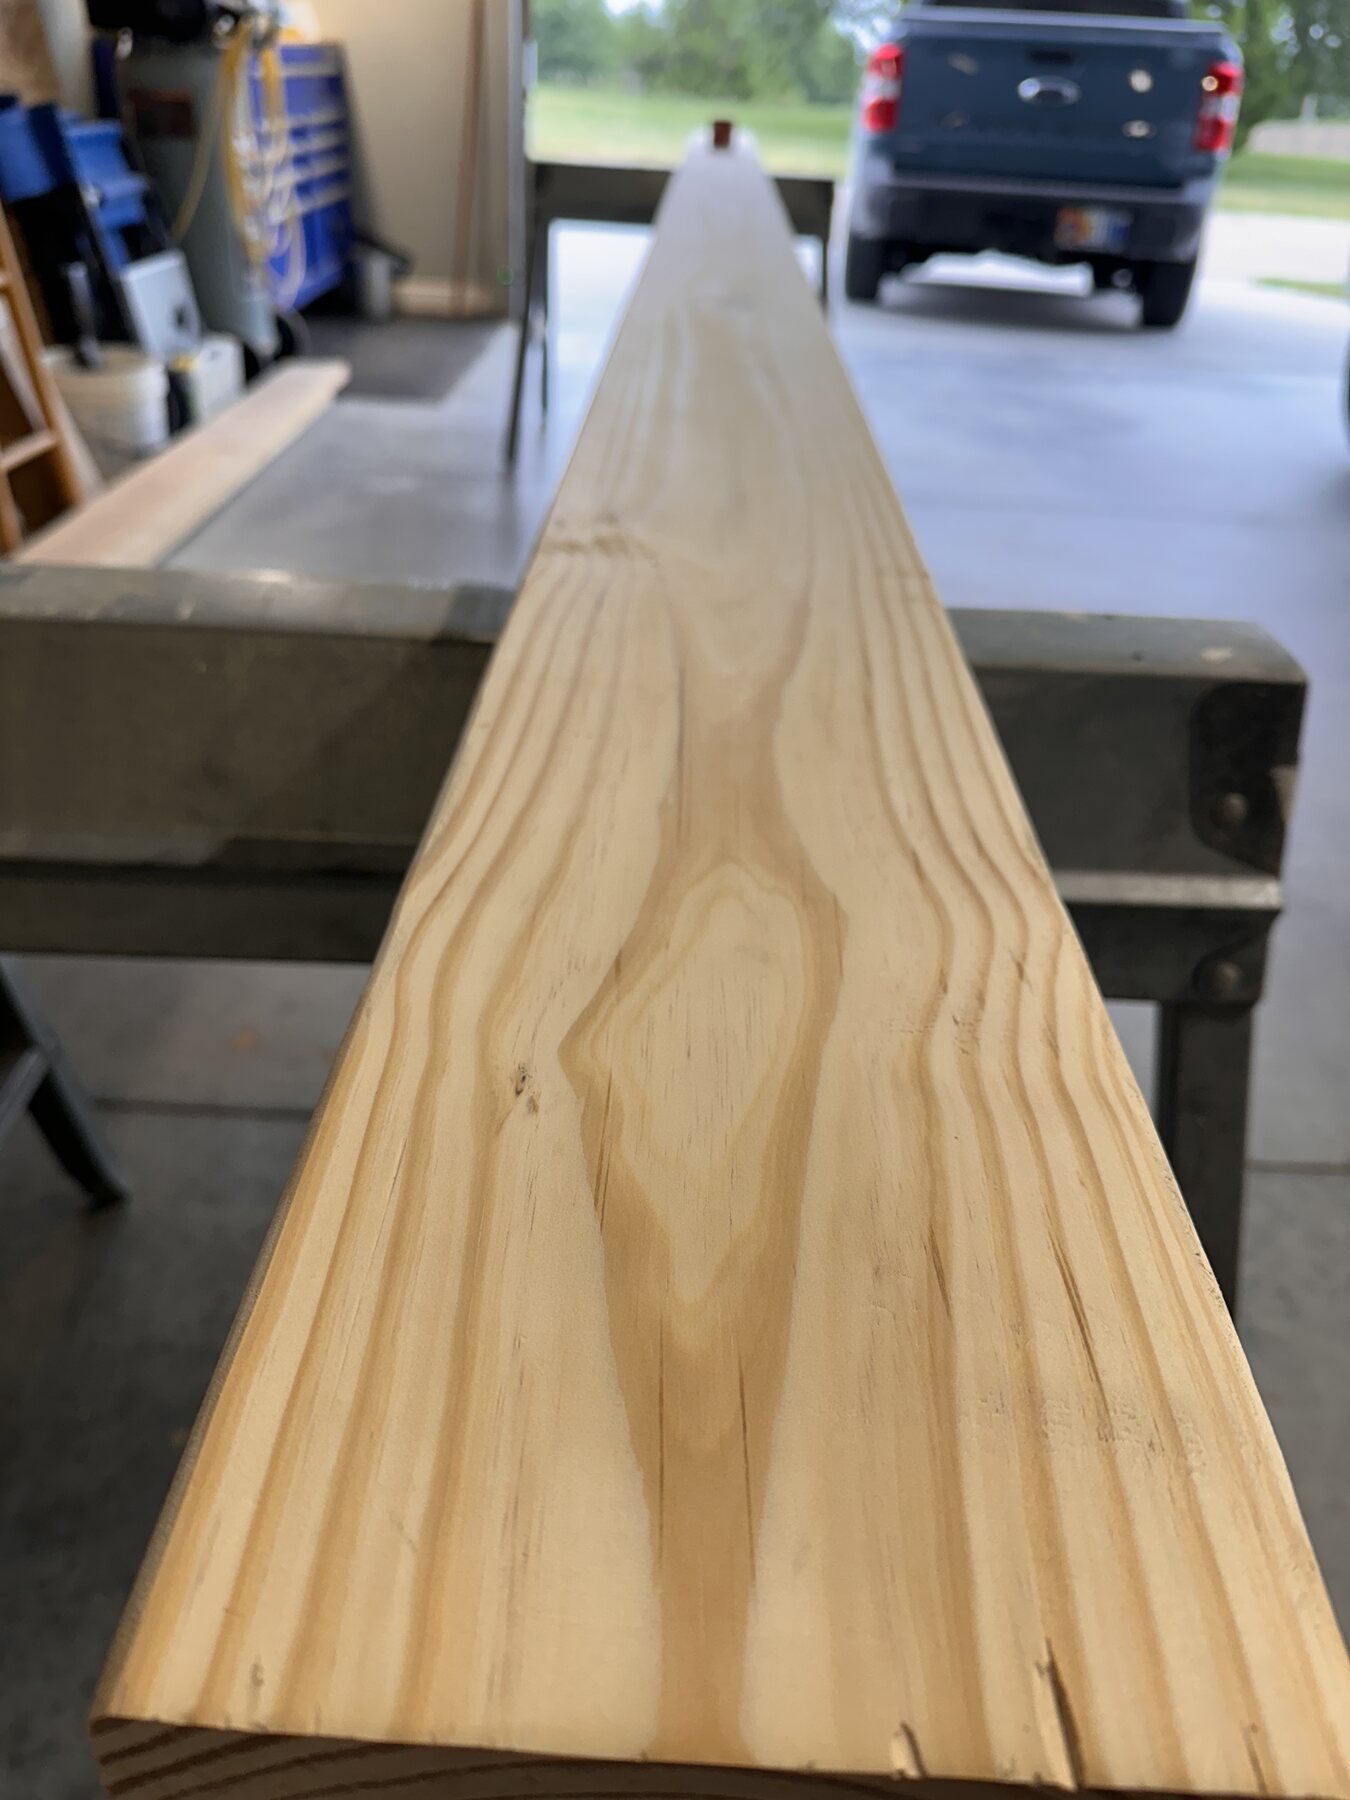
Soft pine can drink stain unevenly, so this face received Minwax pre-stain wood conditioner first. Its job was not to supply color, but to temper the thirstiest fibers and give the Early American 230 a more even place to land.
The conditioner briefly deepened the grain and offered a preview without becoming the final answer. Knots grew more legible. Pale bands warmed. The long board still looked unmistakably like pine, only awake enough to hint at what one coat of stain might reveal.
Early American, One Coat, and the Color Arrives
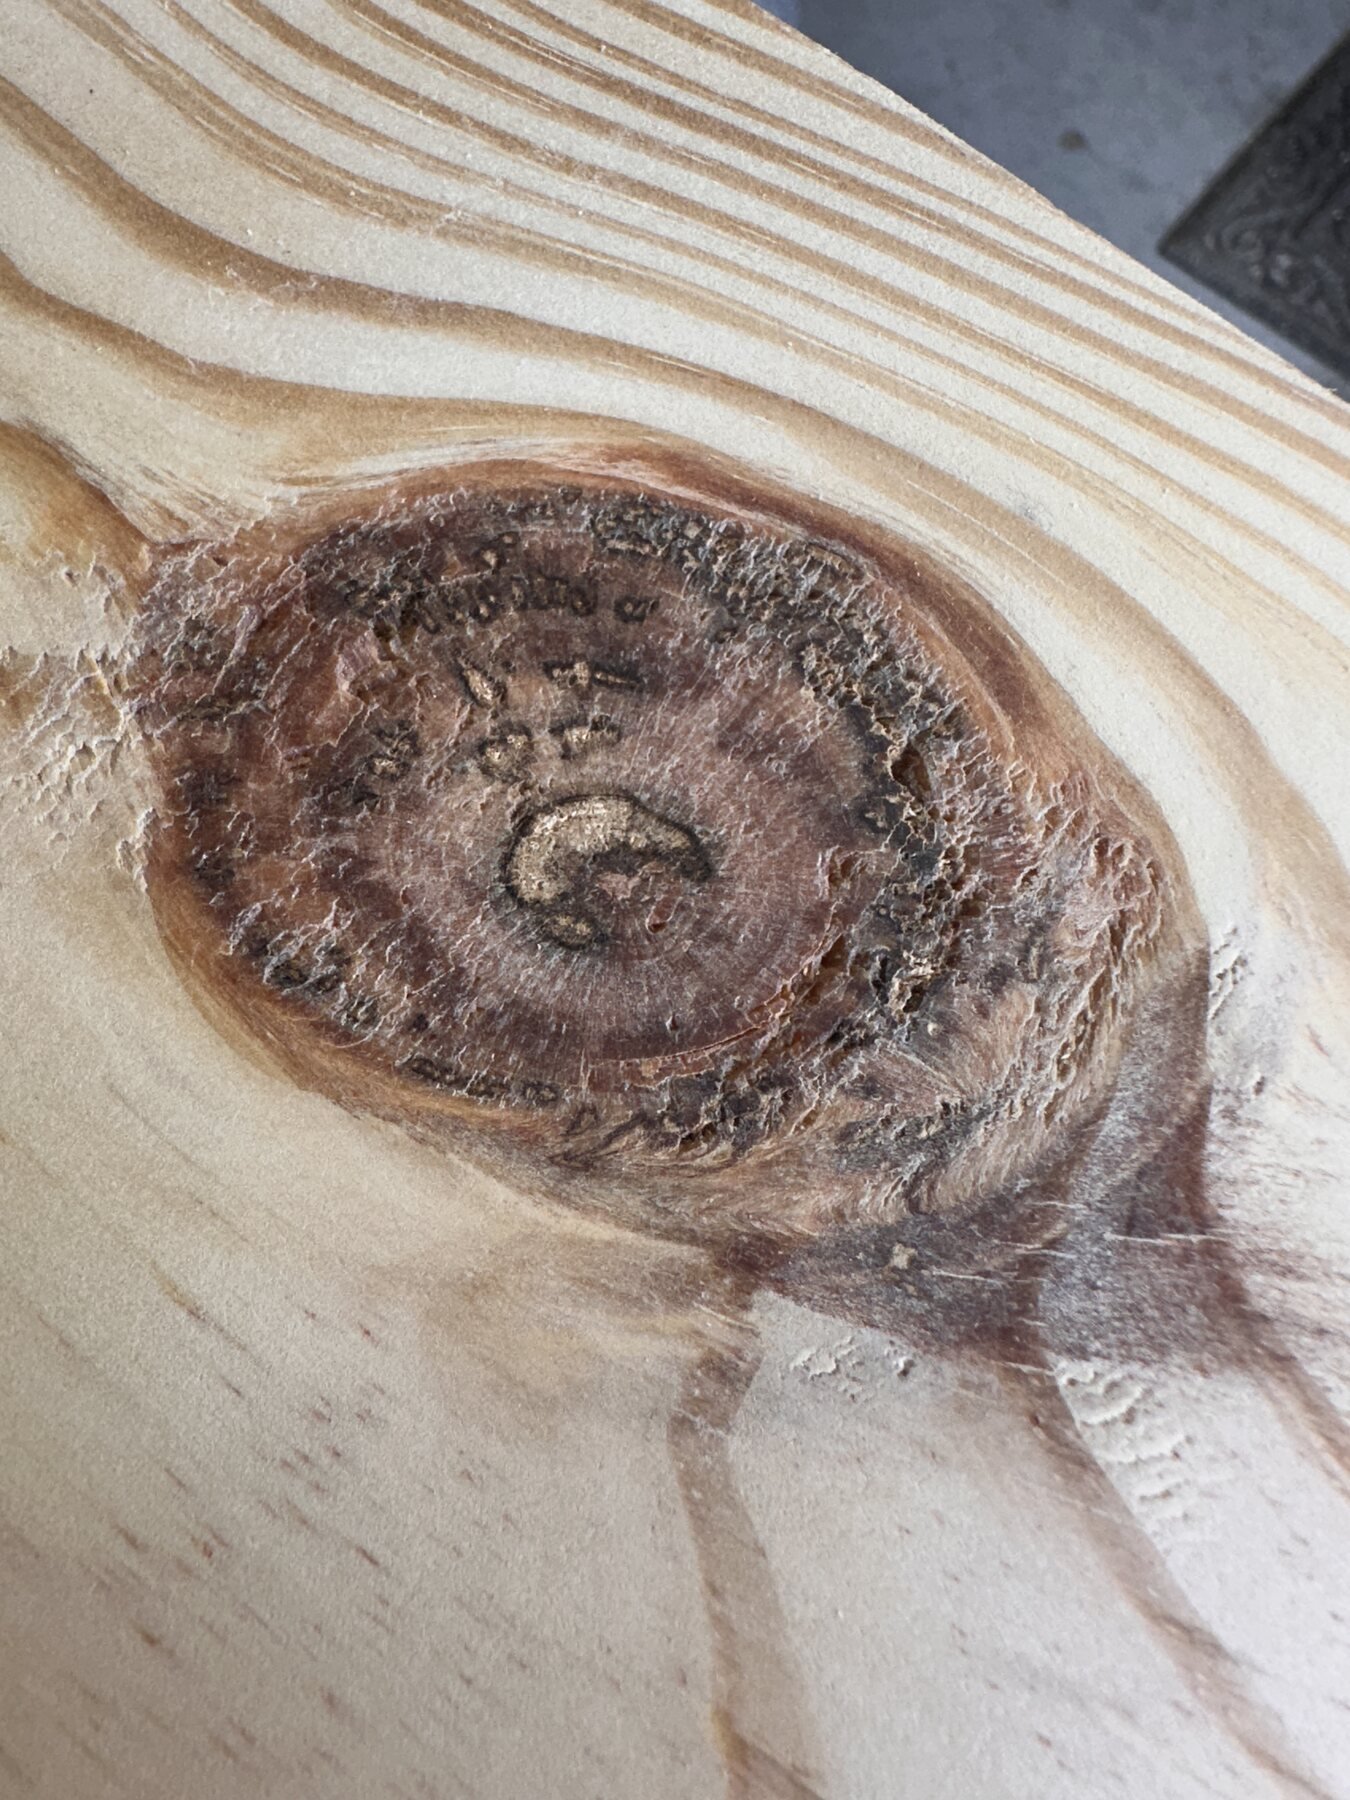
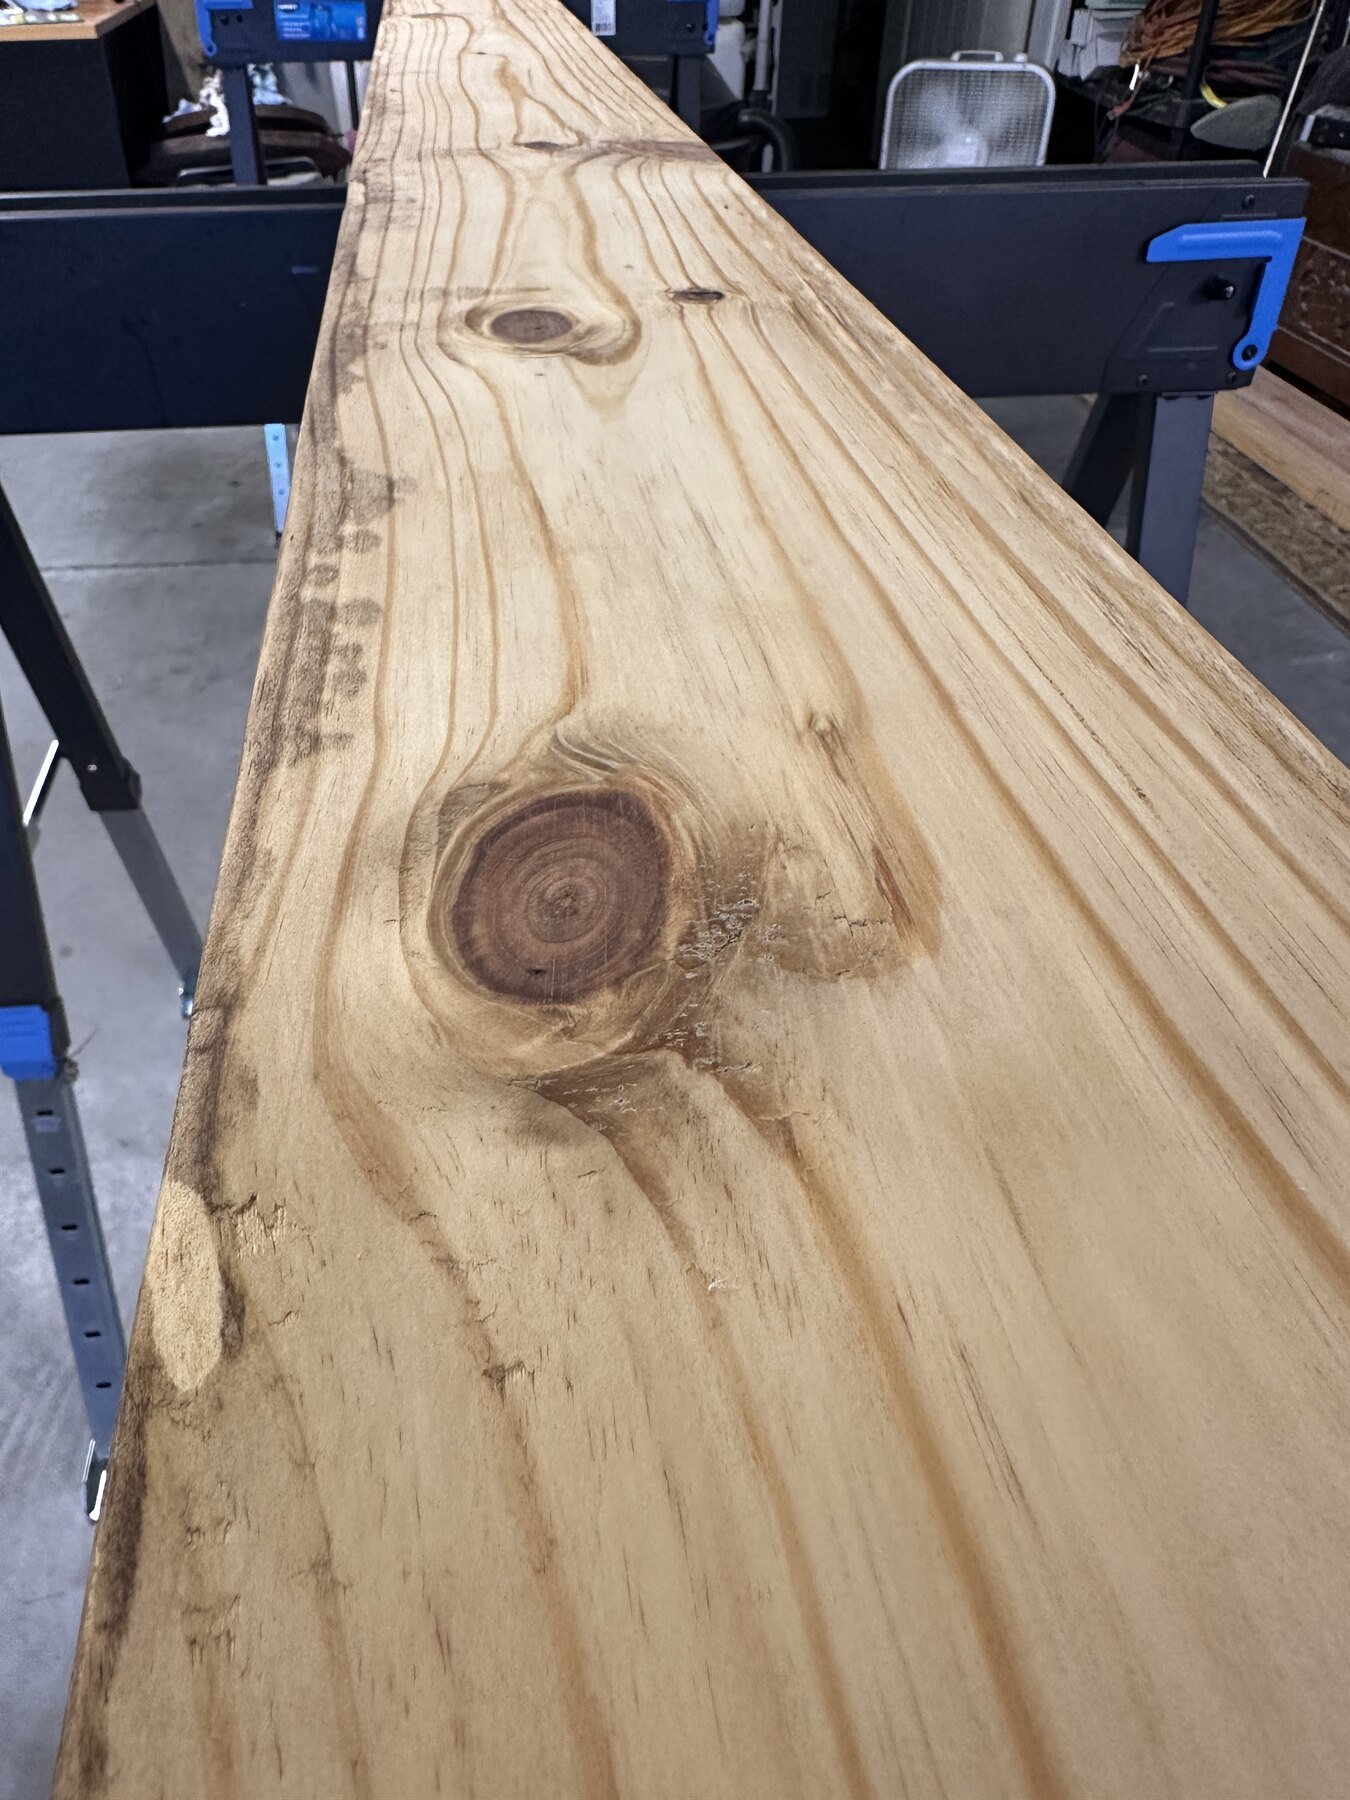
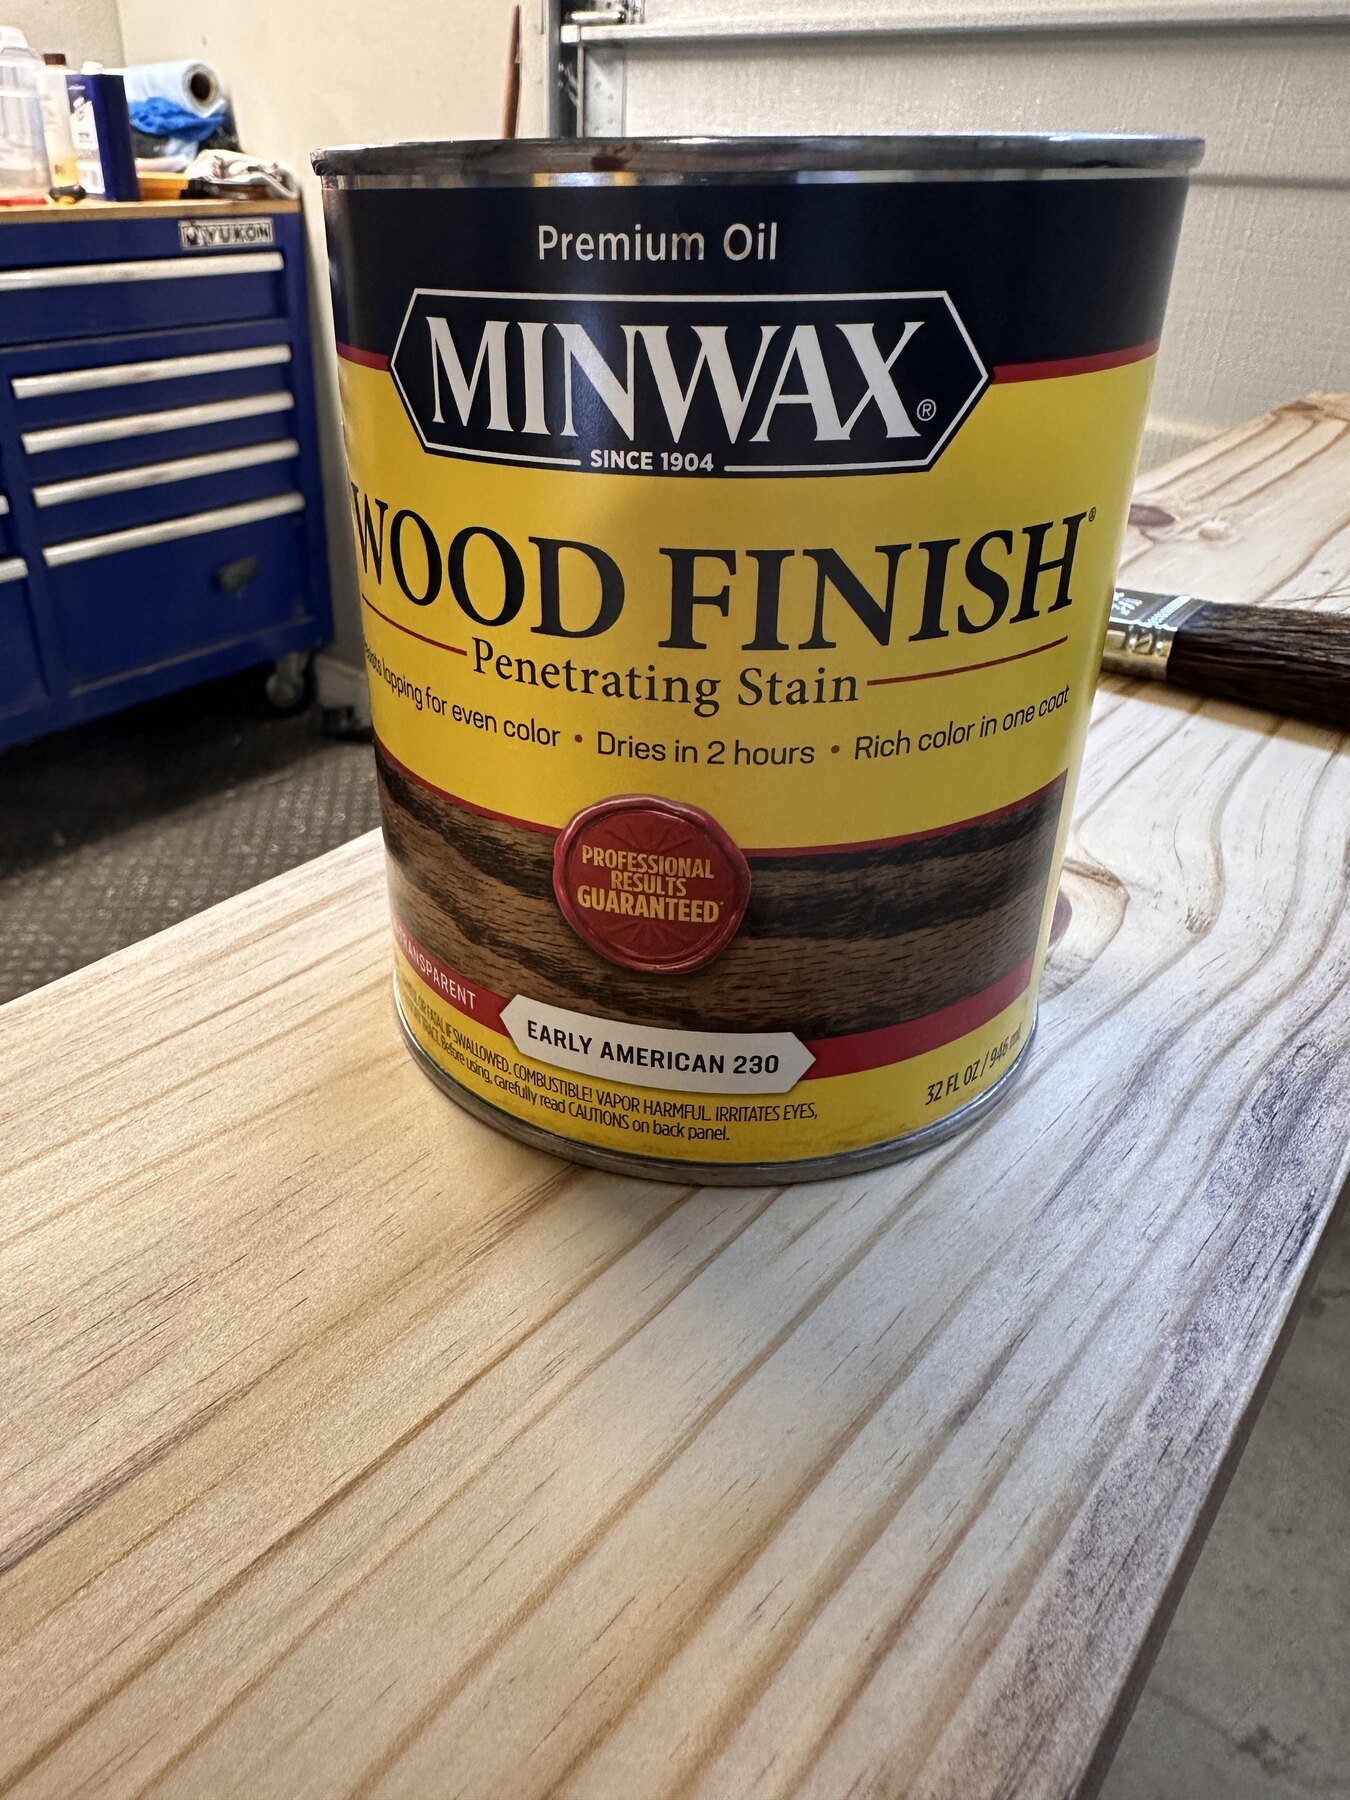
The label in the new photographs settles the name: Early American 230. One careful coat turned the prepared pine from pale lumber into a warm record of grain, knots, and age.
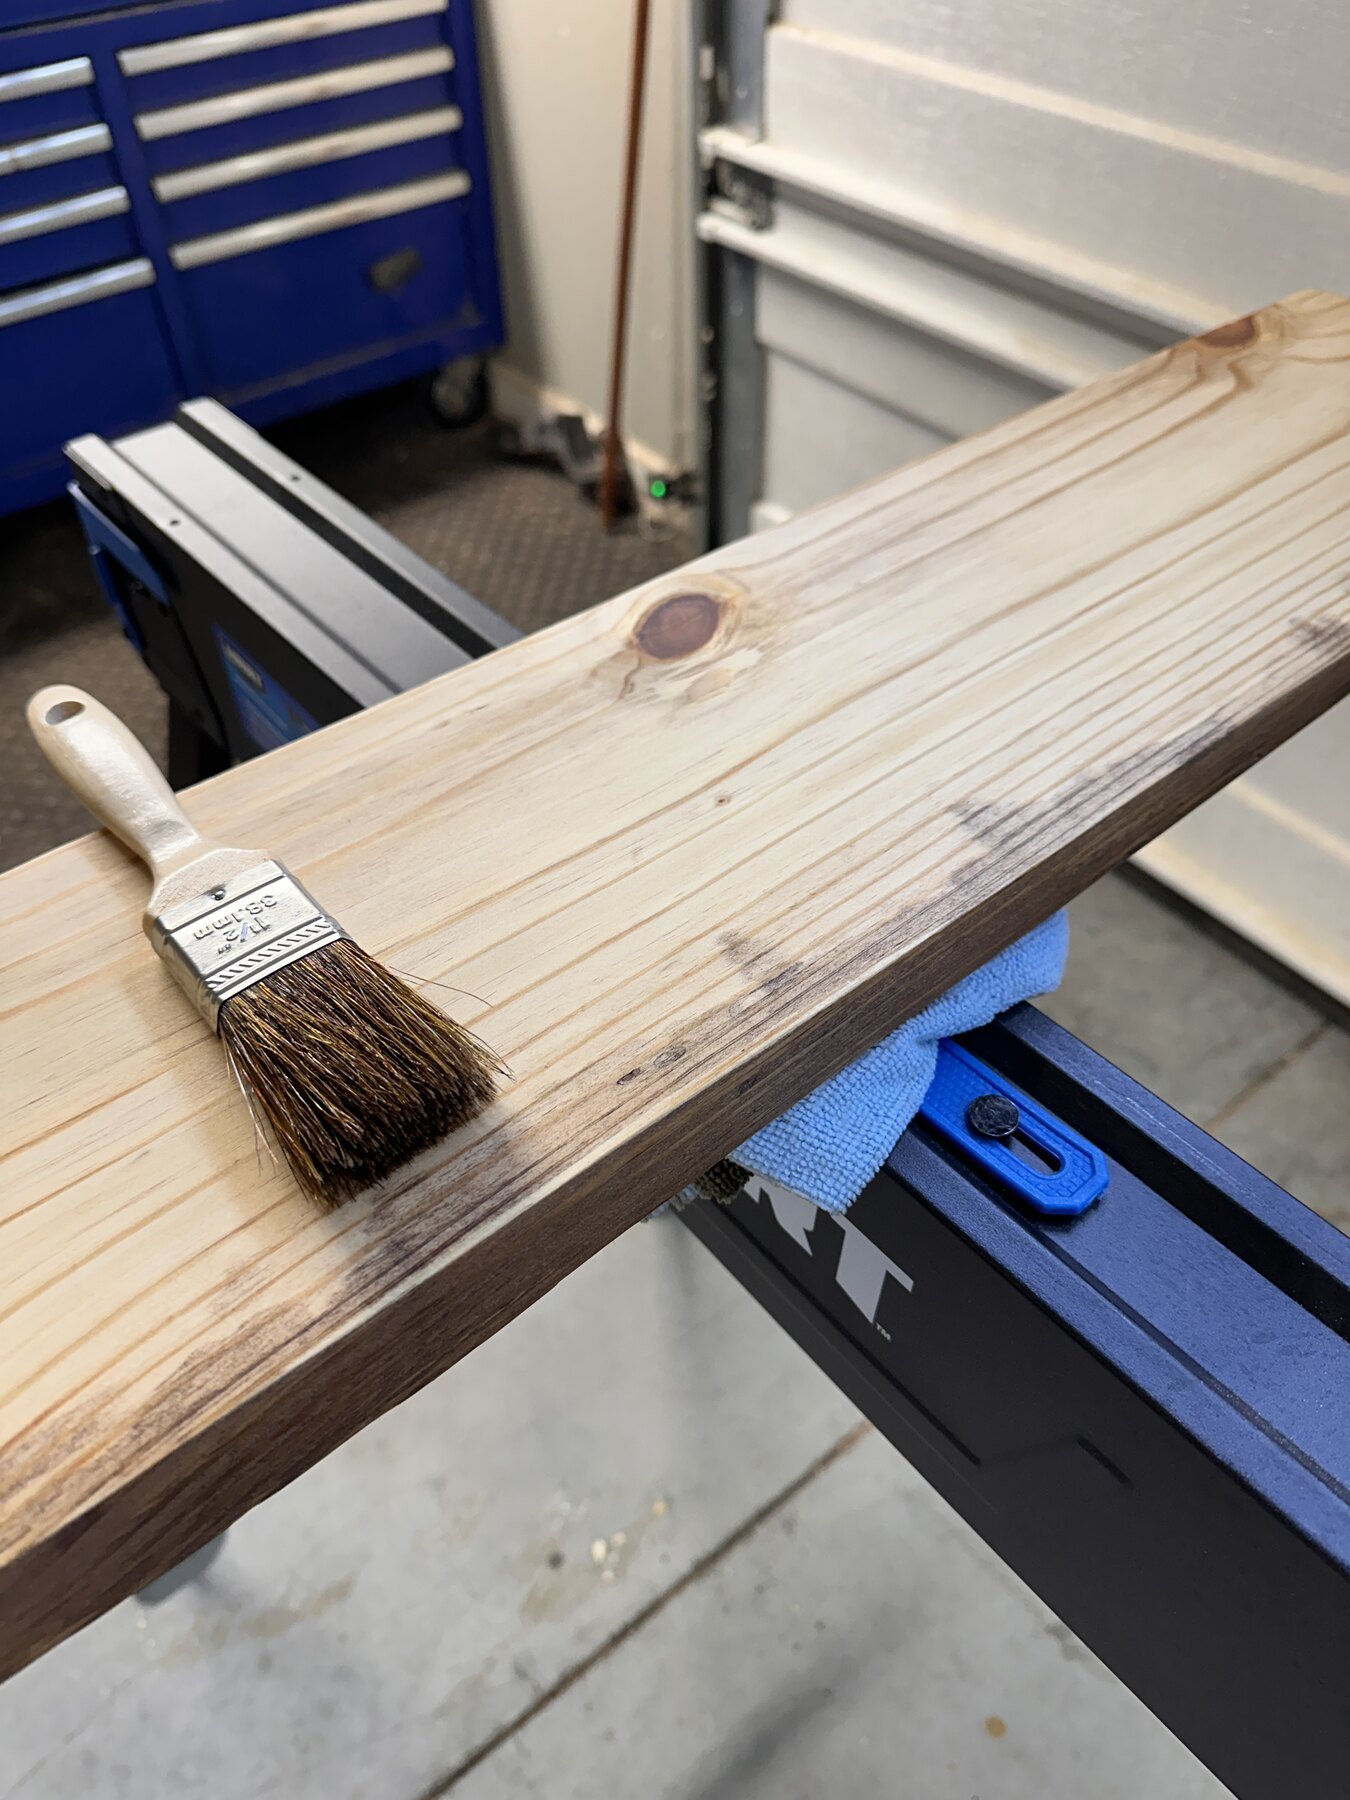
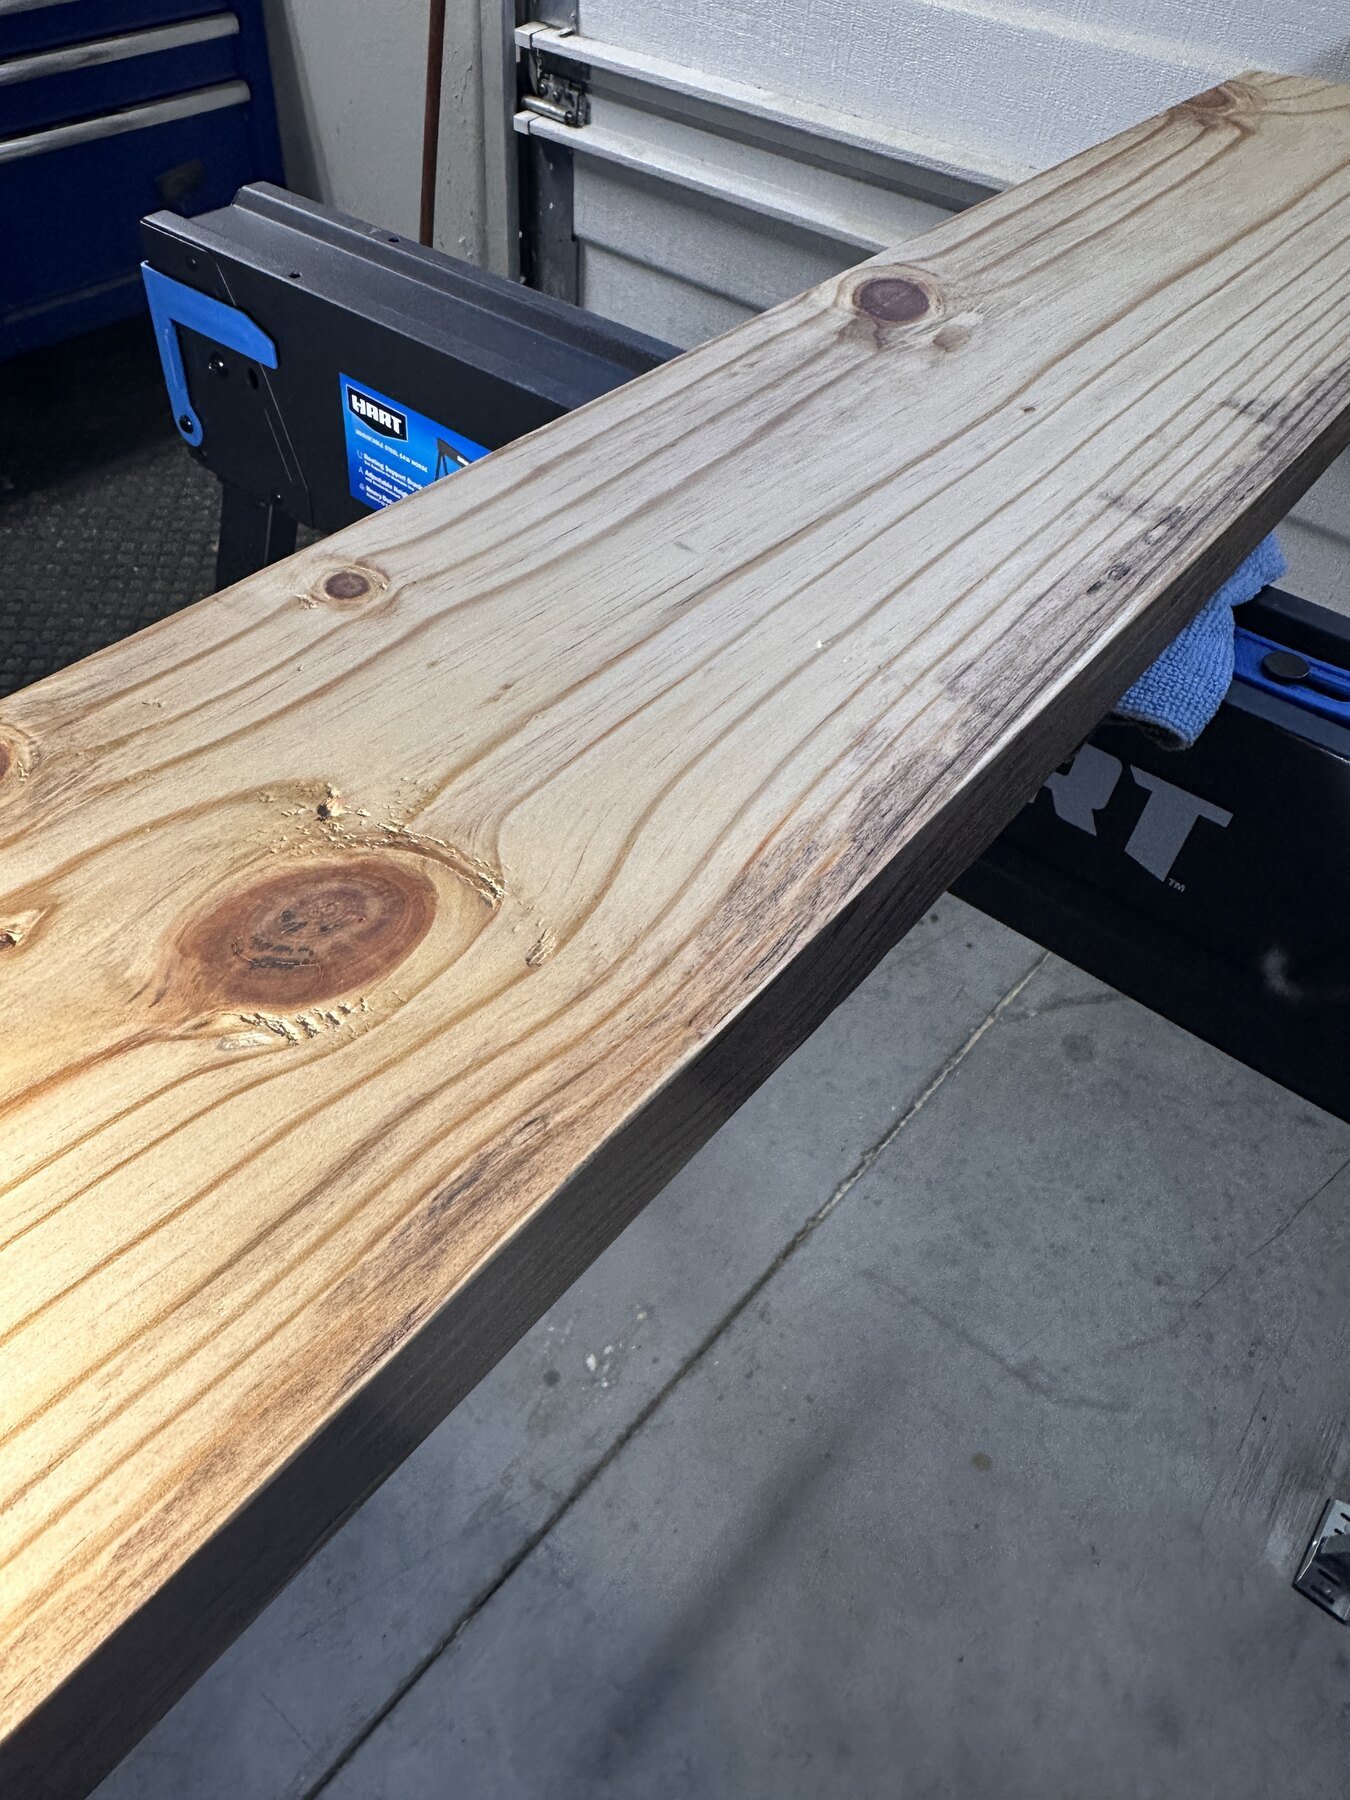
The conditioner kept the color measured across the soft pine. The broad field warmed into honey and amber, the long grain lines became more confident, and the knots deepened without losing the rings, fractures, and tiny landmarks that made them fascinating in the first place.
The Finish Is Teaching Me How to Work
The board is not only becoming a shelf. It is becoming a set of instructions for every board that follows.
Four light coats of the 50/50 polyurethane and mineral-spirits mixture flowed more evenly and looked better than trying to build protection in one or two heavy passes.
Polyurethane that wandered onto an edge sealed the fibers. When stain later reached that area, it could not penetrate, leaving a sharp and ugly reminder to control the overlap on boards whose edges will remain visible.
Once the polyurethane film was ready, a very light wet pass with 3000-grit paper transformed the touch. The surface felt less like coated lumber and more like polished stone—butter smooth.
This one carries a pronounced warp, so it is assigned to the rear of the top shelf, where the brackets and screws can bring it into line and its movement will be less conspicuous.
The hidden edges received two protective coats of polyurethane but no stain. There is no reason to spend color where the installation will never show it. Board Three is now waiting, and its finish is still undecided: stain, polyurethane alone, or perhaps boiled linseed oil. The next board gets to ask its own question.
The Board Remembers in Amber
The stain did not invent the knots; it translated them. Rings that looked faint in raw pine now read like years on a map, while the pale wood between them carries a calm honey warmth.
The visible dark edge also keeps the day’s practical lesson in frame: where polyurethane wandered onto the side, the stain could not enter. That uneven strip will be hidden after installation, but it has already become a useful warning for every future board whose edge will remain visible.


